Adding School HTML for Online Forms
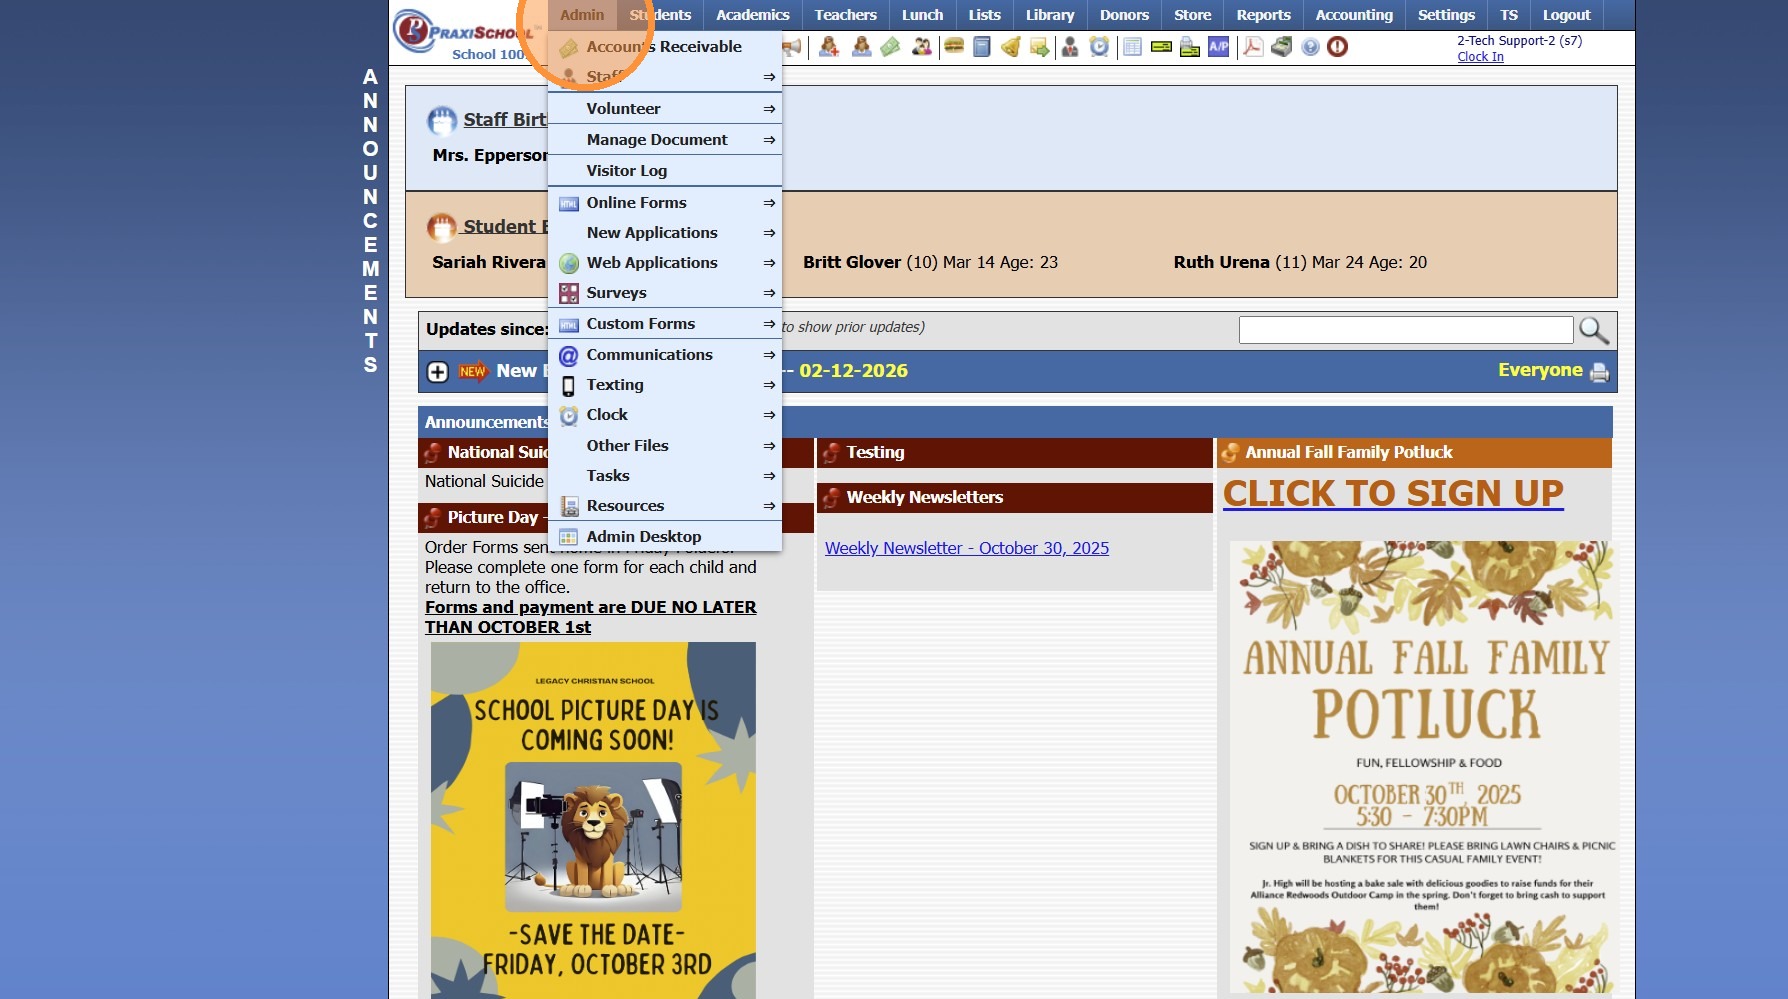
1. Click "Admin"
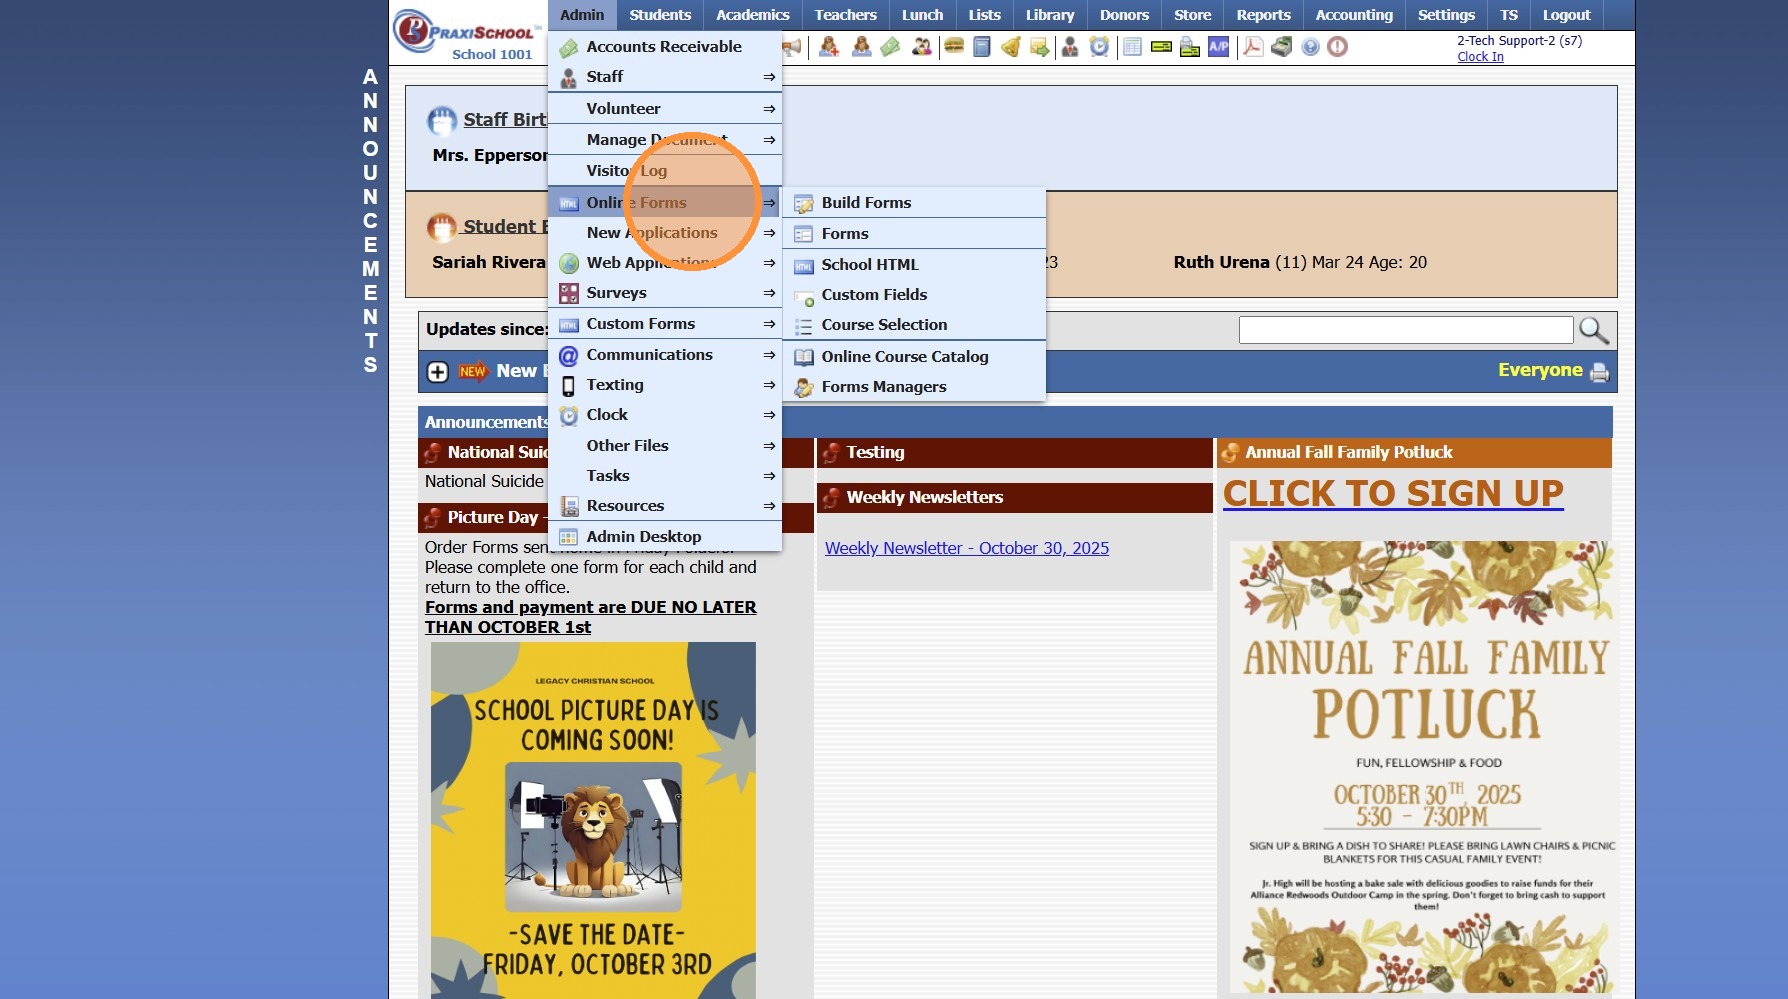
2. Click "Online Forms"
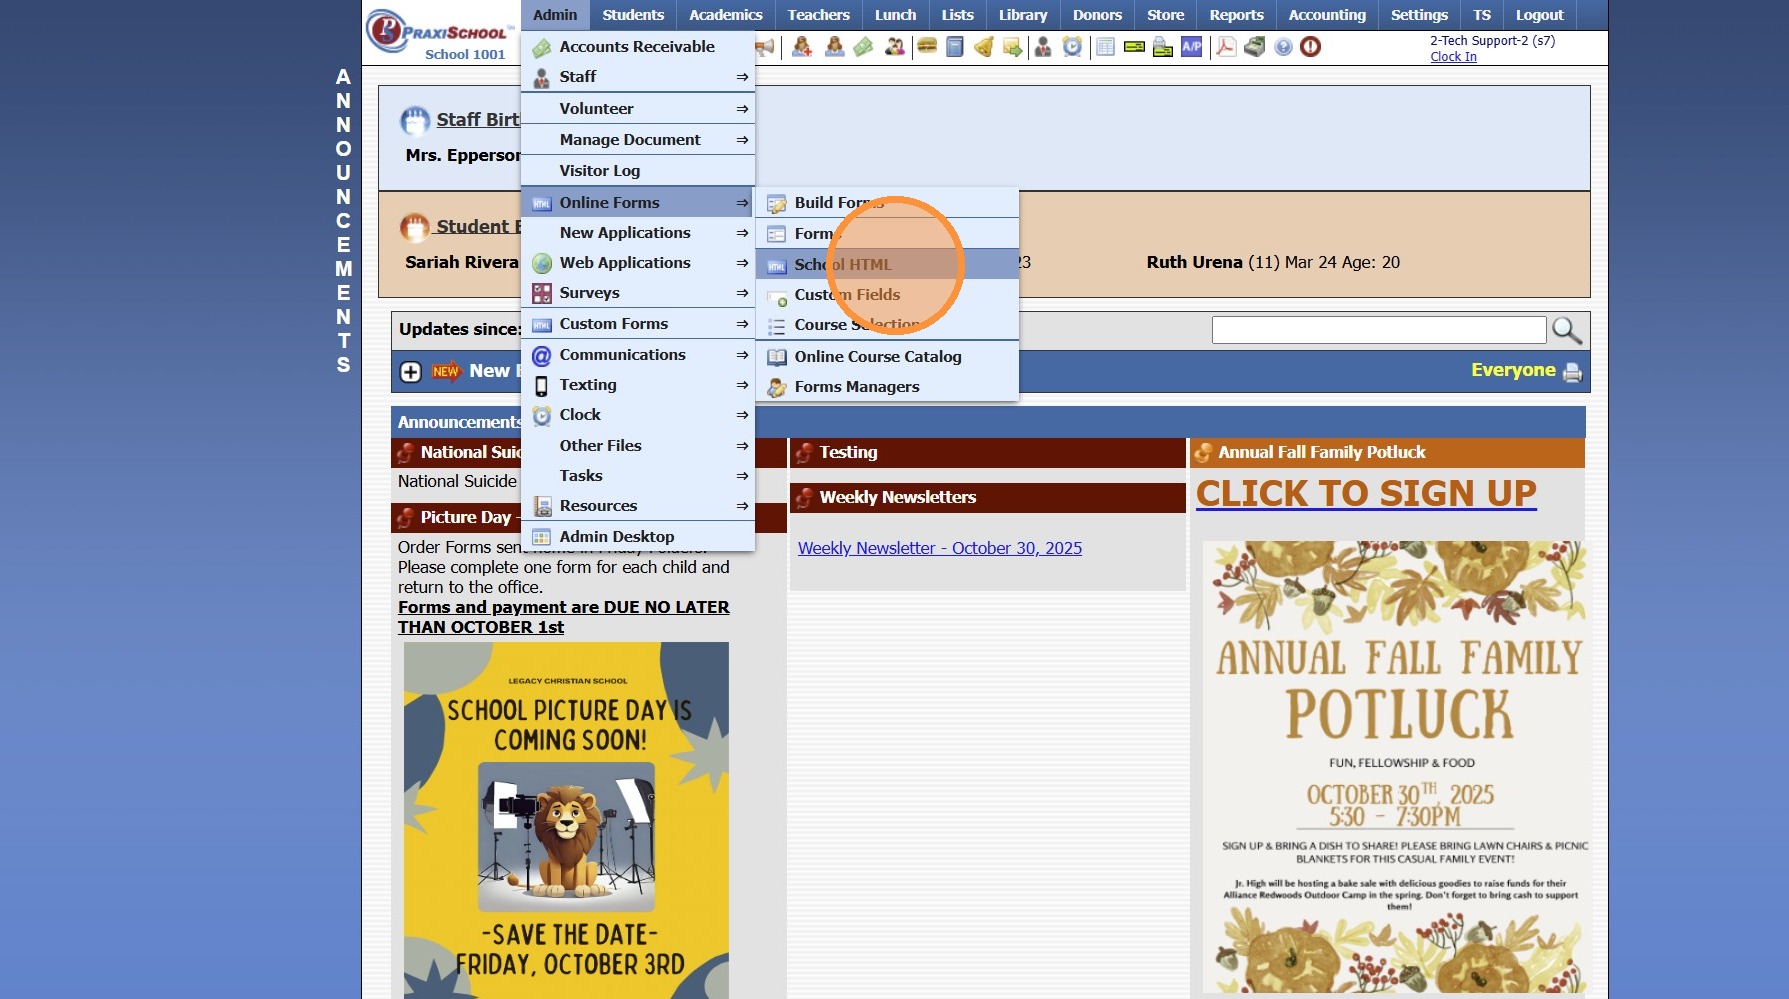
3. Click "School HTML"
4. Click "Add"
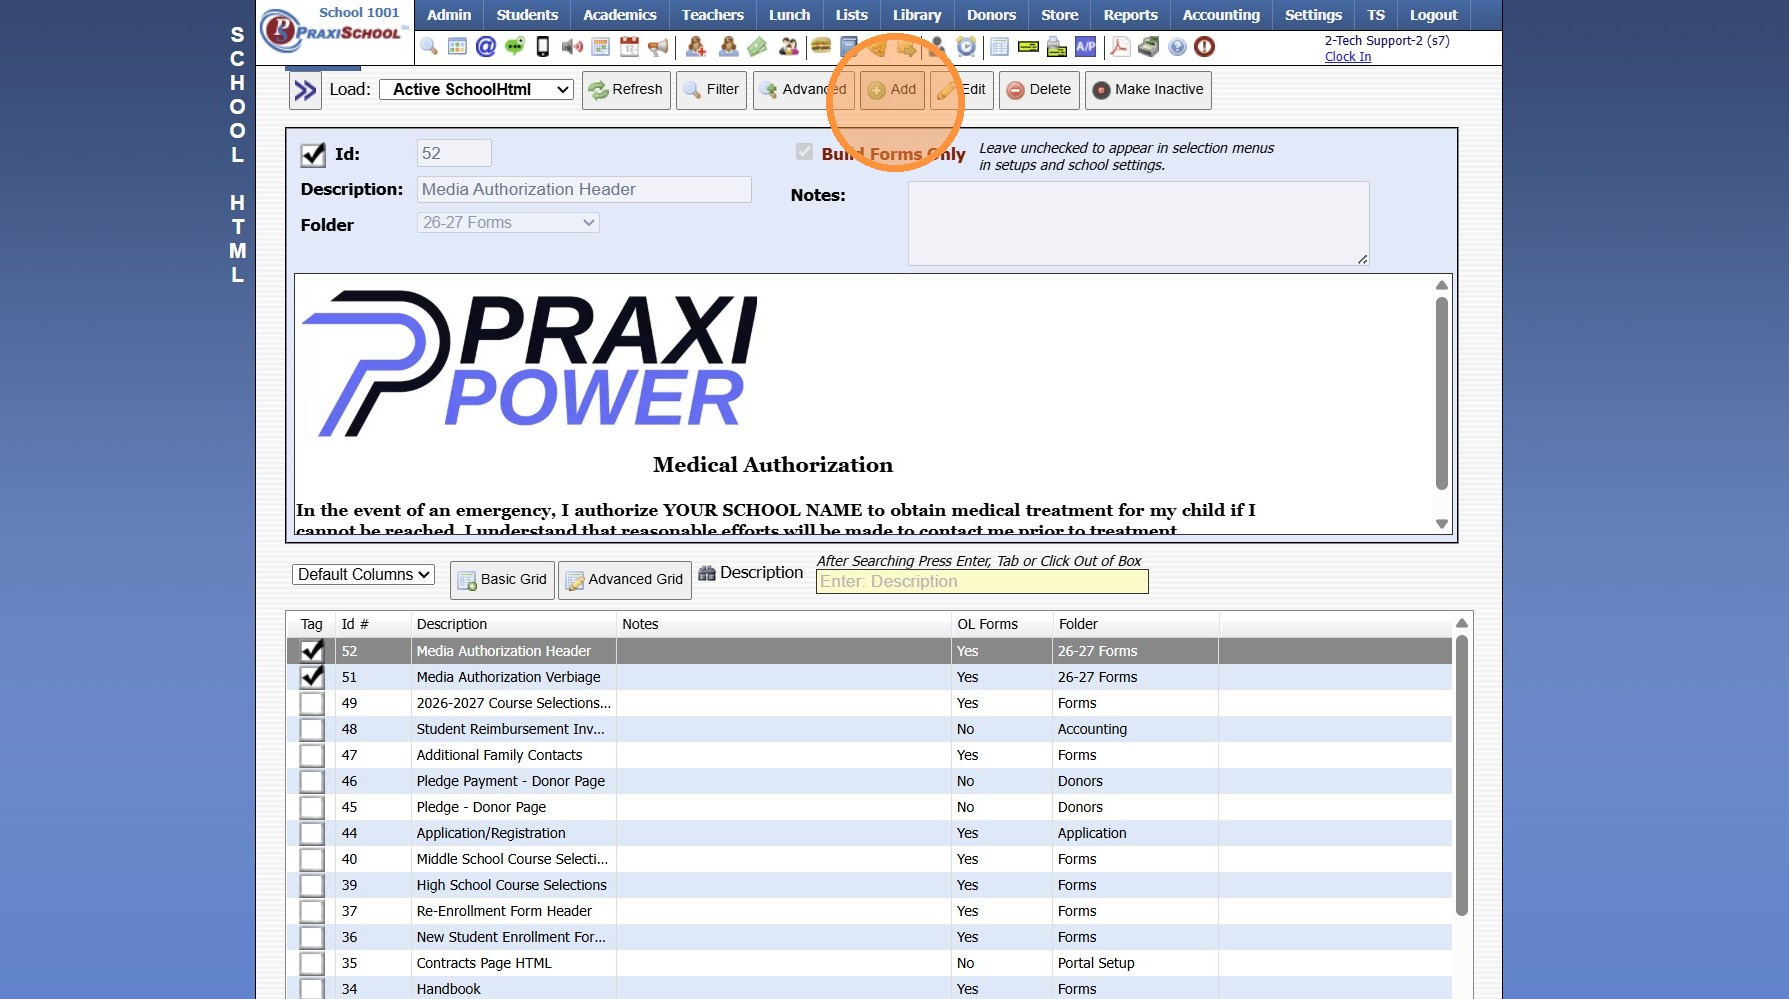
5. Enter Description
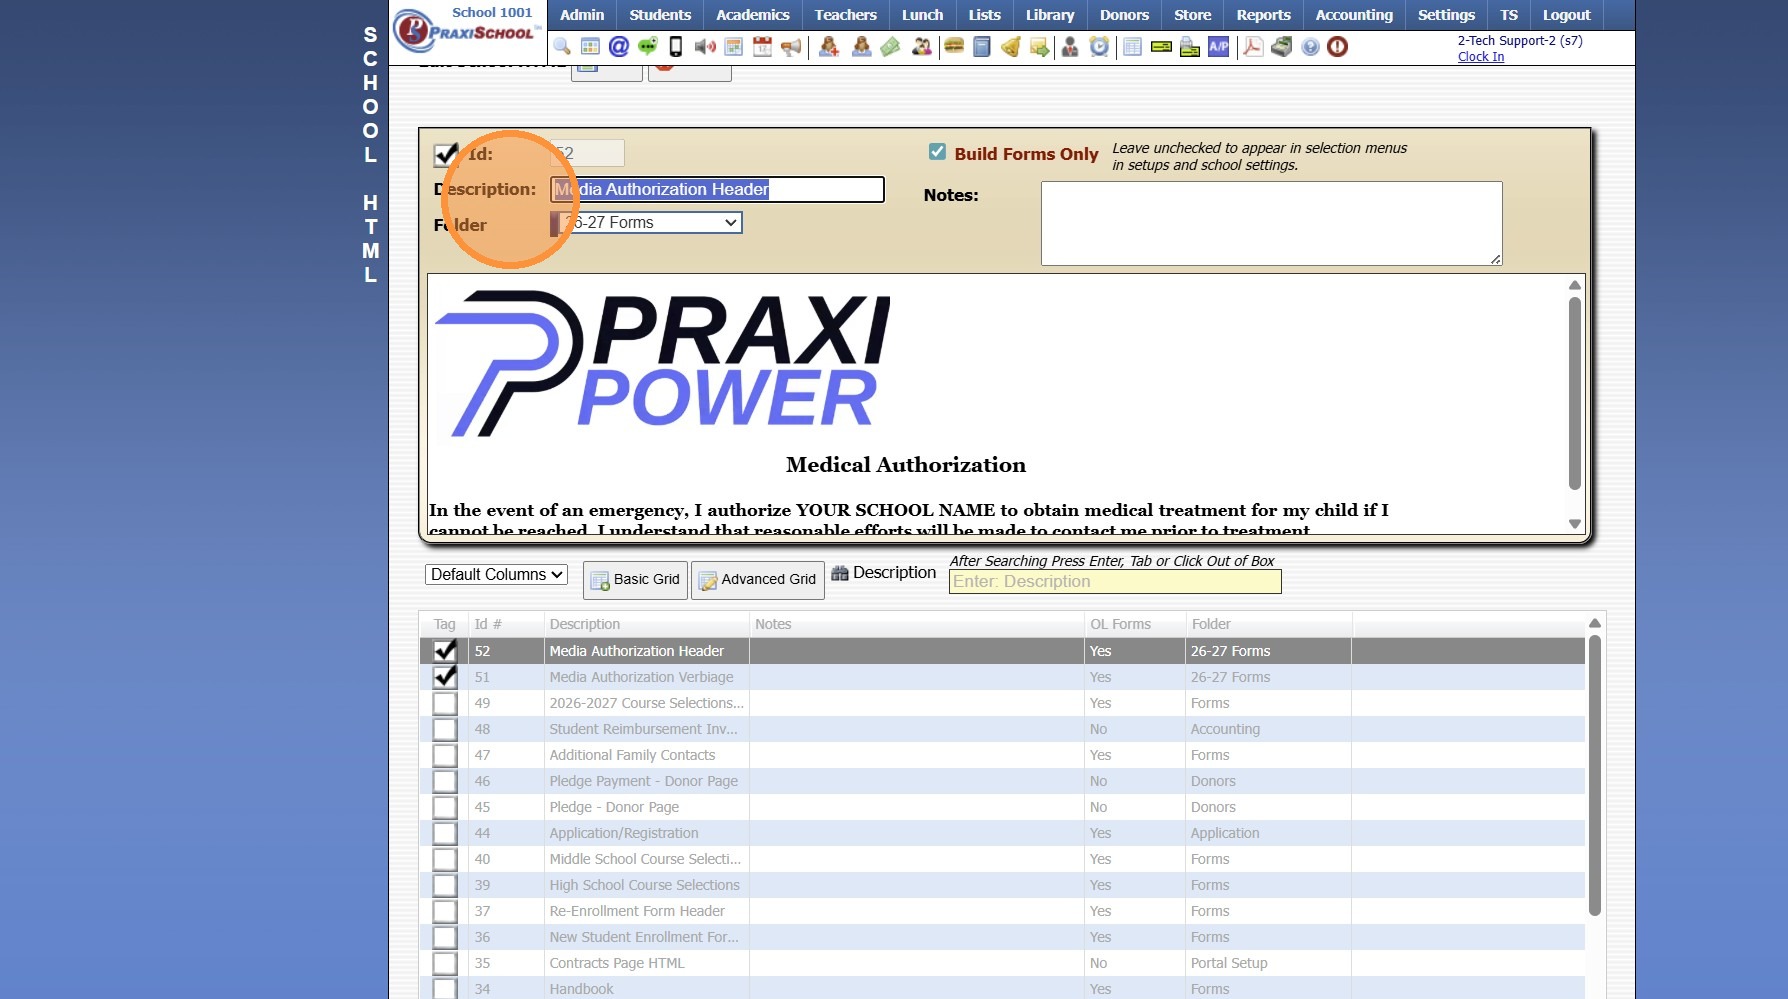
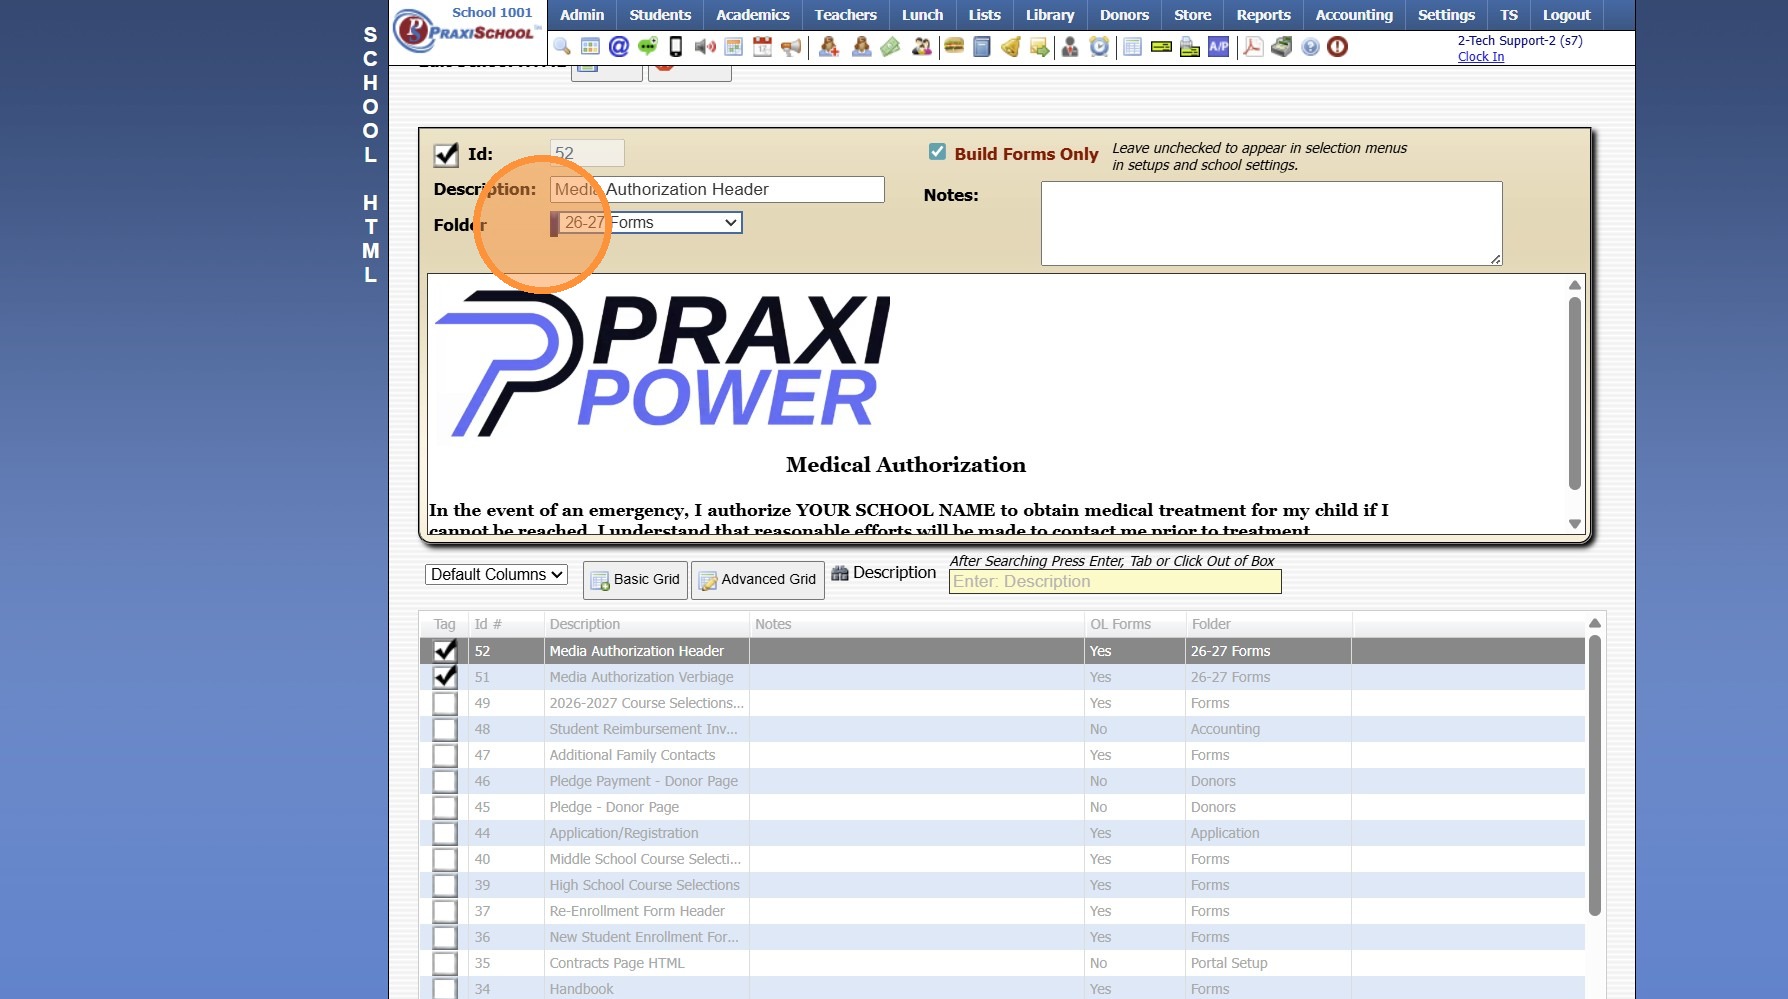
6. Select a Folder or Click the Blue Bar & Add a New Folder
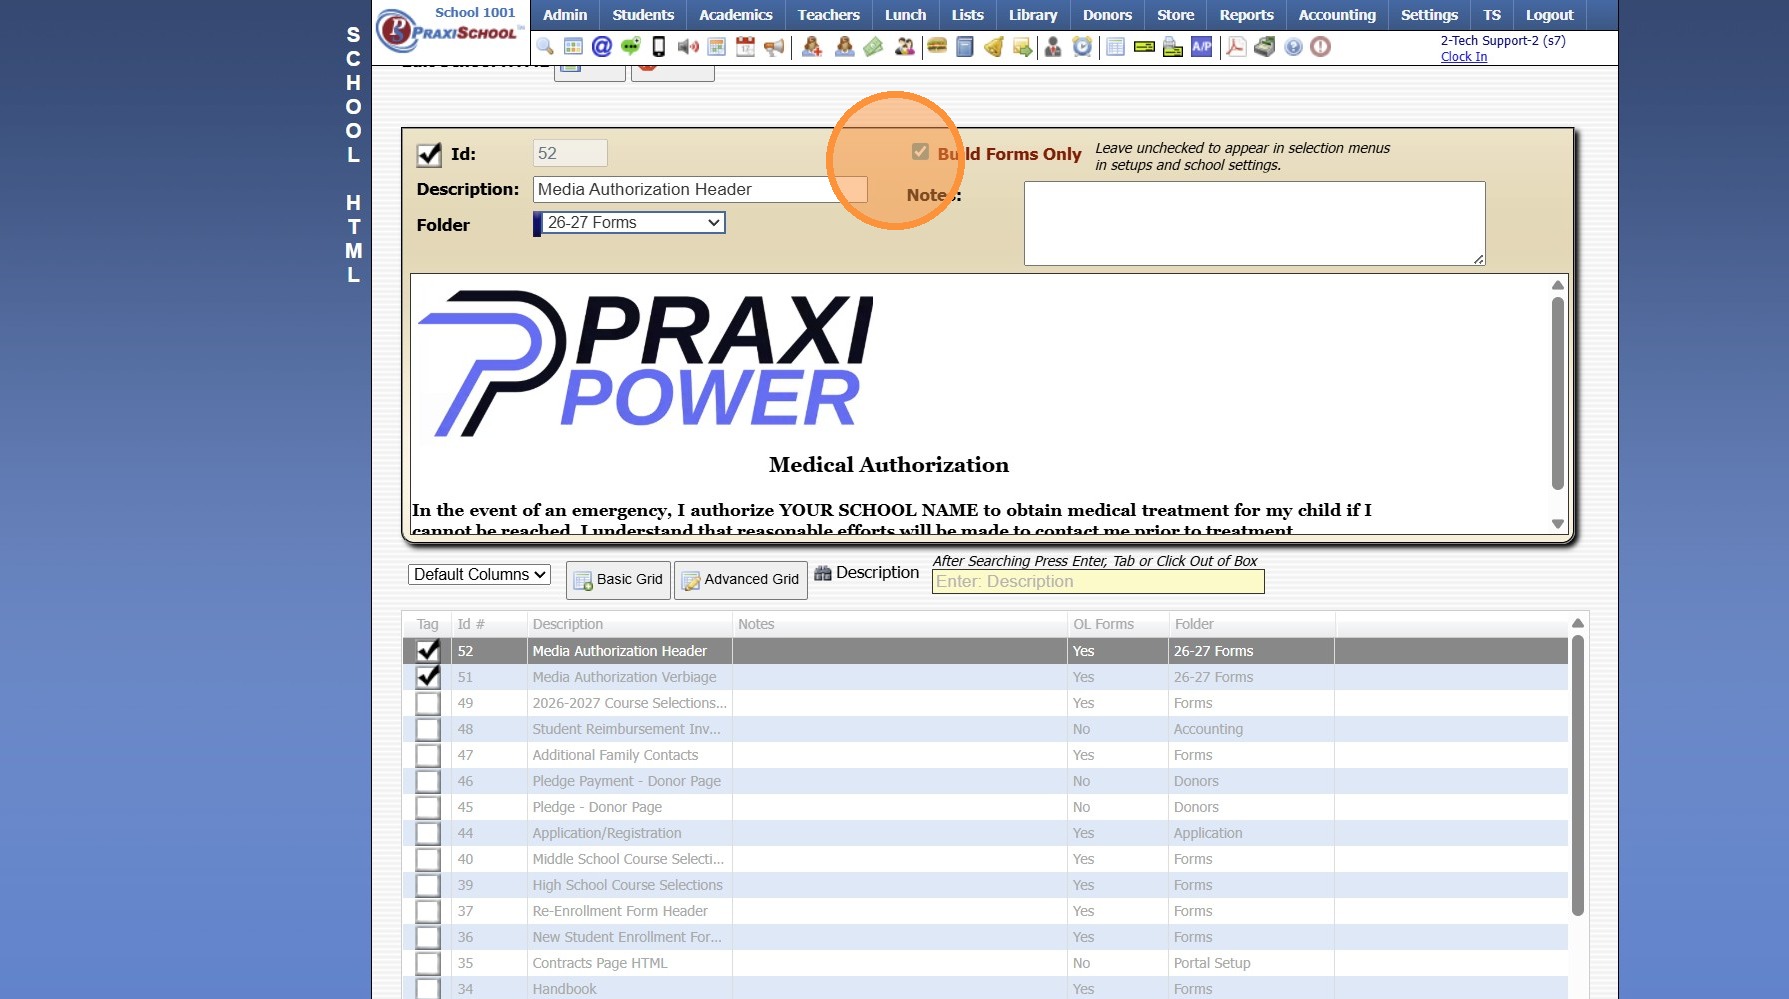
7. Check the Build Forms Only Box
(If this box is NOT checked, the HTML will not be available to add to an online form.)
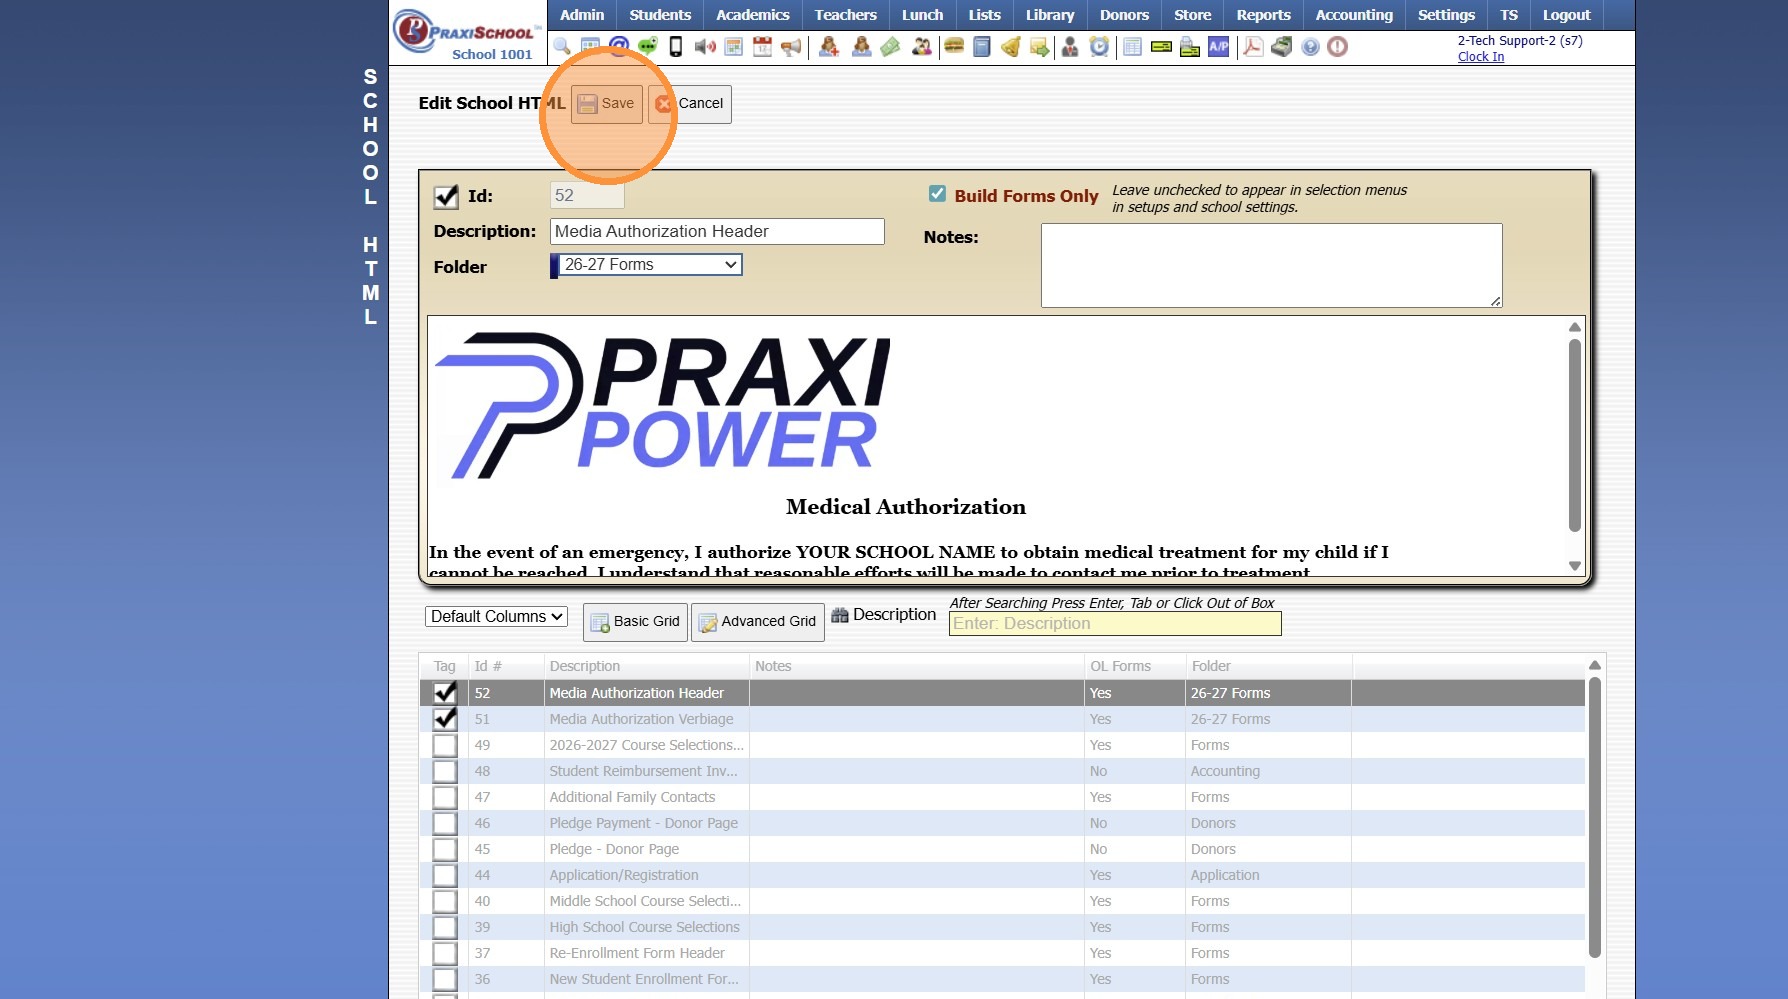
8. Click "Save"
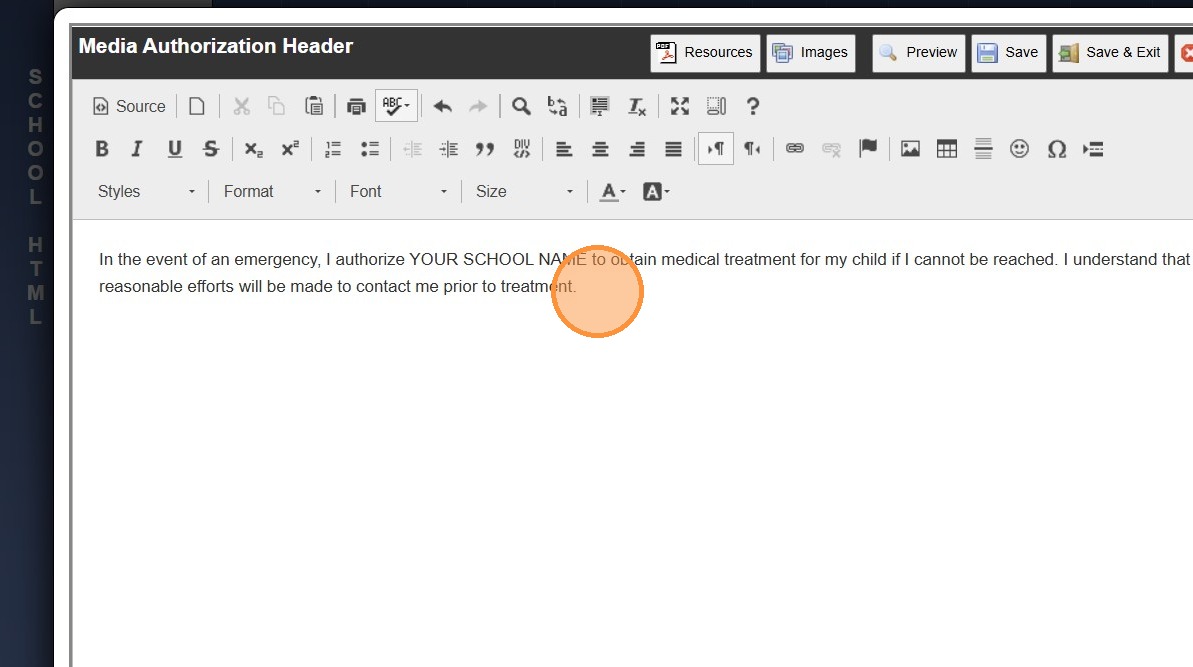
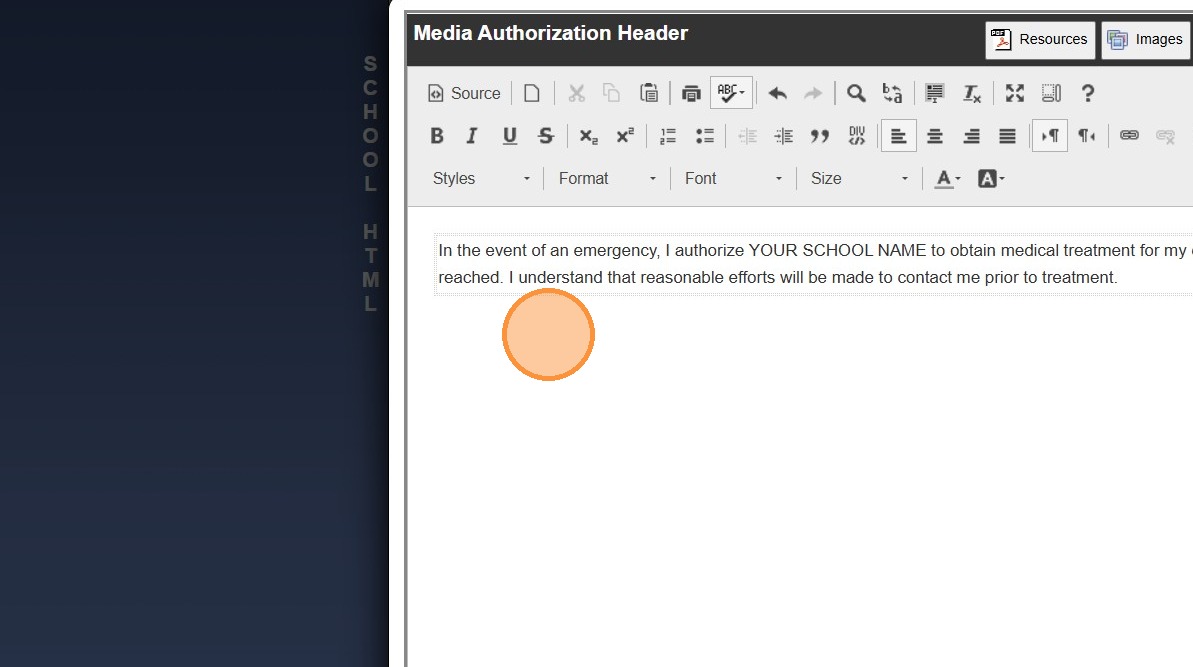
9. Click Inside HTML Box

Simple Text HTML
10. Type Verbiage into HTML Box
(Use this for Short Text Entries)
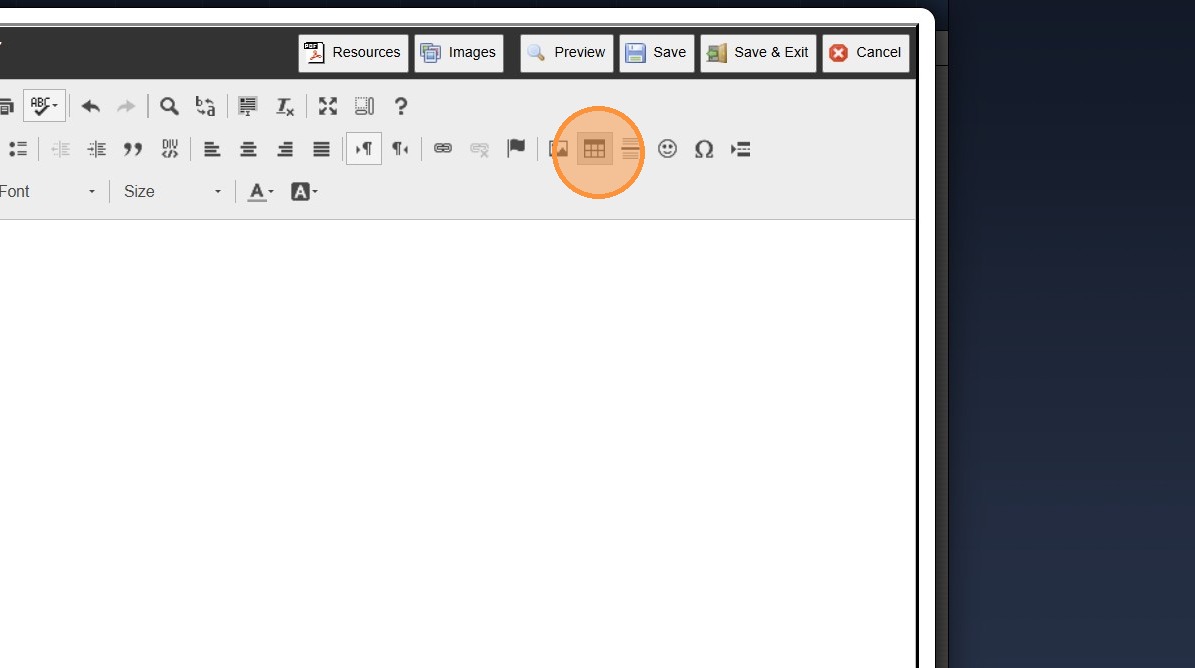
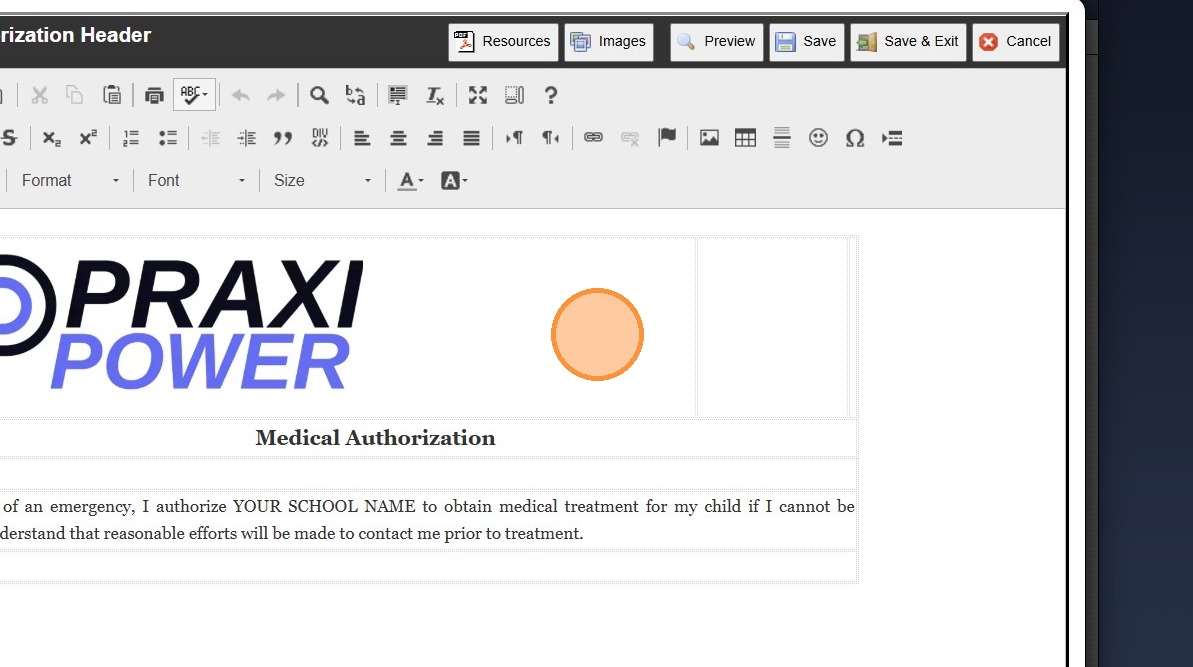
Long Text Entries/Logo HTML
11. Click the Table Icon to Create a Table
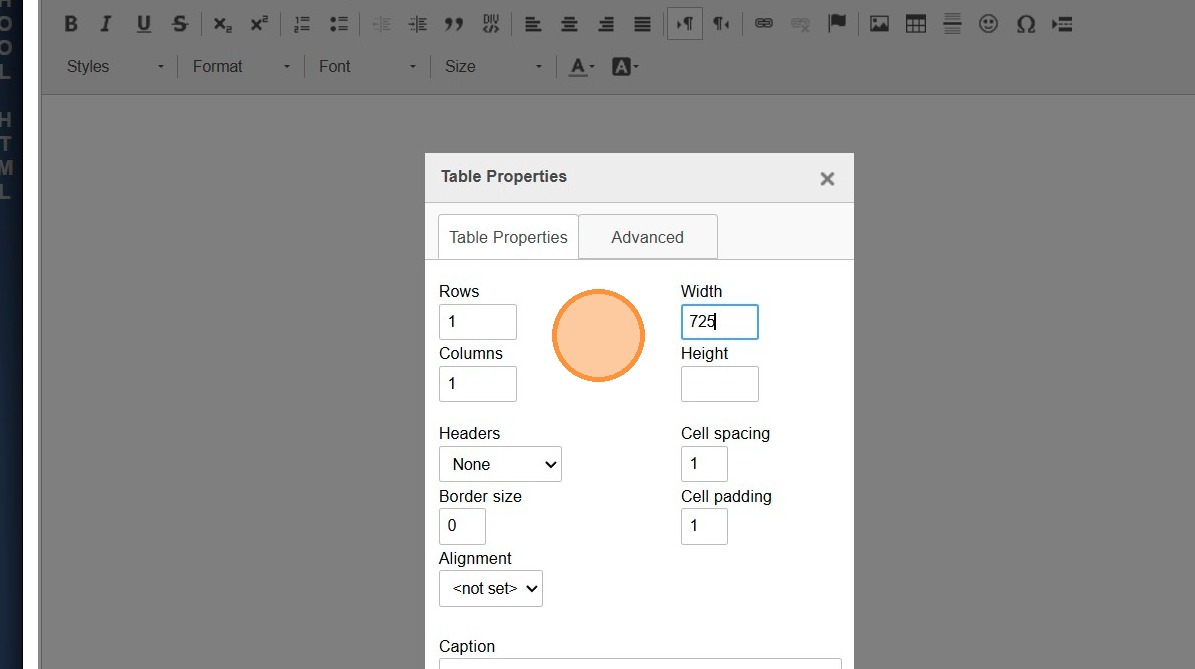
12. Recommended Options:
Rows - 1
Columns - 1
Width - 725 (Using this Width keeps the text inside the Form boundaries)
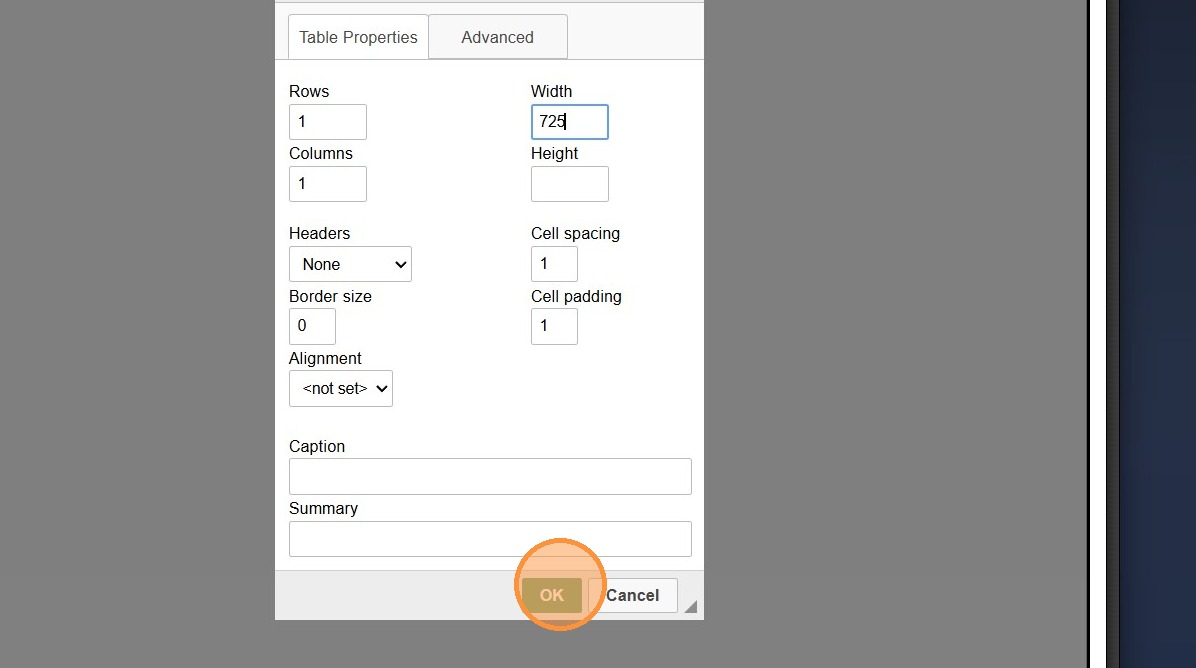
13. Click "OK"
14. Add Verbiage to Textbox
15. Individual Textbox Fields can be Split to Add & Center Logo (Optional)
16. Click "Save & Exit"
1000.6.11
Related Articles
Creating a HTML Form Header with Details
1. Click "Admin" 2. Click "Online Forms" 3. Click "School HTML" 4. Click "Add" 5. Enter Description, Select Folder & Check Build Forms Only Box 6. Click "Save" 7. Click inside the HTML box 8. Click the Table Icon to Add a Table 9. Enter Number of ...Adding Headers to Online Forms
1. Click "Admin" 2. Click "Online Forms" 3. Click "Forms" 4. Select Form to Add Header 5. Click the "Header HTML" Tab 6. Click "Edit" 7. Select Created Form Header from Dropdown to Show on Form 8. Select Created Form Header from Dropdown for Printing ...Adding a Thank You for Submitted Online Forms
1. Click "Admin" 2. Click "Online Forms" 3. Click "Forms" 4. Select Form 5. Click the "Thank You" Tab 6. Click "Edit Thank You" 7. Enter Thank You Email Verbiage 8. Search Merge Data Field to Insert Merge Field (Ex. First Name - ^firstName^) 9. Place ...Creating a Simple HTML Form Header
1. Click "Admin" 2. Click "Online Forms" 3. Click "School HTML" 4. Select "Form Header" 5. Click inside the HTML box 6. Highlight "SCHOOL LOGO HERE" 7. Click "Images" 8. Select Uploaded Logo 9. Enter the School Name, Address, Phone Number & Website ...Viewing Active & Inactive Online Forms
Viewing New Applicant Forms 1. Navigate to Admin > Web Applications > New Applicants 2. Select "All Applicants" from the Dropdown Menu (This will Display All New Applications) Viewing AR Portal Online Forms 3. Navigate to Admin > Web Applications > ...