Adding a Thank You for Submitted Online Forms
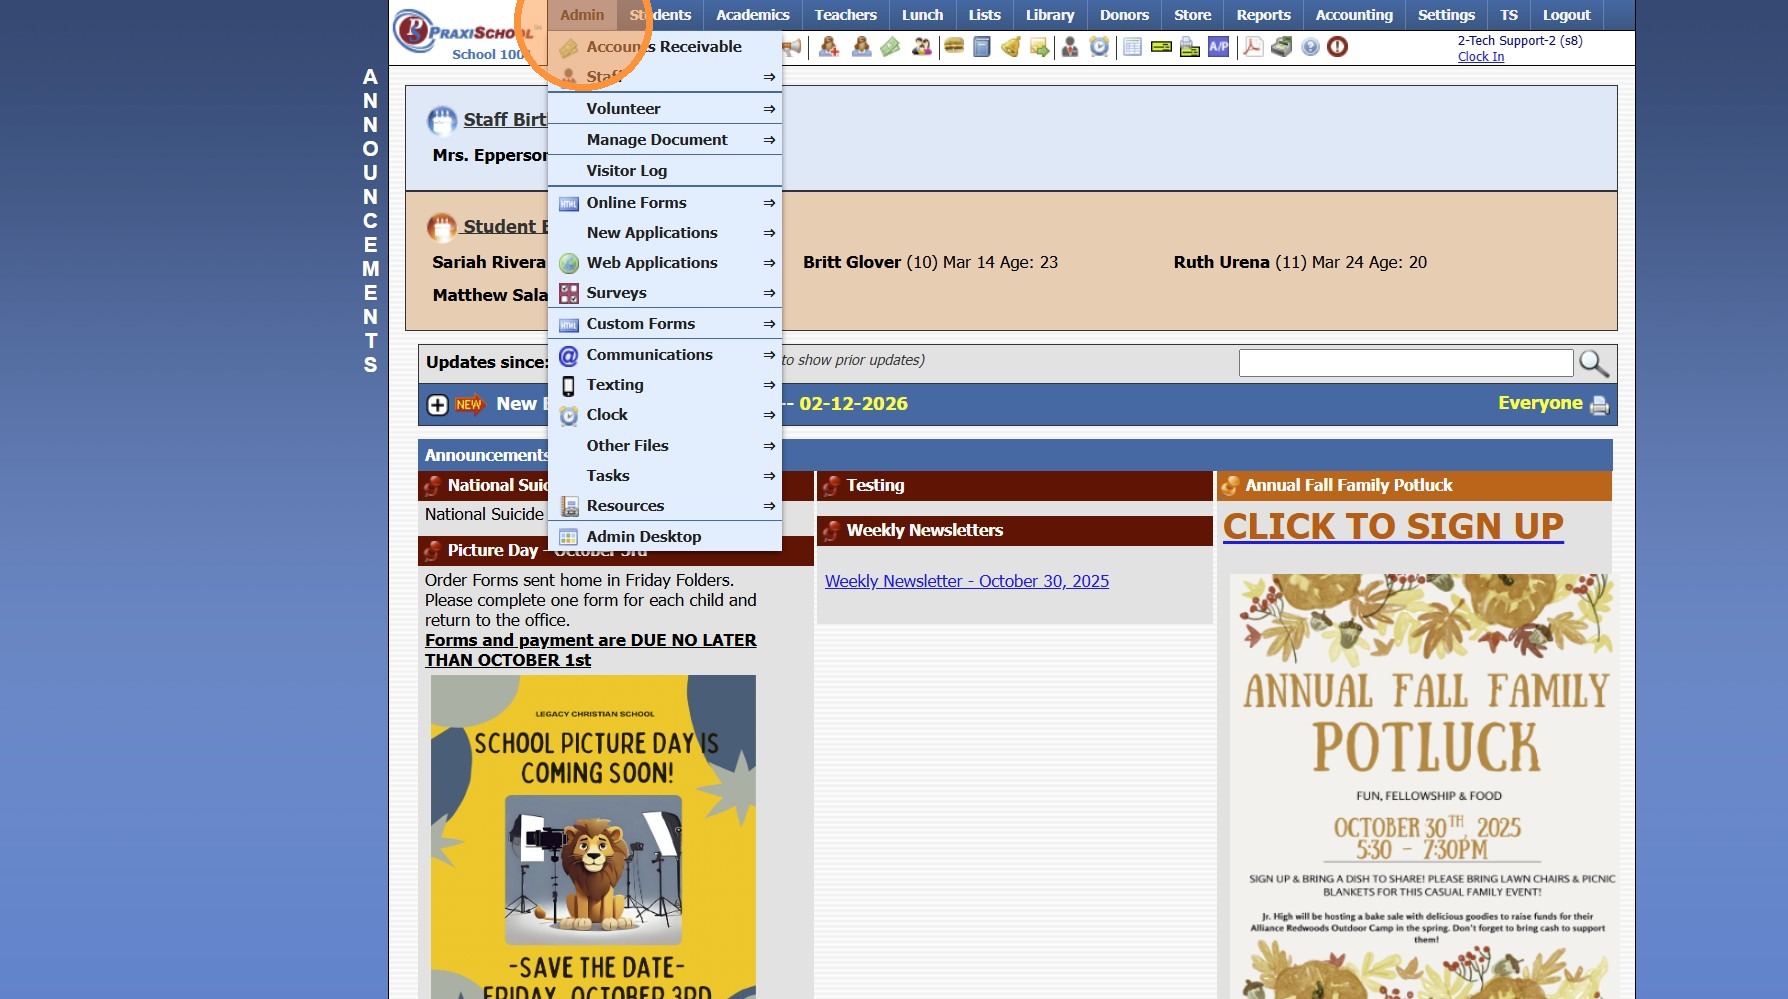
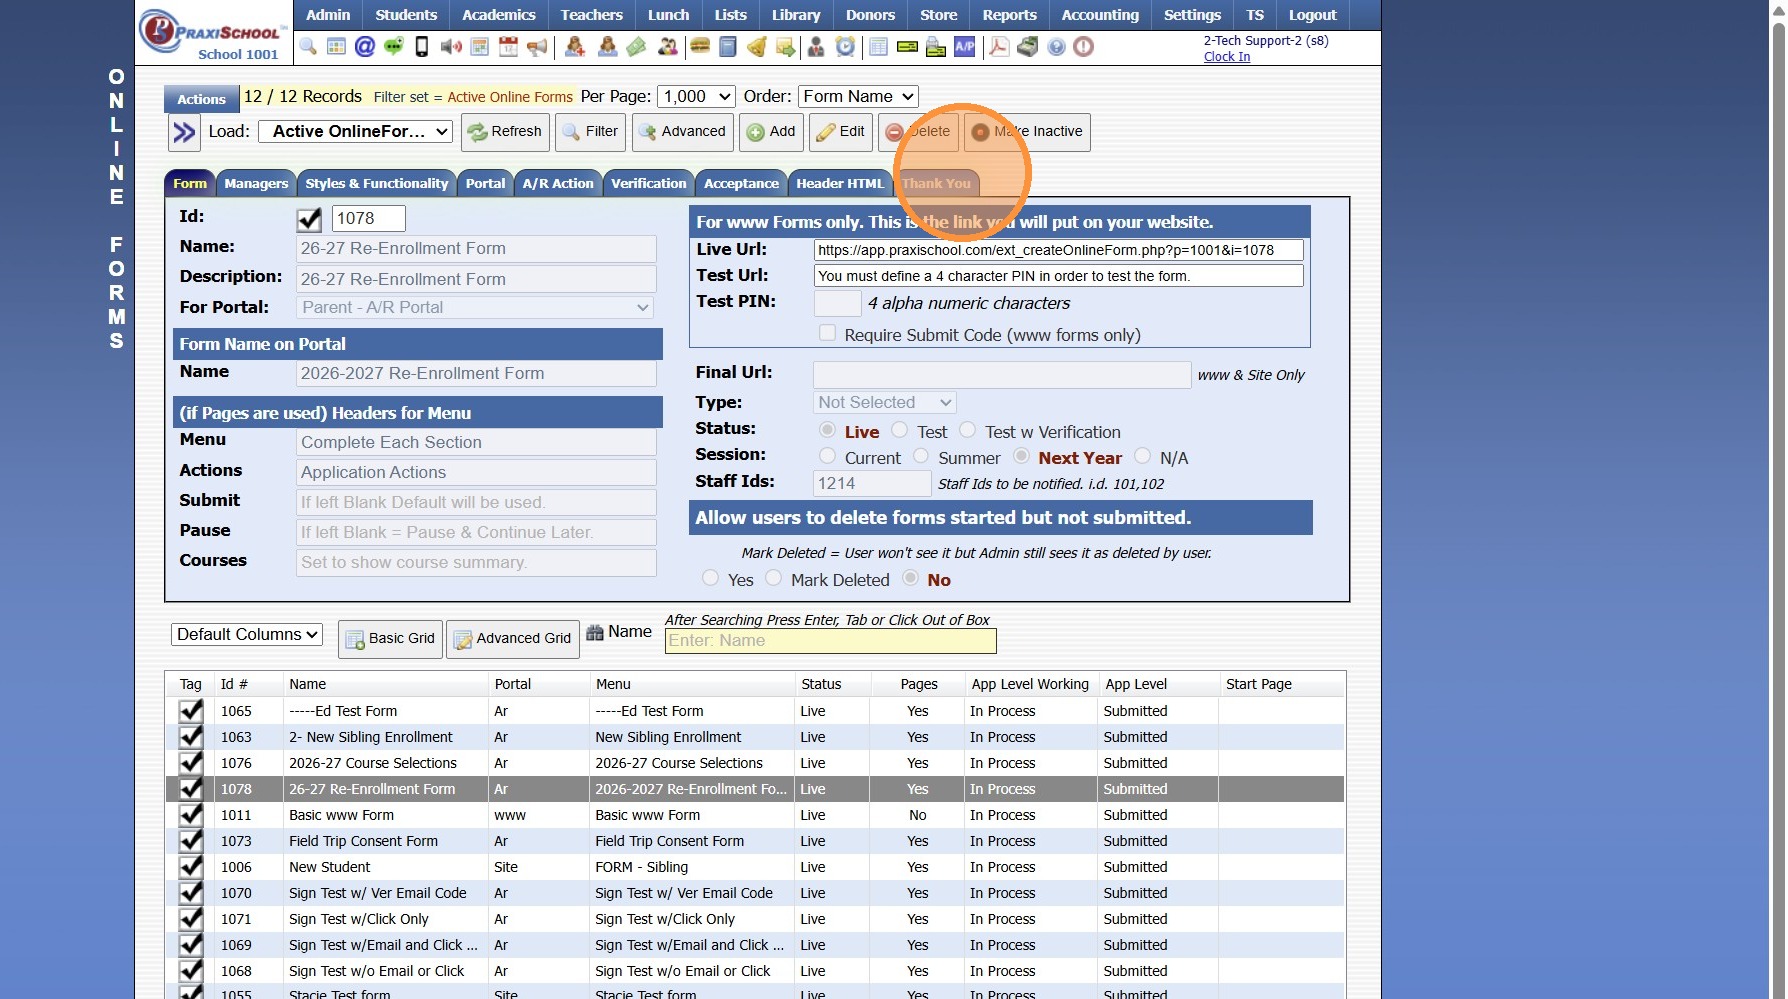
1. Click "Admin"
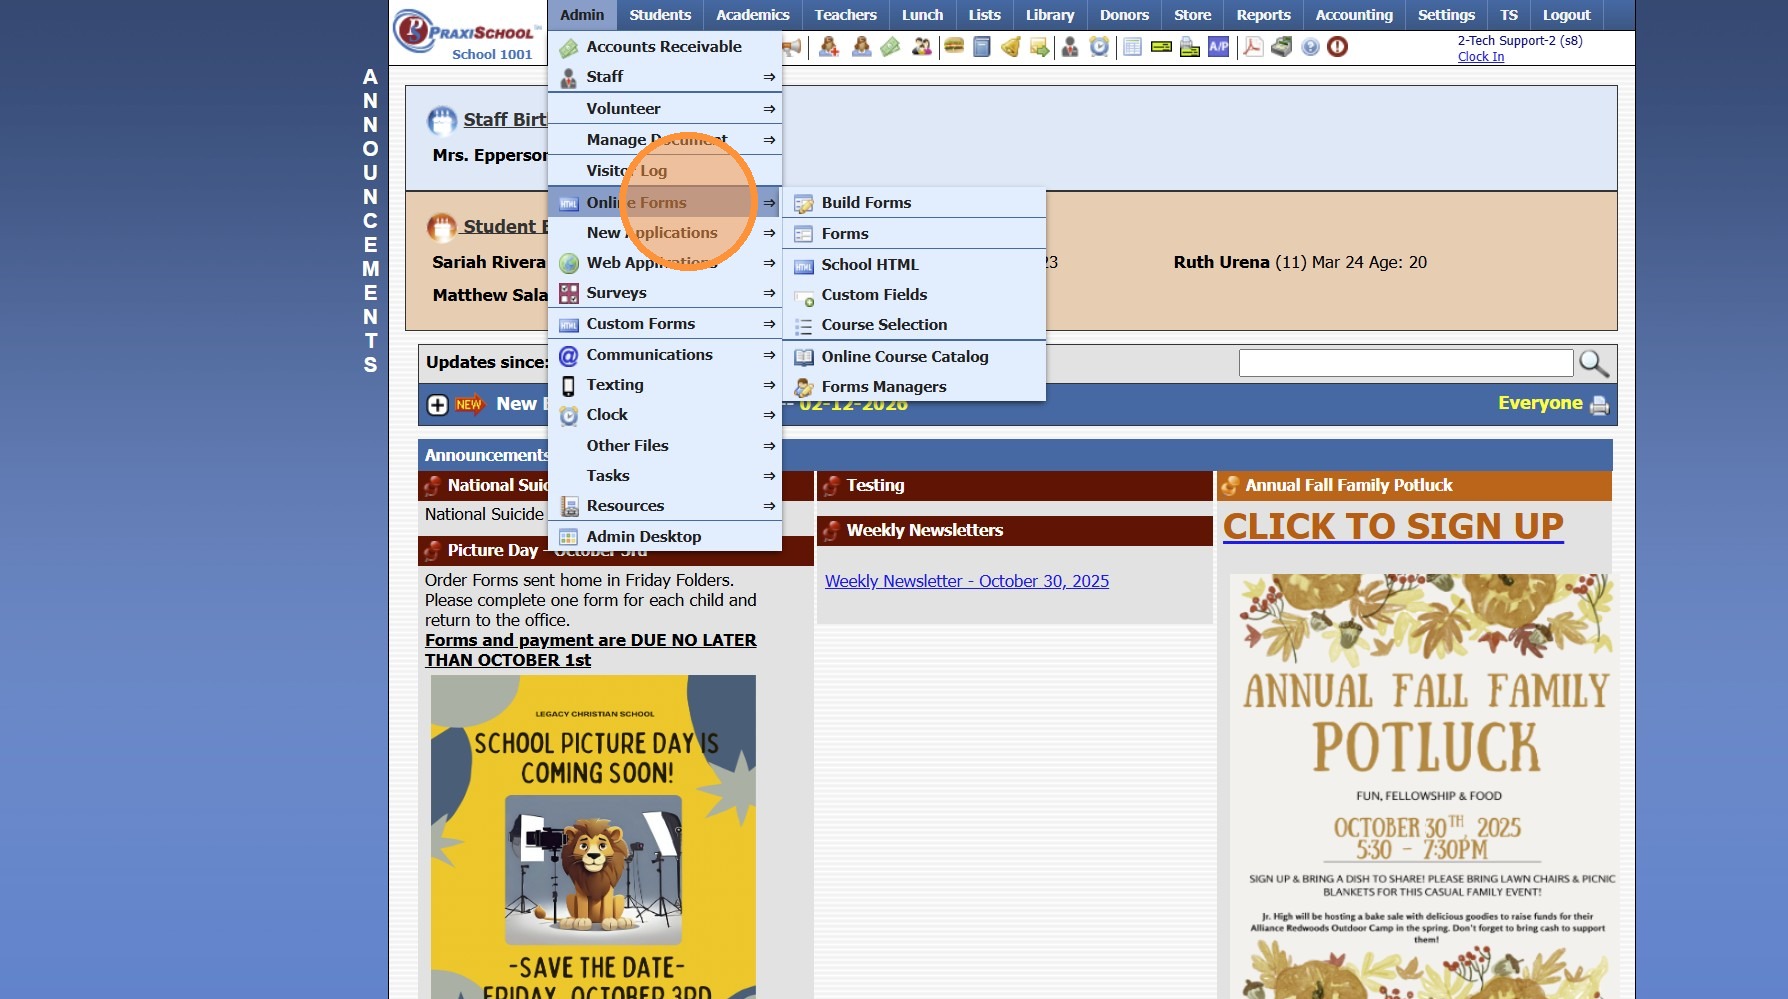
2. Click "Online Forms"
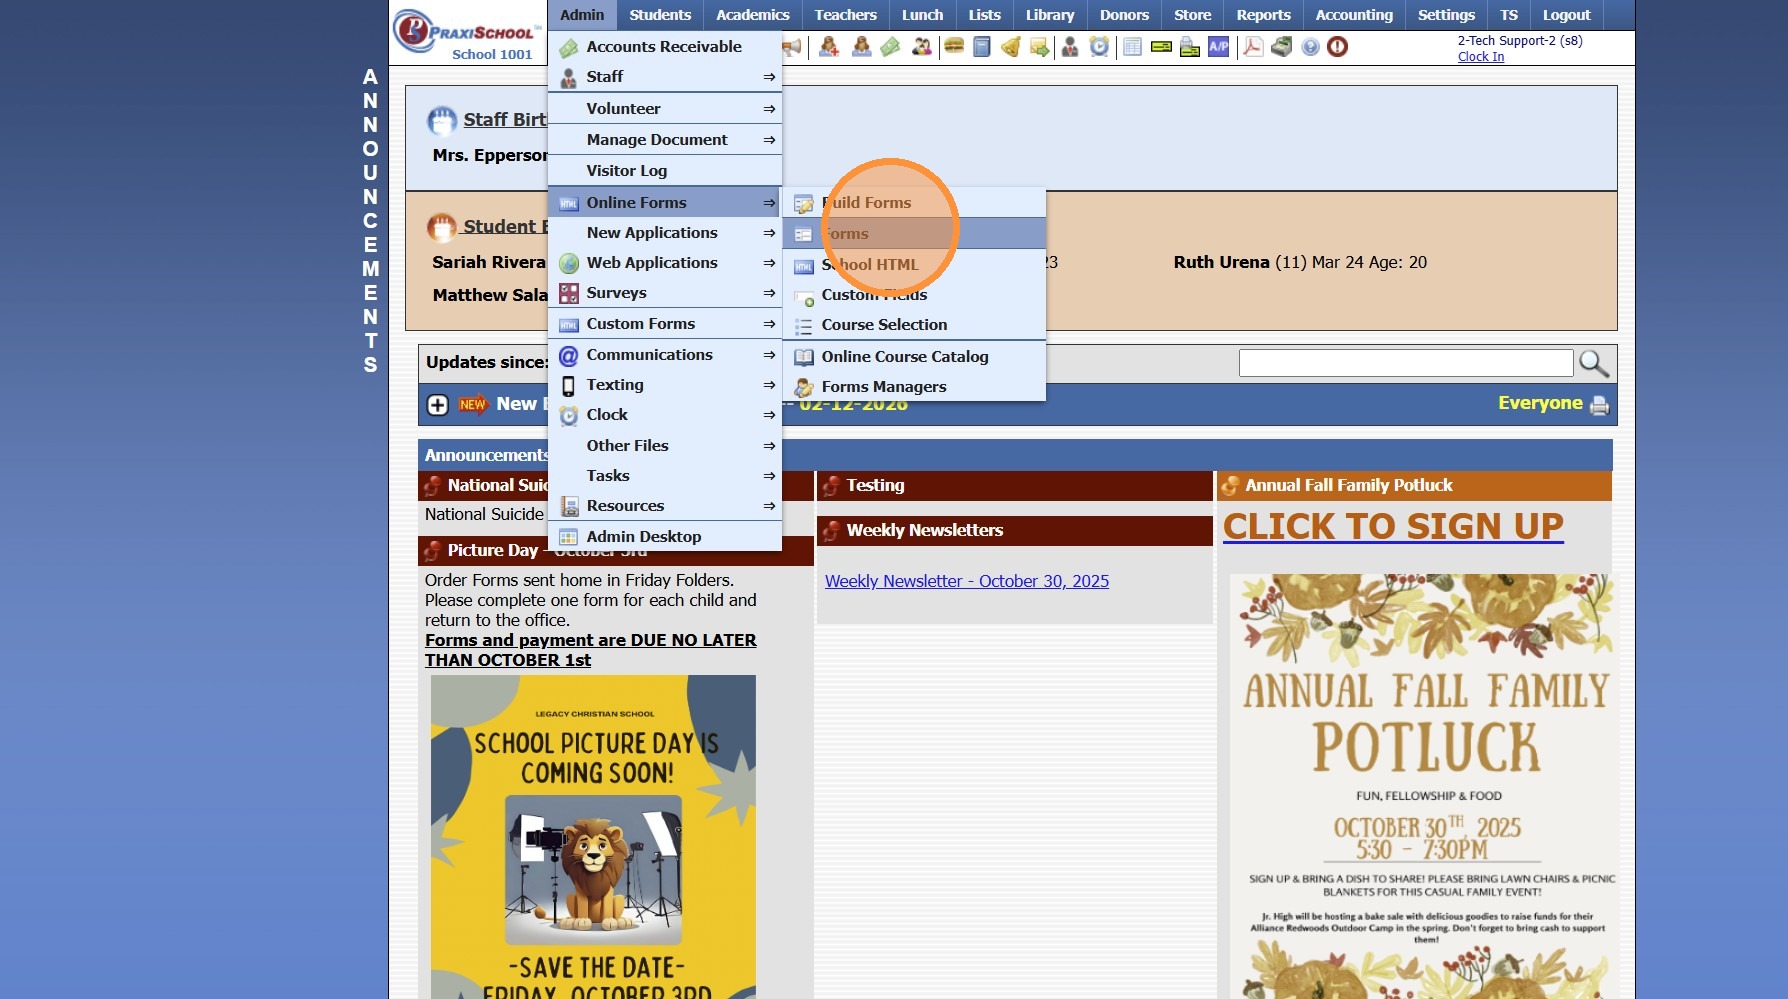
3. Click "Forms"
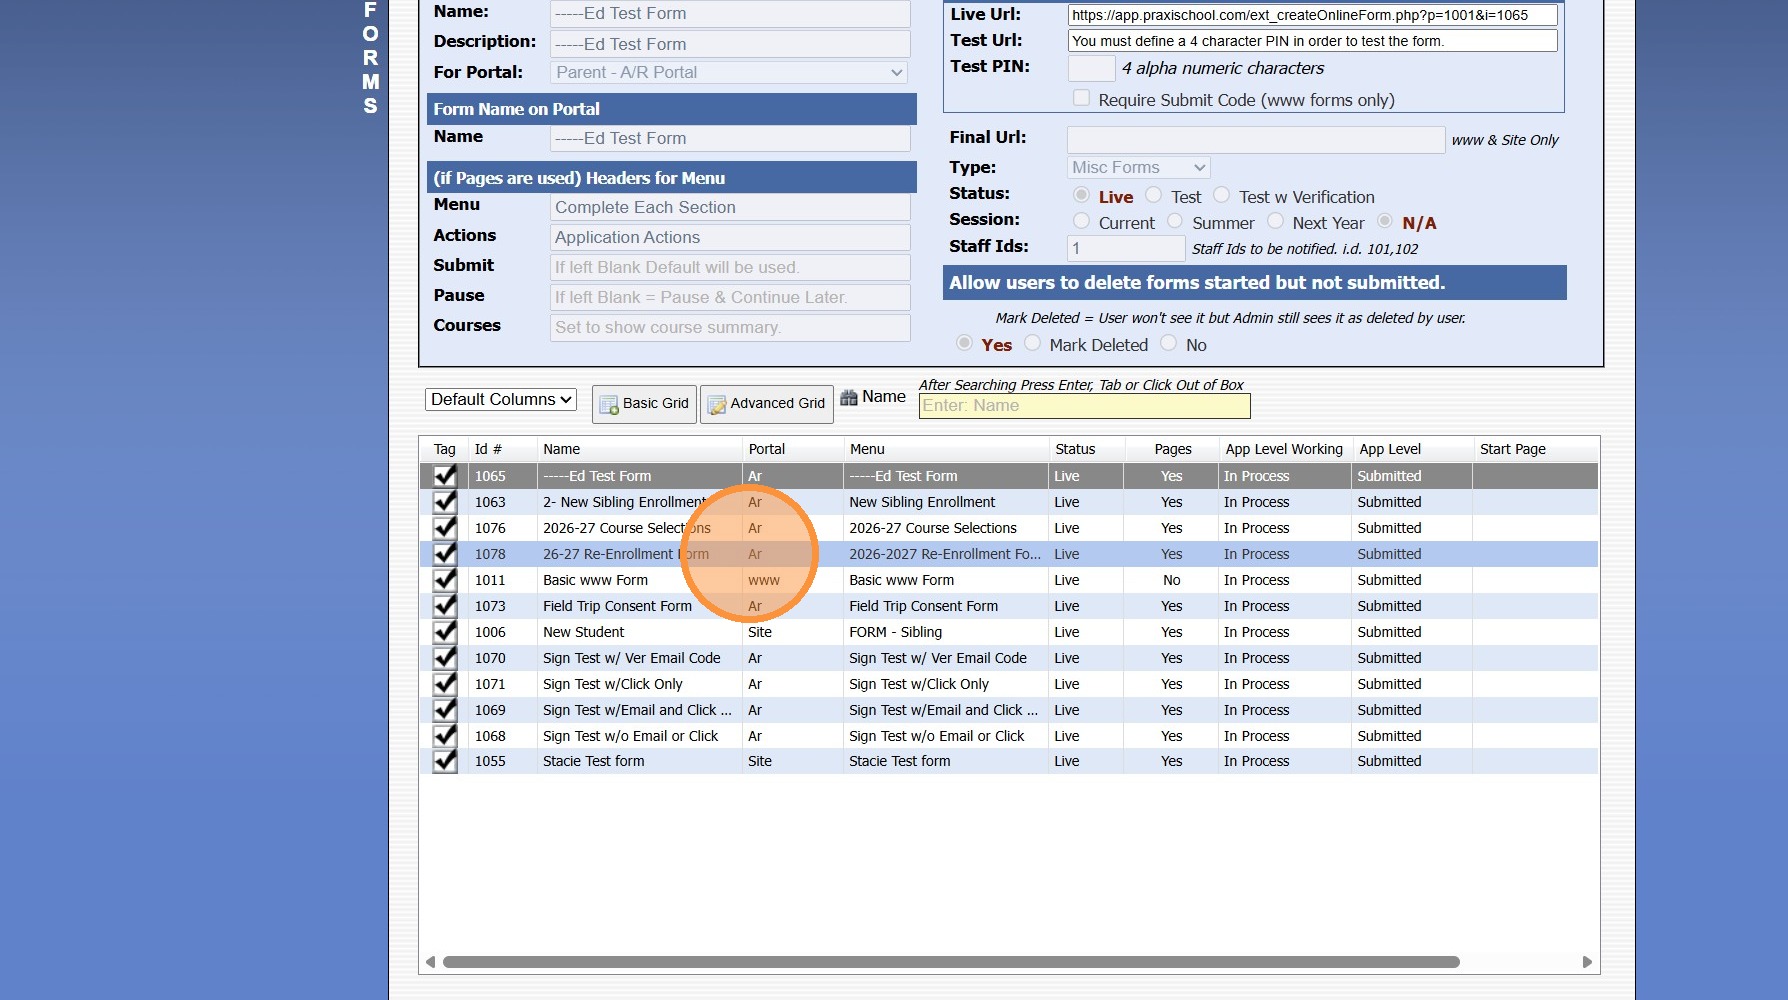
4. Select Form
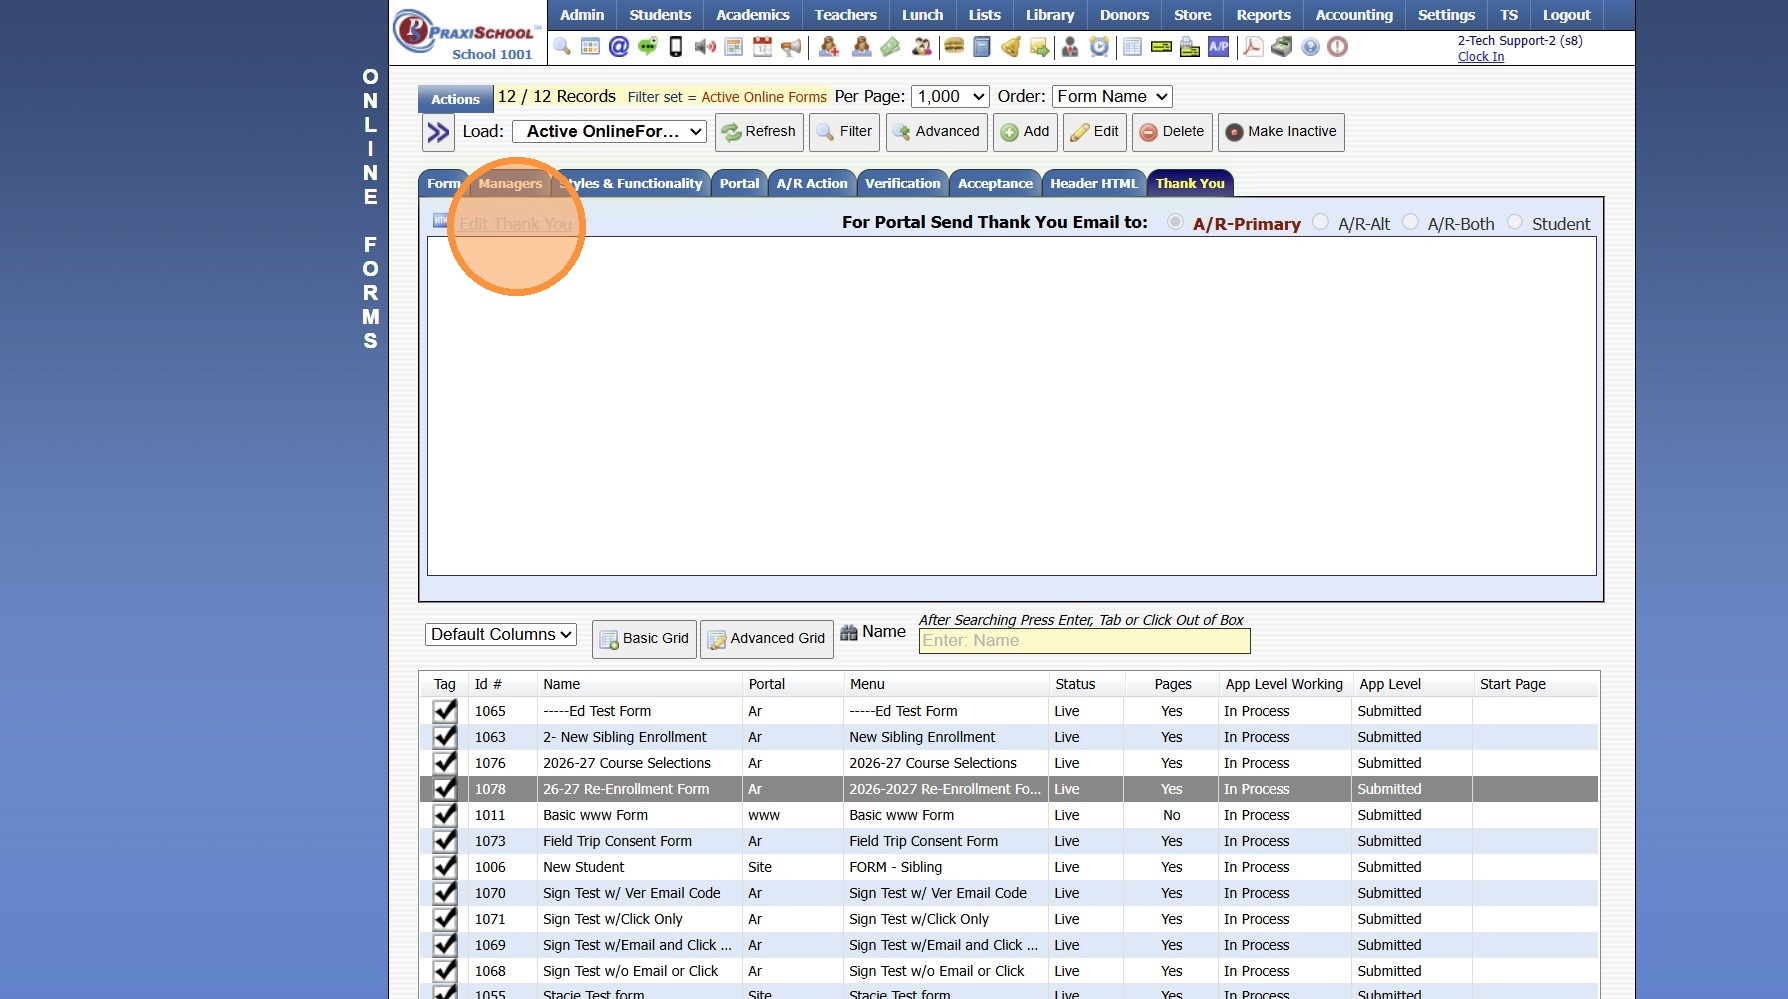
5. Click the "Thank You" Tab
6. Click "Edit Thank You"
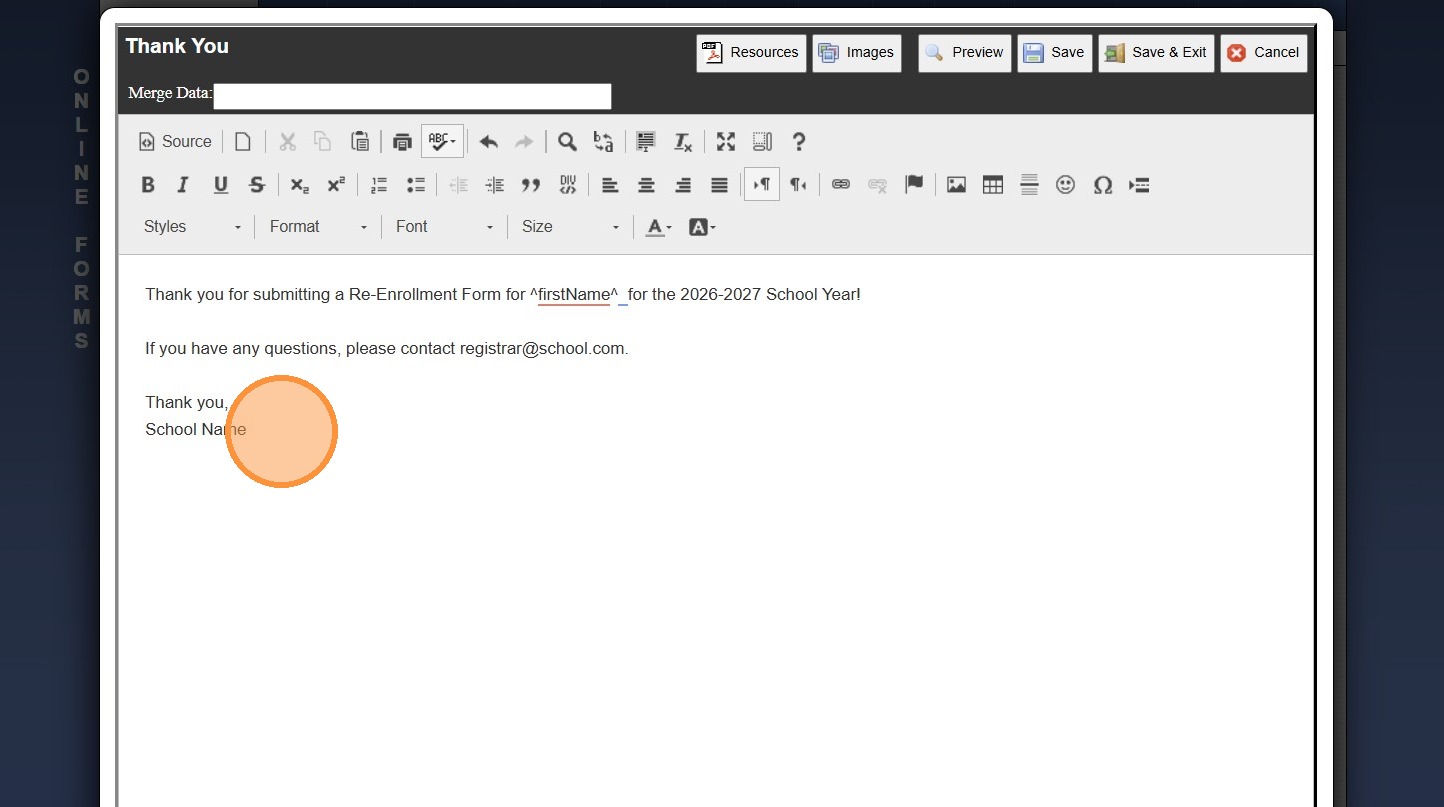
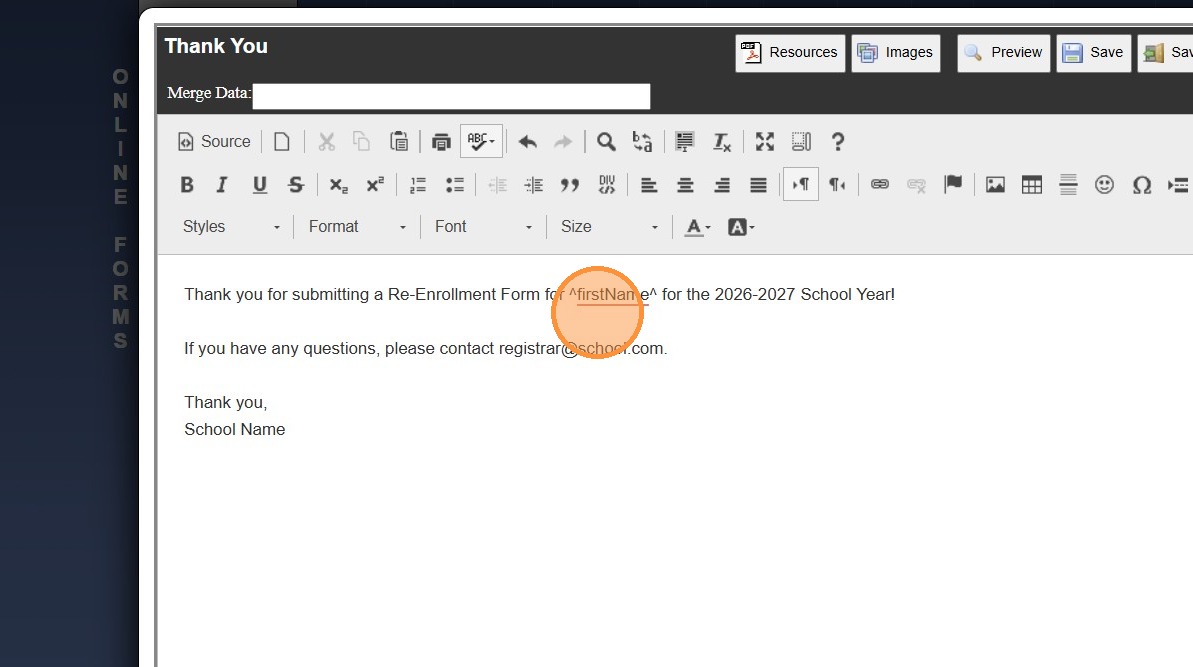
7. Enter Thank You Email Verbiage
8. Search Merge Data Field to Insert Merge Field
(Ex. First Name - ^firstName^)
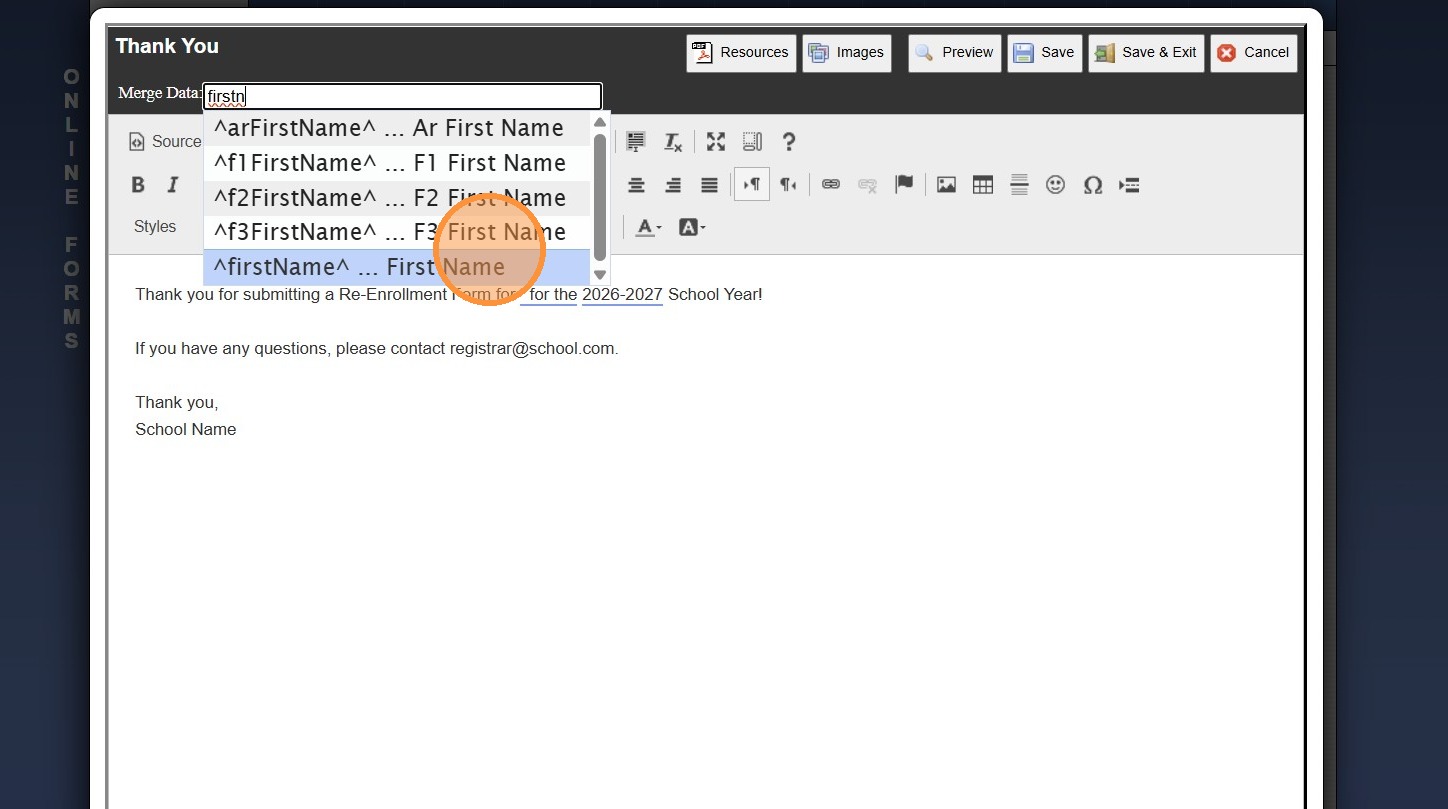
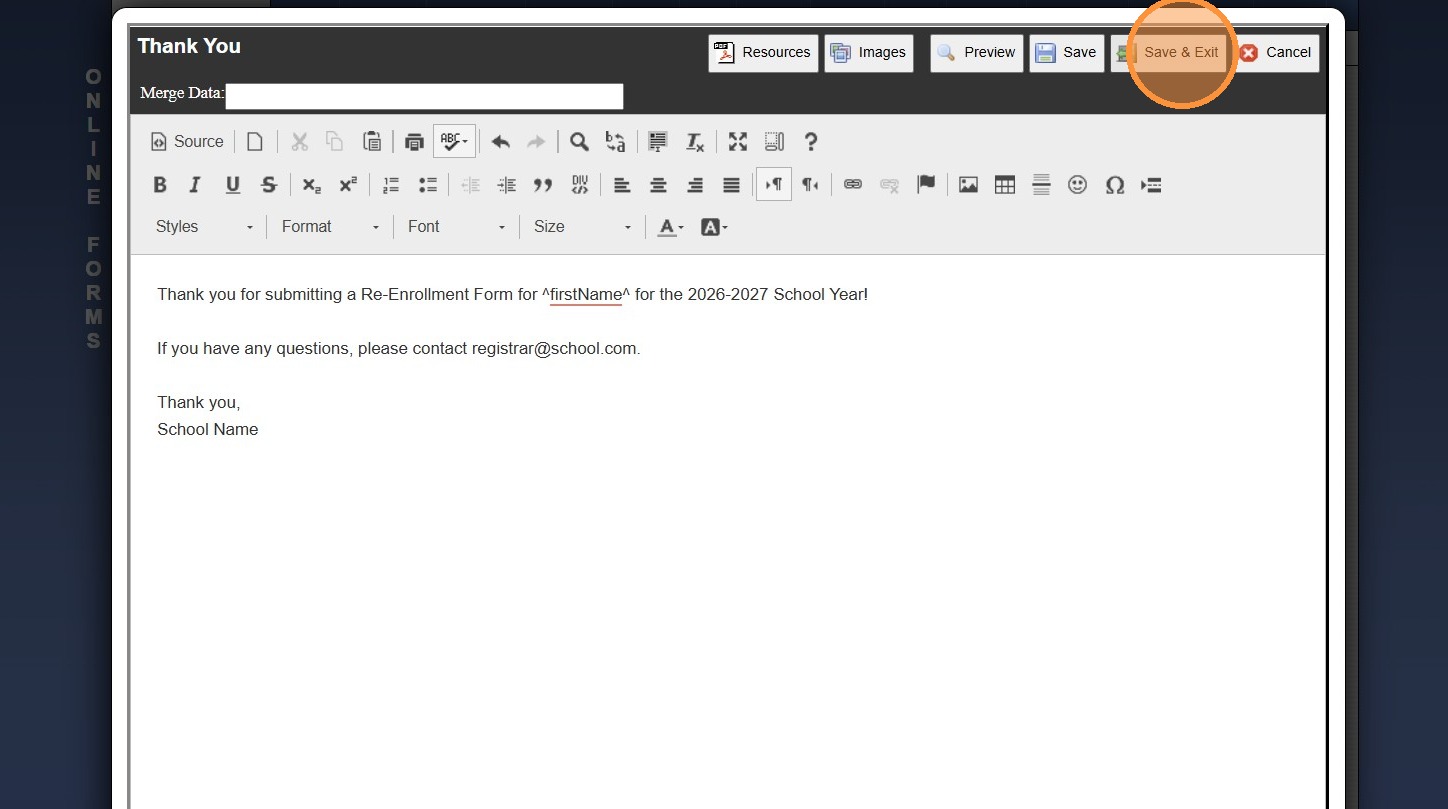
9. Place Cursor where the Merge Data Field Should be Added
10. Click "Save & Exit"
1000.6.9
Related Articles
Adding Headers to Online Forms
1. Click "Admin" 2. Click "Online Forms" 3. Click "Forms" 4. Select Form to Add Header 5. Click the "Header HTML" Tab 6. Click "Edit" 7. Select Created Form Header from Dropdown to Show on Form 8. Select Created Form Header from Dropdown for Printing ...Viewing Active & Inactive Online Forms
Viewing New Applicant Forms 1. Navigate to Admin > Web Applications > New Applicants 2. Select "All Applicants" from the Dropdown Menu (This will Display All New Applications) Viewing AR Portal Online Forms 3. Navigate to Admin > Web Applications > ...Adding School HTML for Online Forms
1. Click "Admin" 2. Click "Online Forms" 3. Click "School HTML" 4. Click "Add" 5. Enter Description 6. Select a Folder or Click the Blue Bar & Add a New Folder 7. Check the Build Forms Only Box (If this box is NOT checked, the HTML will not be ...Why are Dates not Populating on Submitted Forms?
Tip: The 2 Most Common Reasons Dates are not Populating on Submitted Forms are: Set Default Value is Checked for Field in Build Forms OR Date was not Entered in Correct Format. See Instructions Below. 1. Click "Admin", "Web Applicants" & Select New ...Mark Student Forms Received / Adding a Comment
Mark Student Forms Received / Adding a Comment 1. Click "Students" 2. Click "Students" 3. Select Student & Click "Forms" tab Mark Received 4. Select Received Form 5. Click "Mark Received" Edit / Add Comment 6. Select Submitted Form 7. Click "Edit" 8. ...