Uploading Student Documents
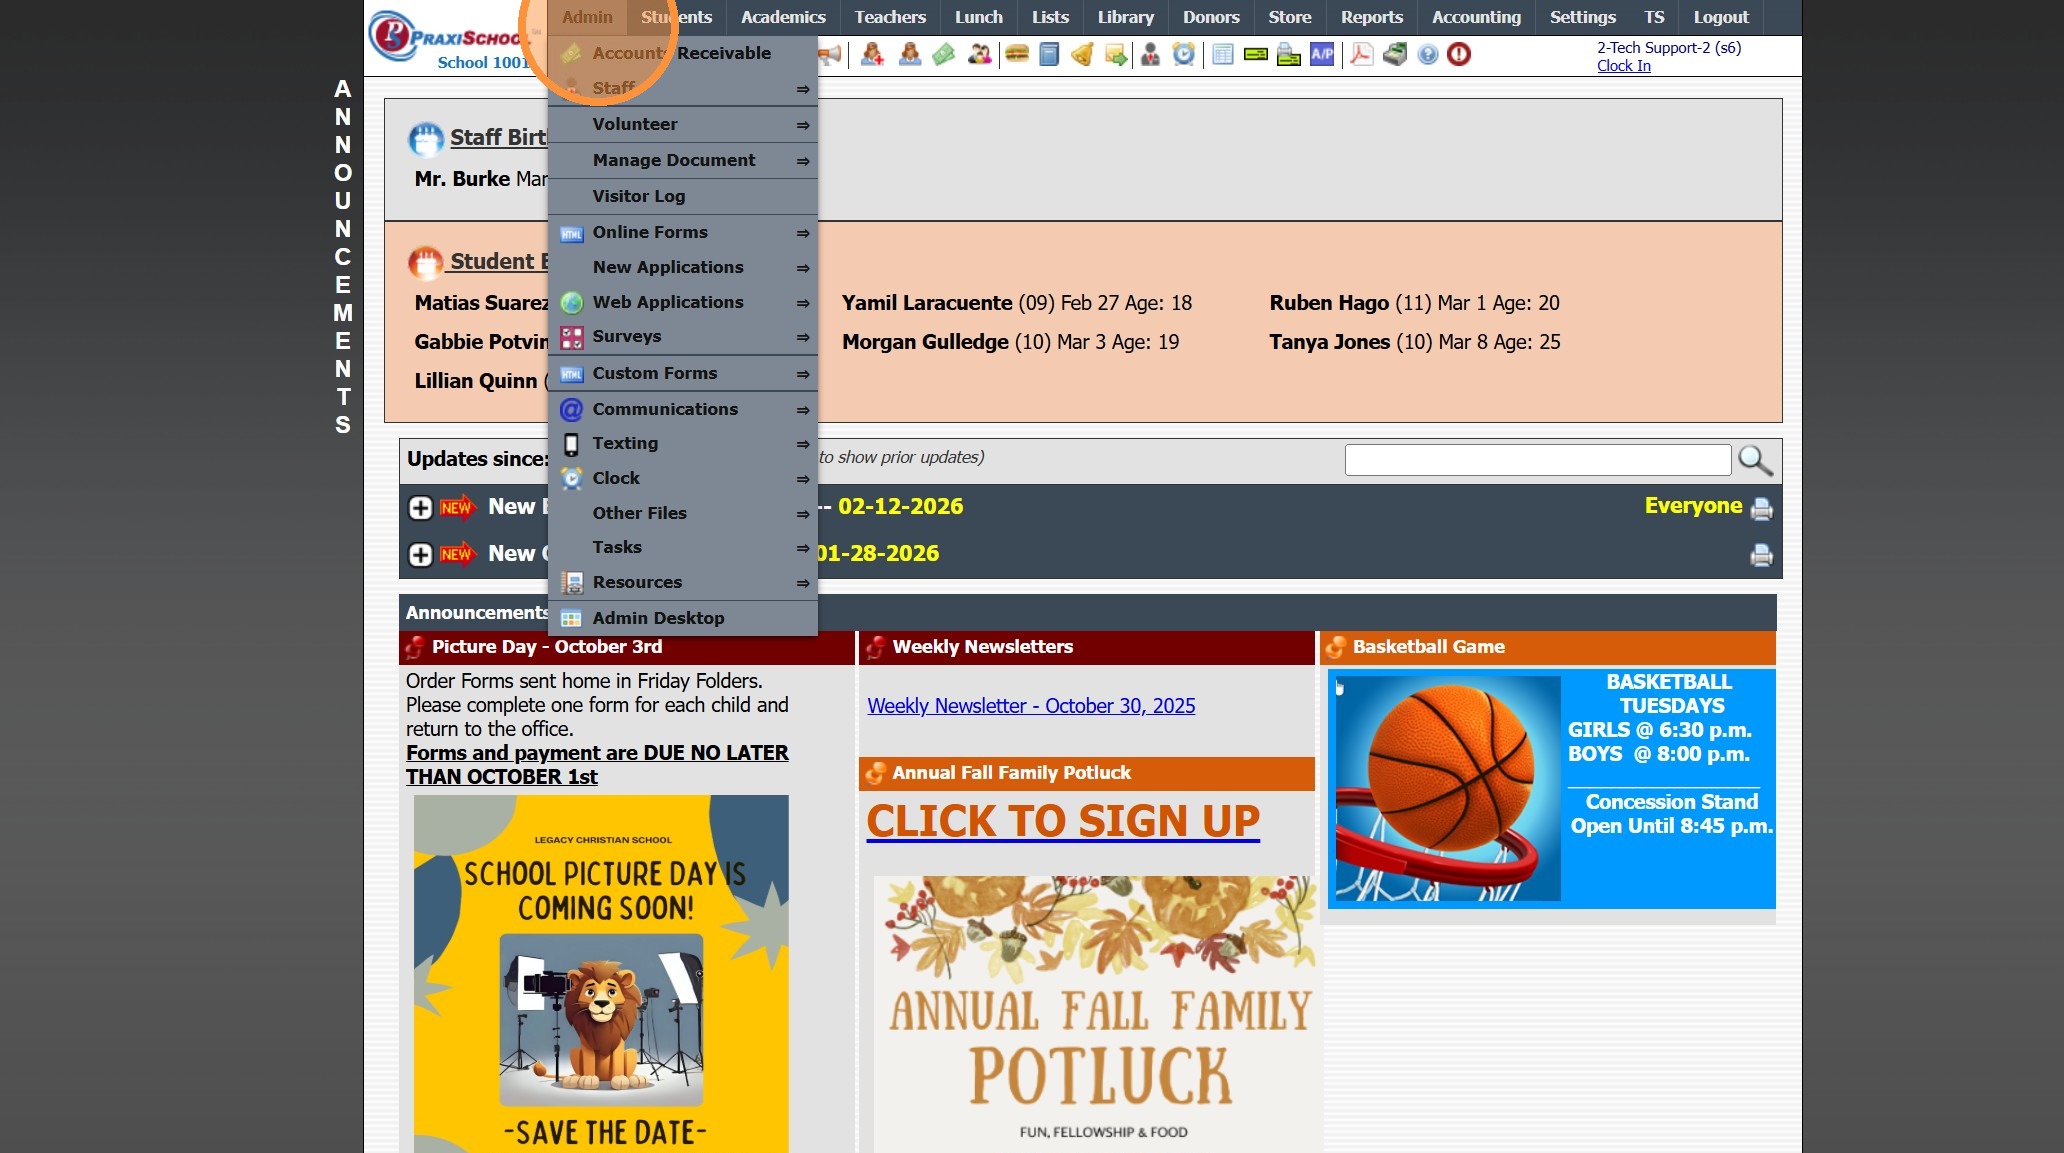
1. Click "Admin"
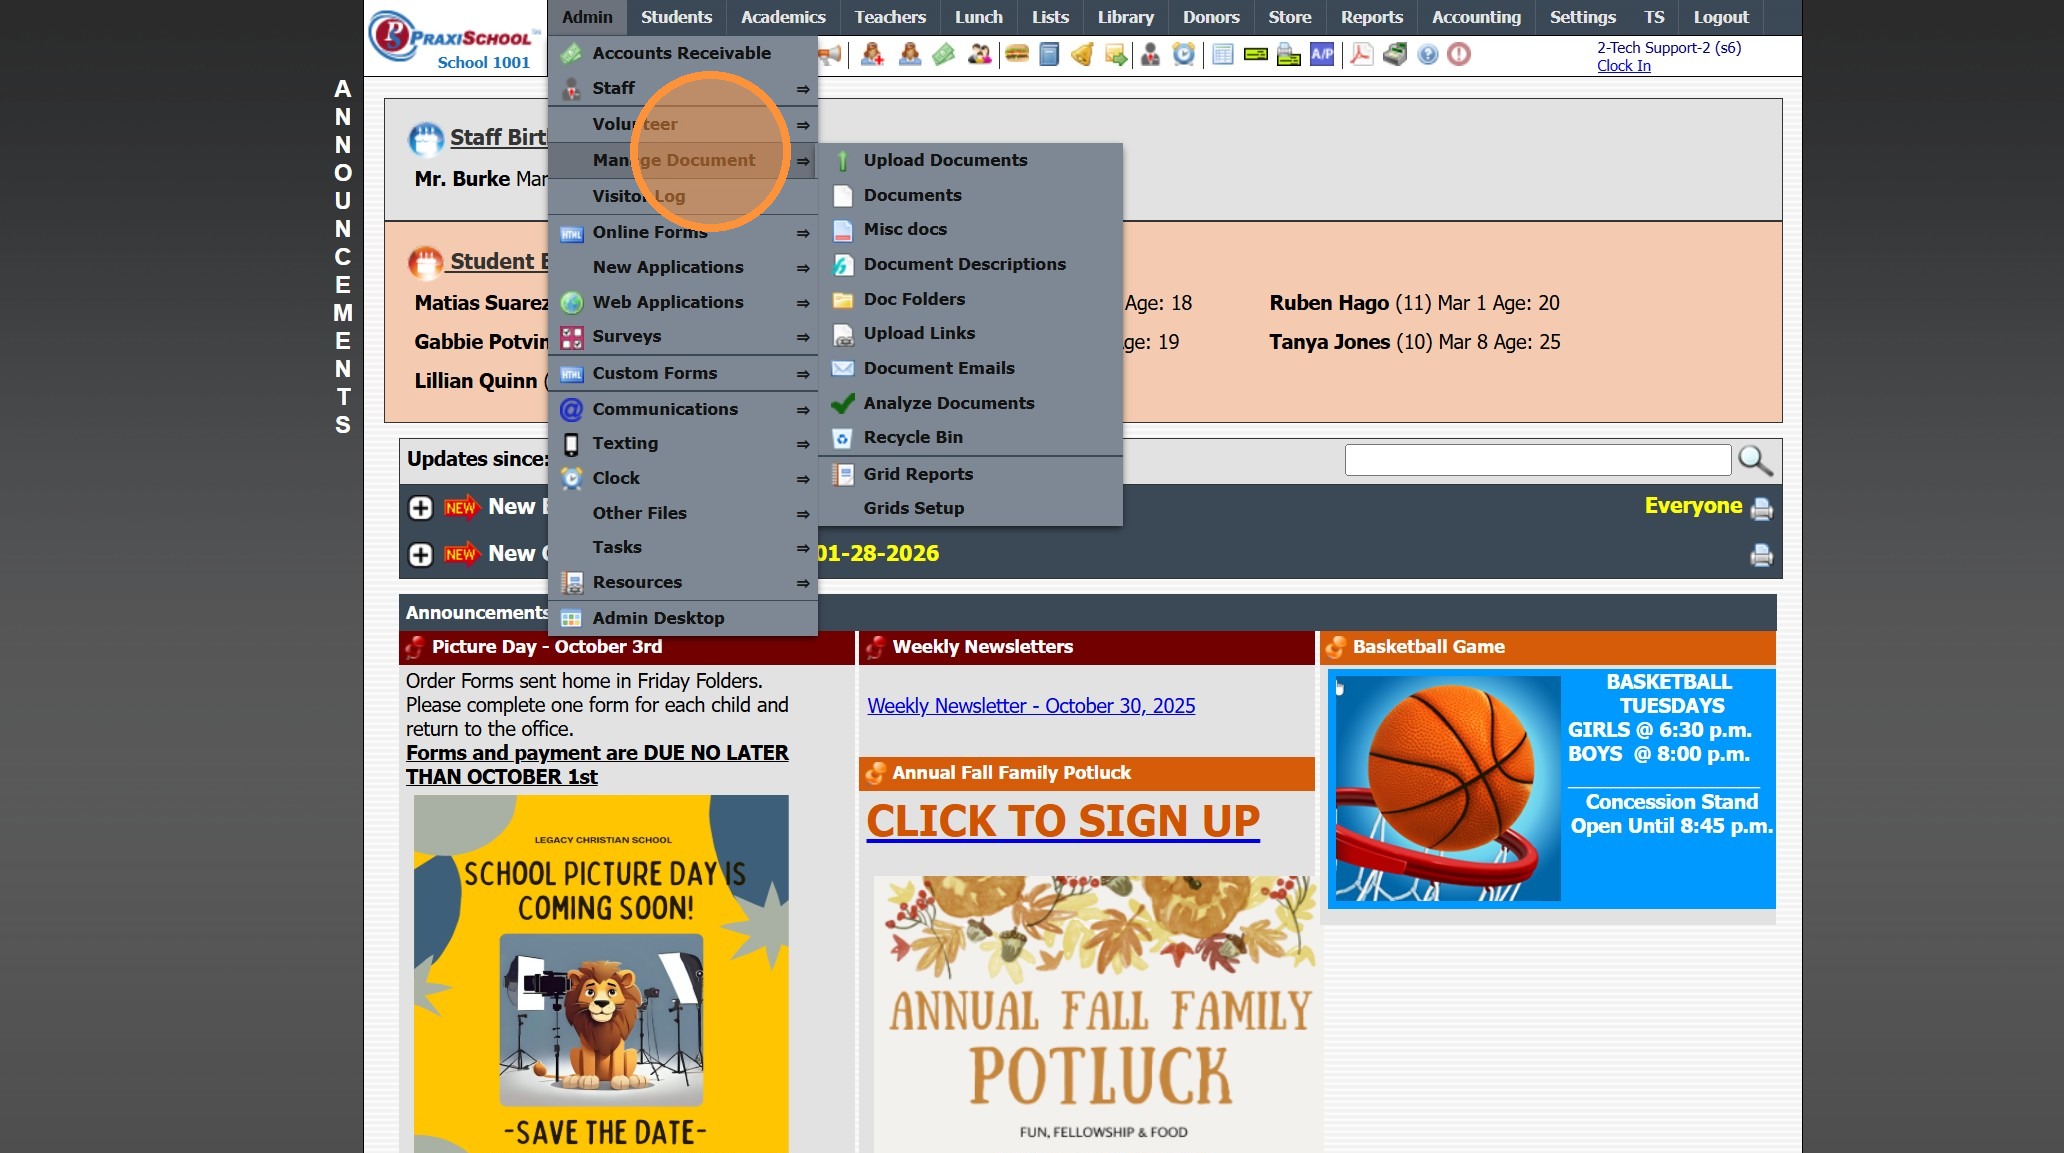
2. Click "Manage Document"
3. Click "Upload Documents"

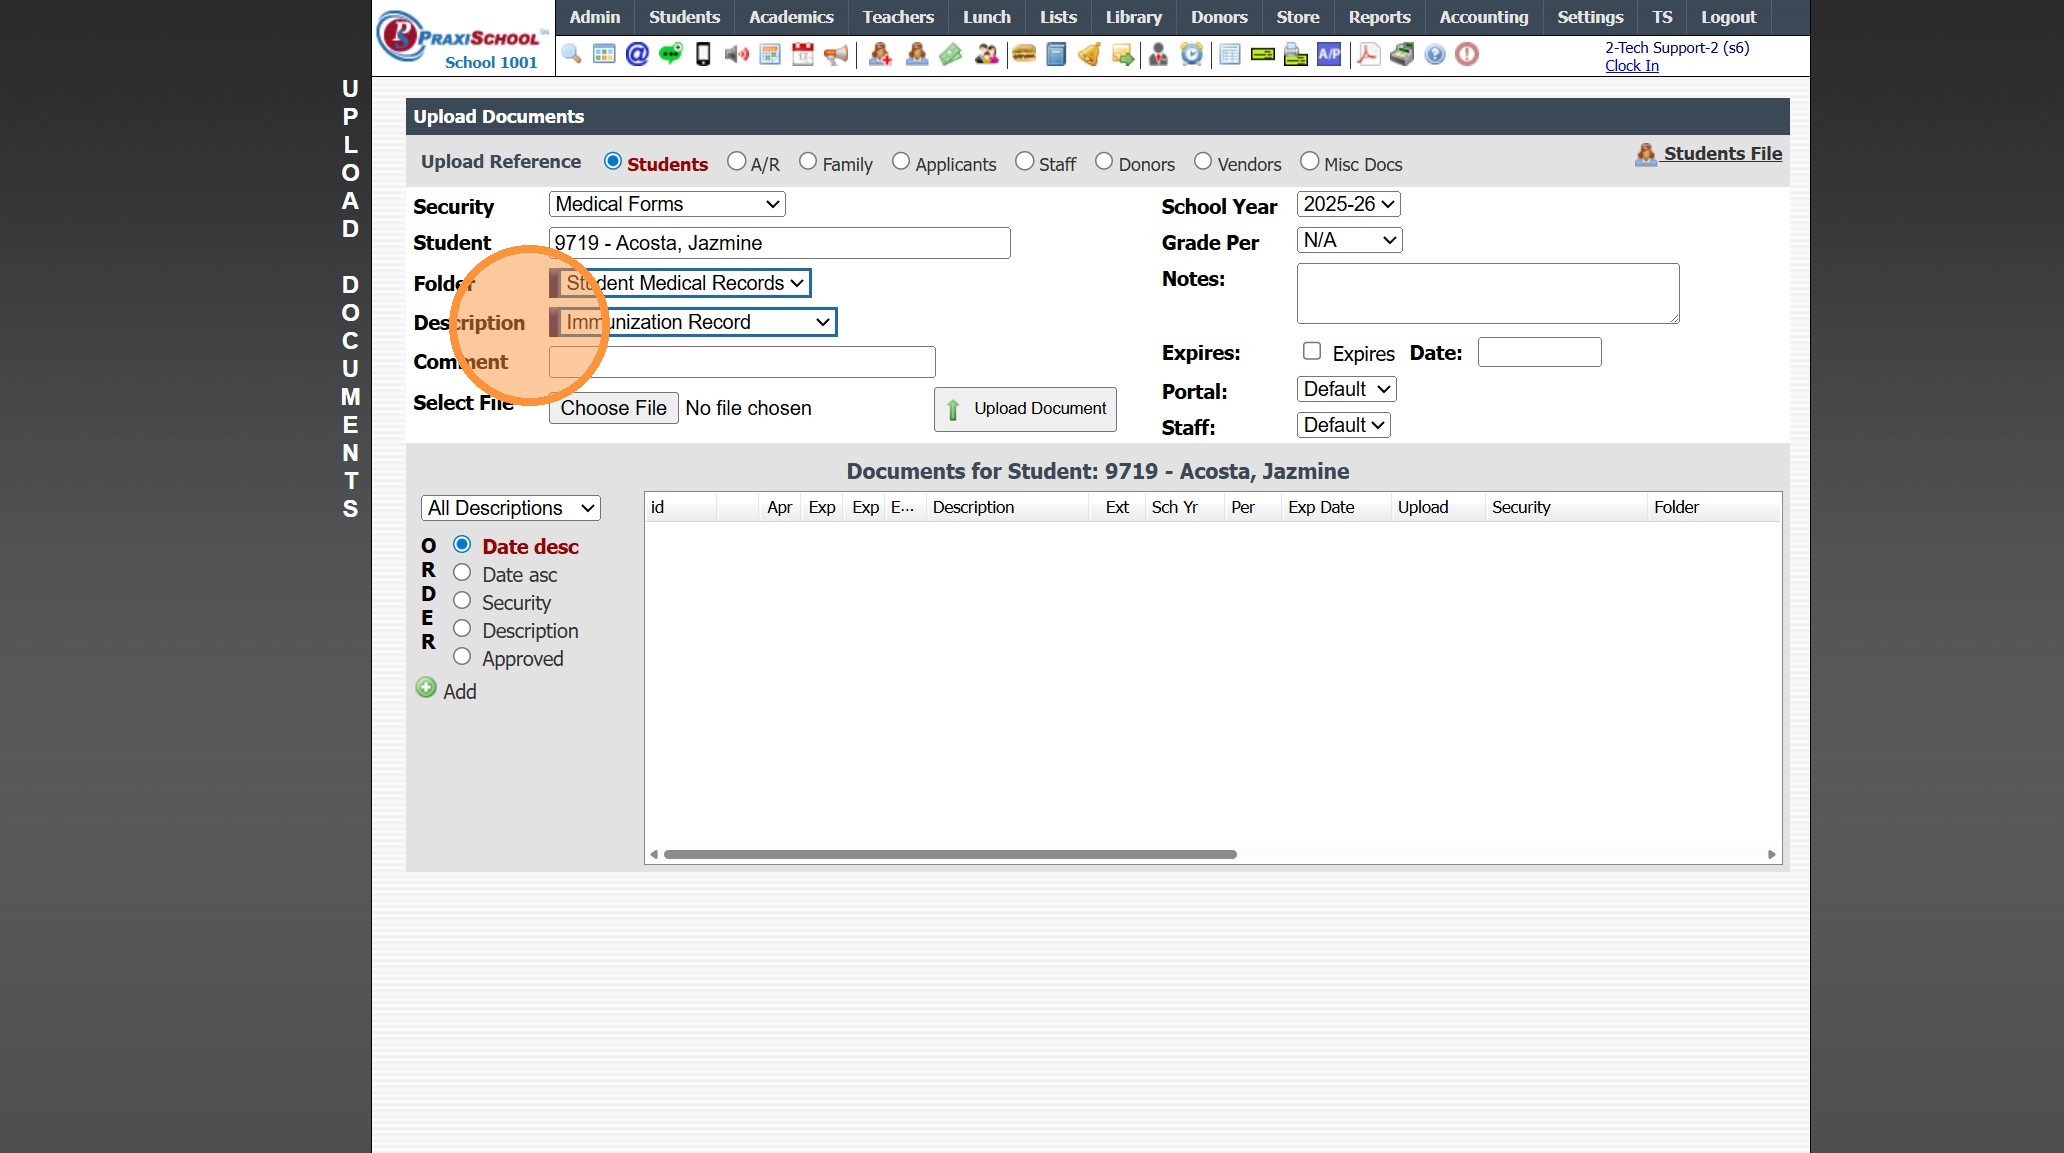
4. Select the "Security"
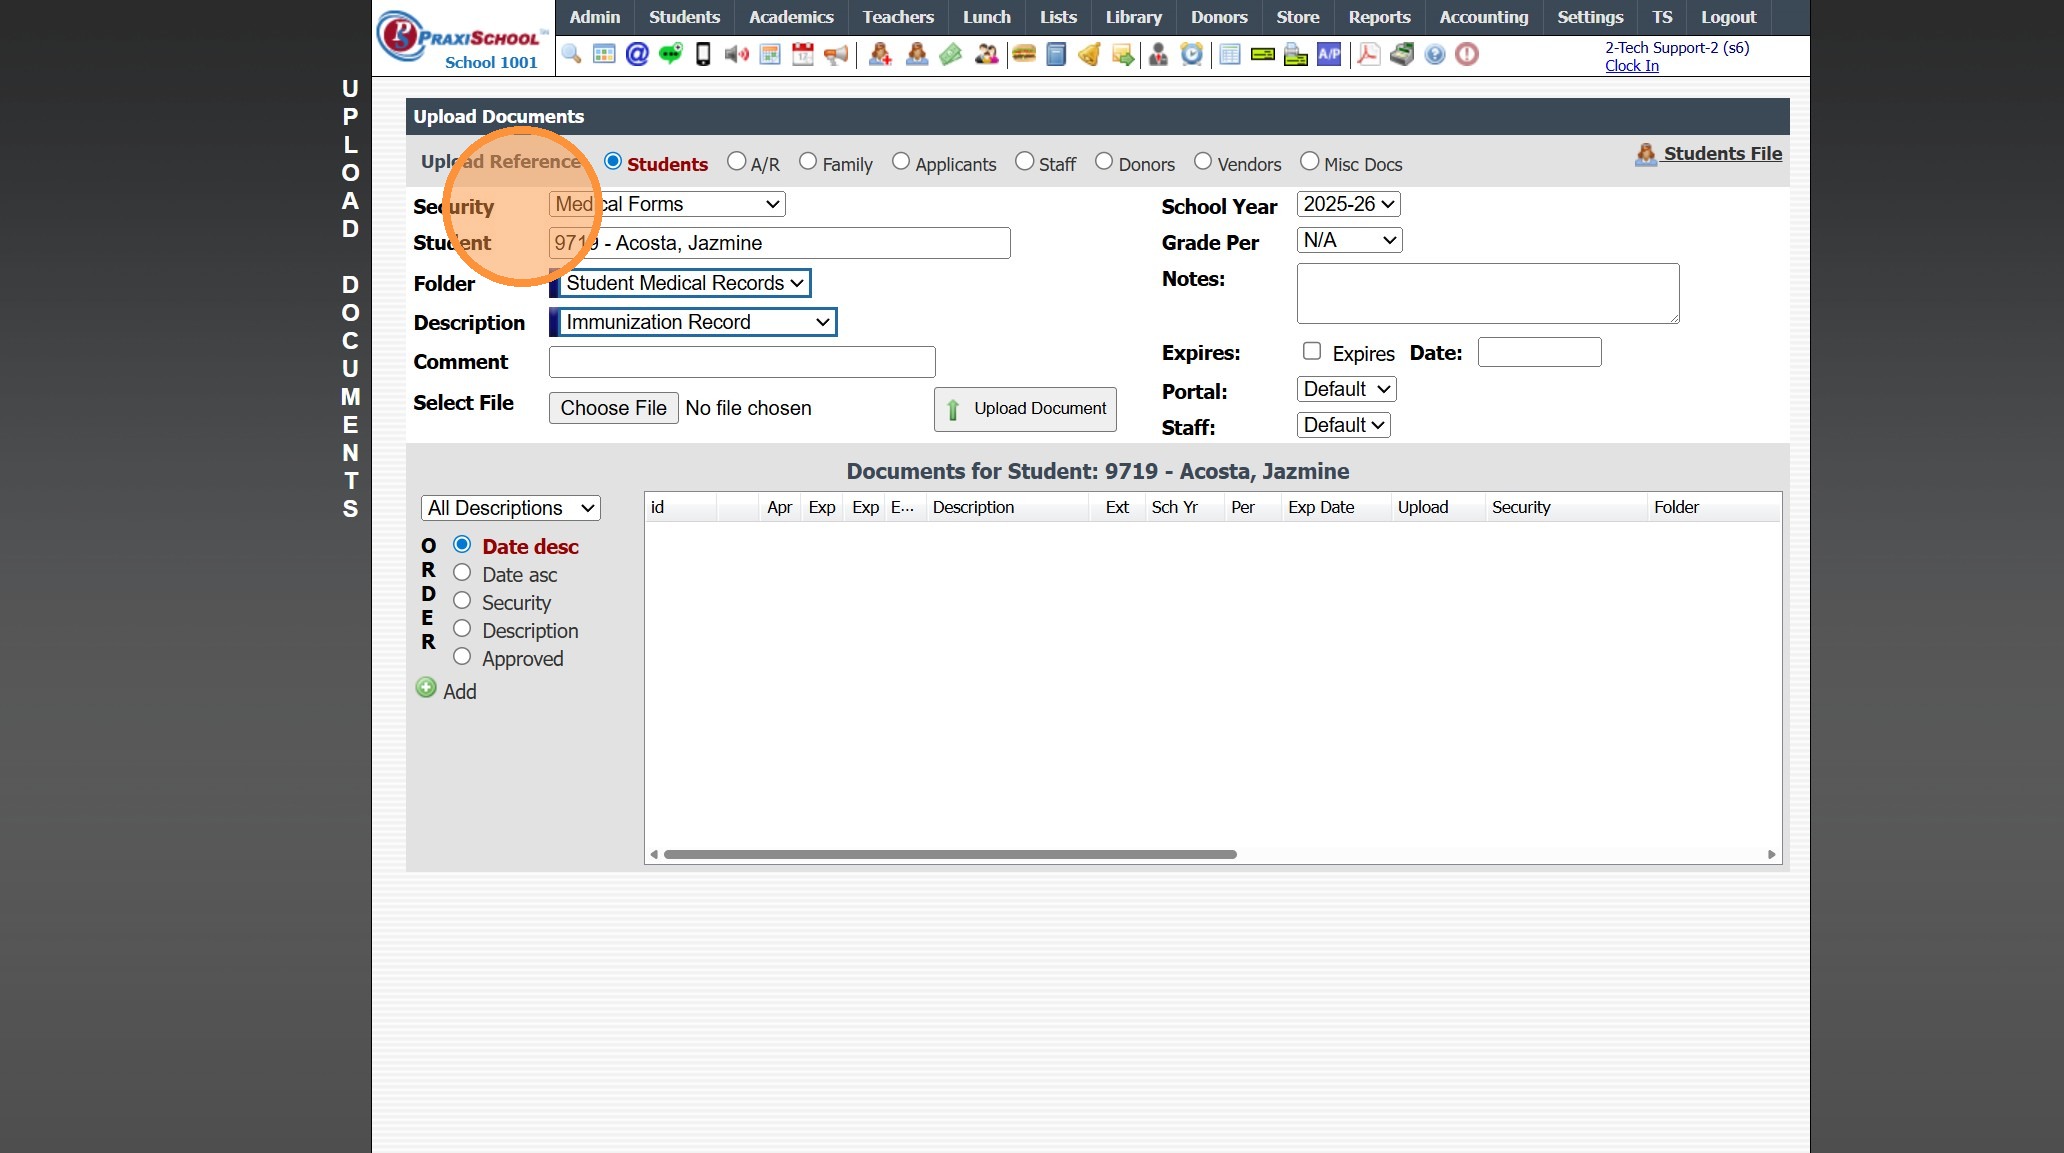
5. Select the "Student"
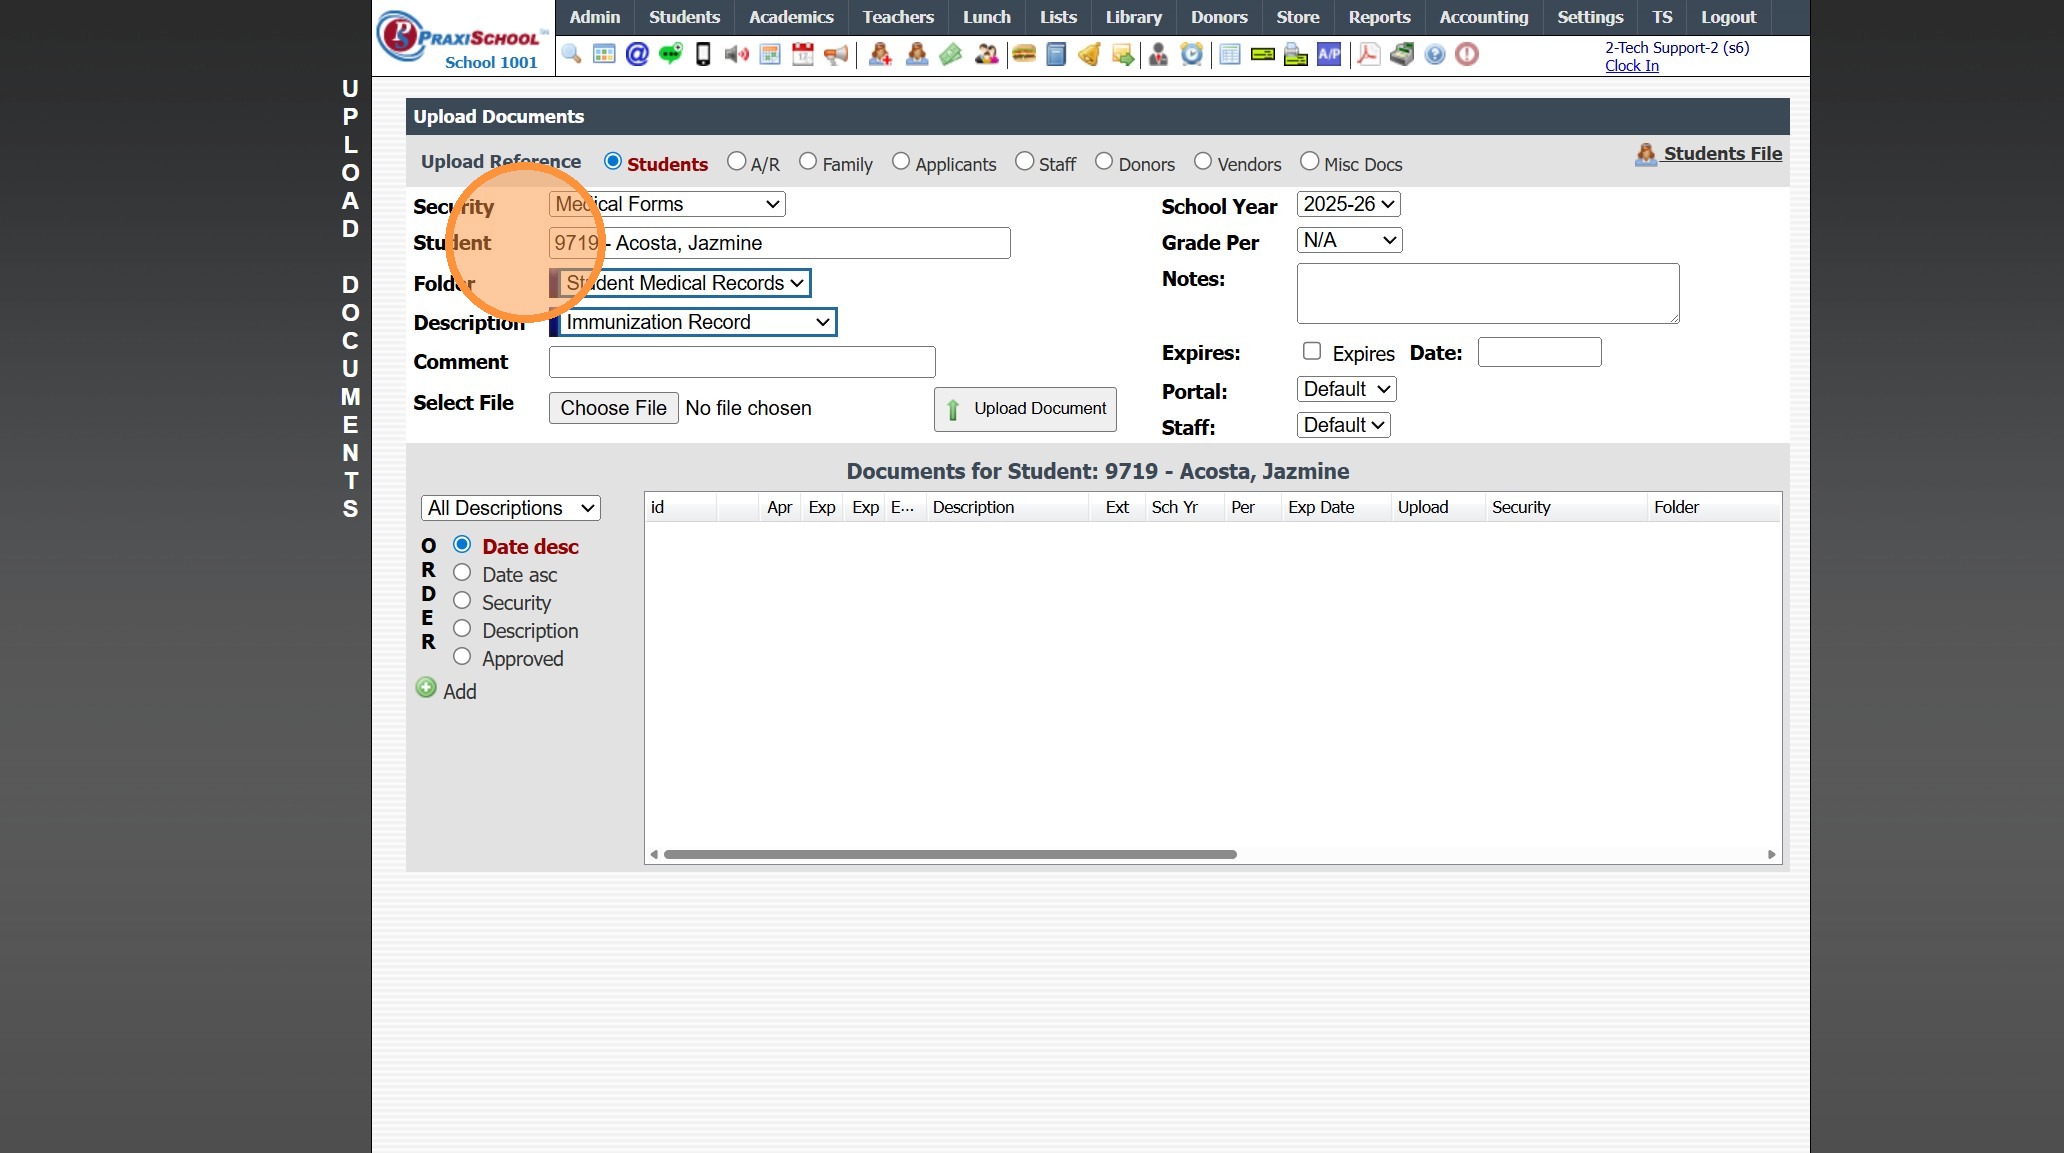
6. Select the "Folder"
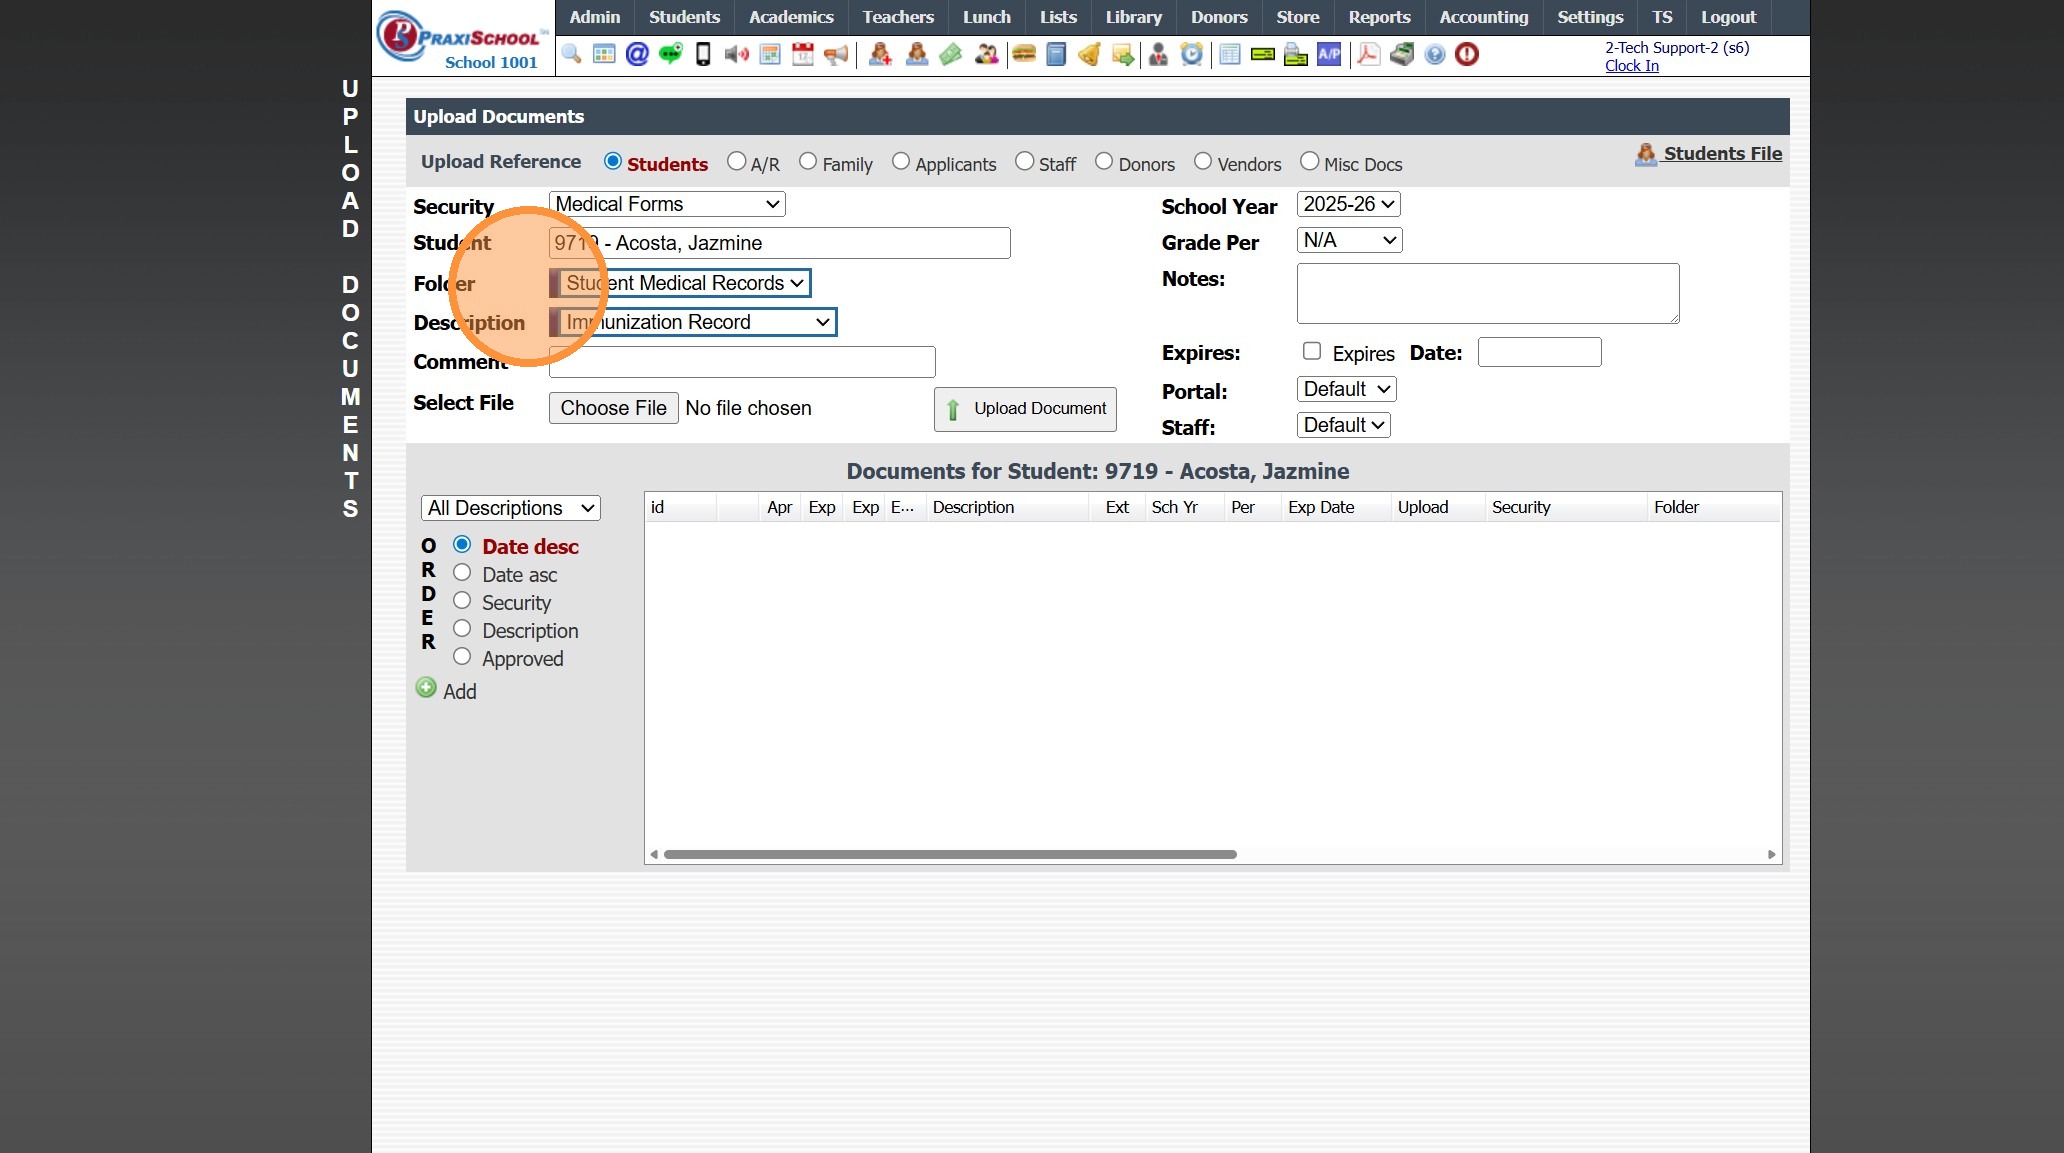
7. Select the "Description"
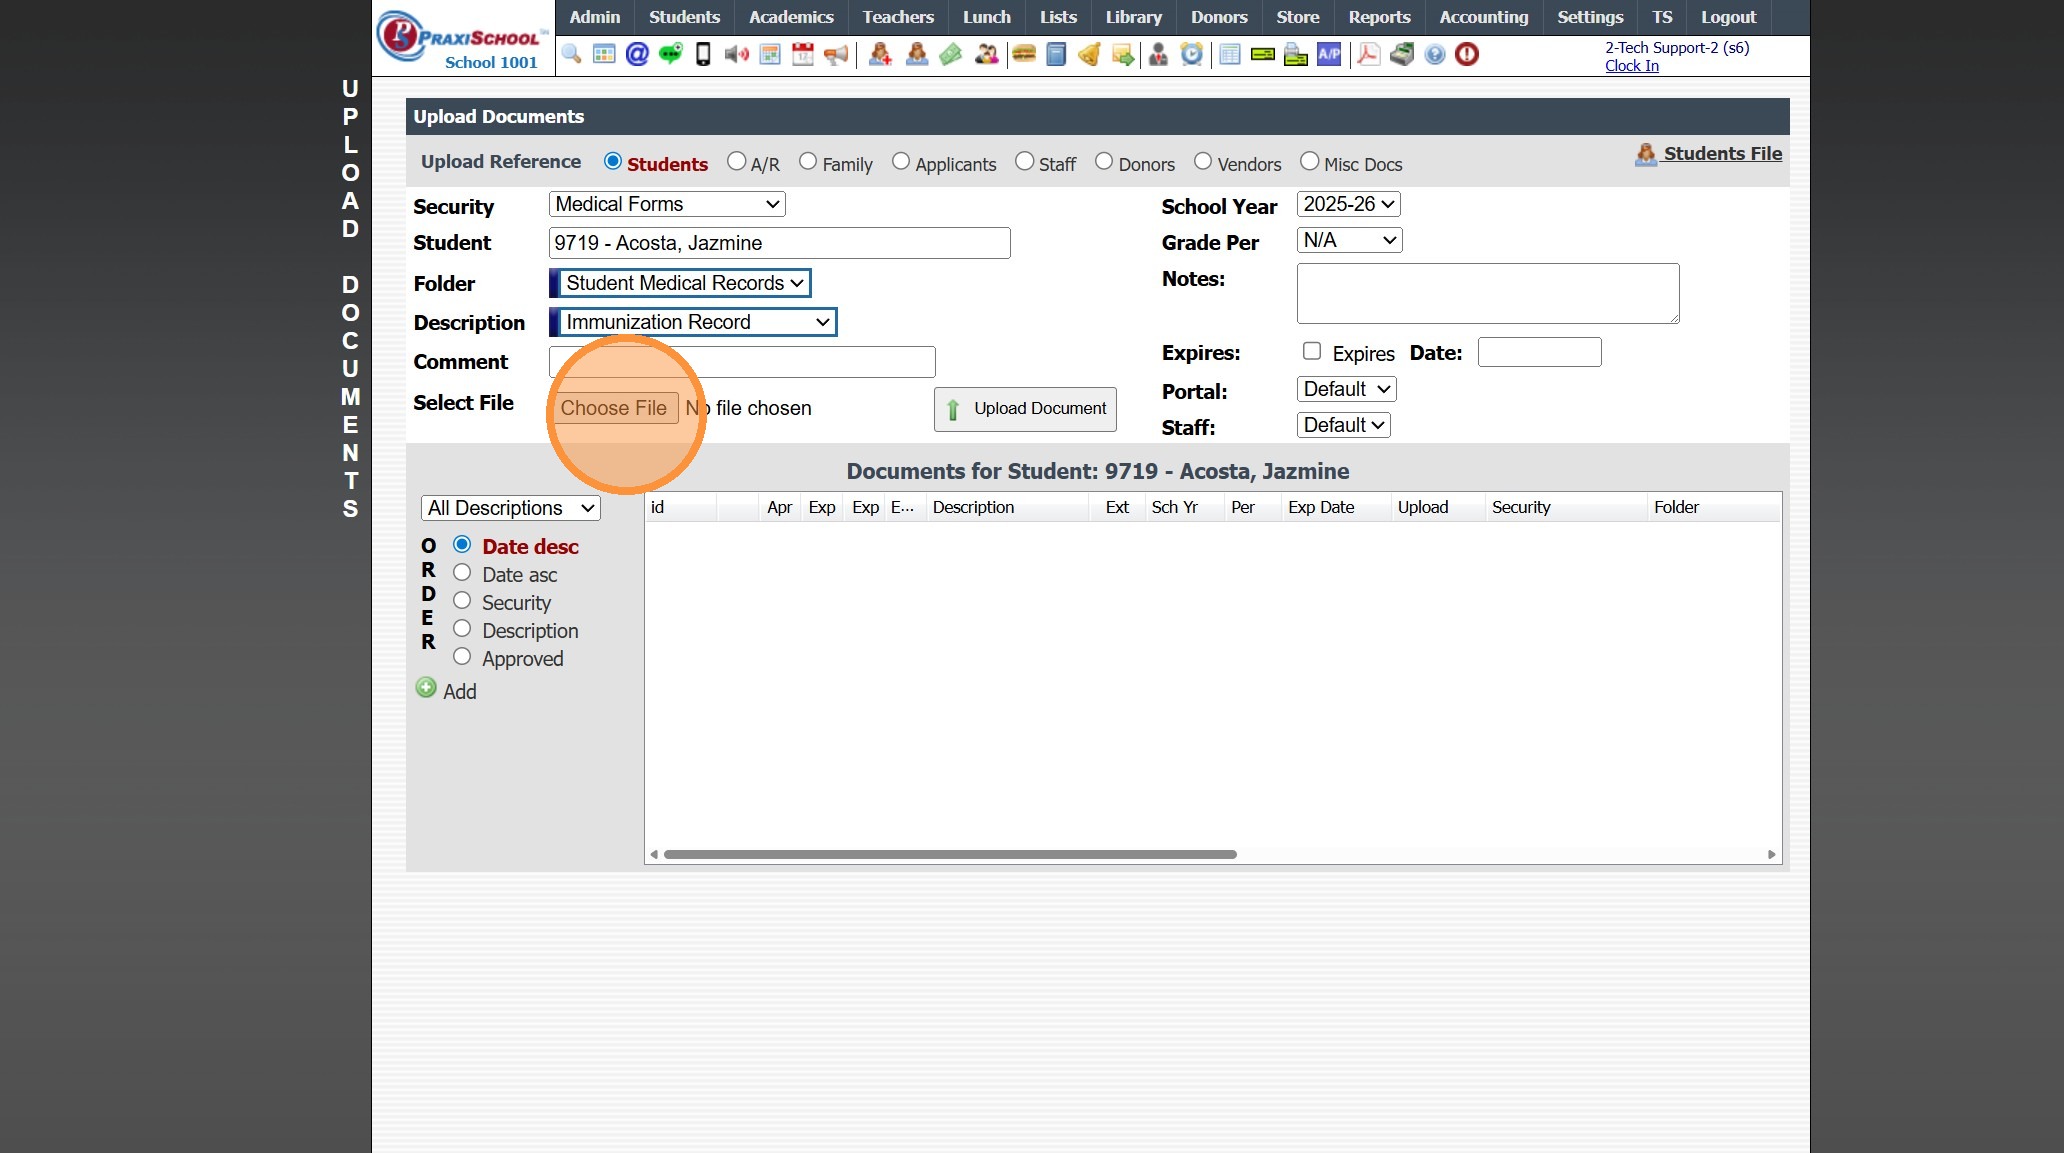
8. Click "Choose File" & Select Document to Upload
9. Verify School Year
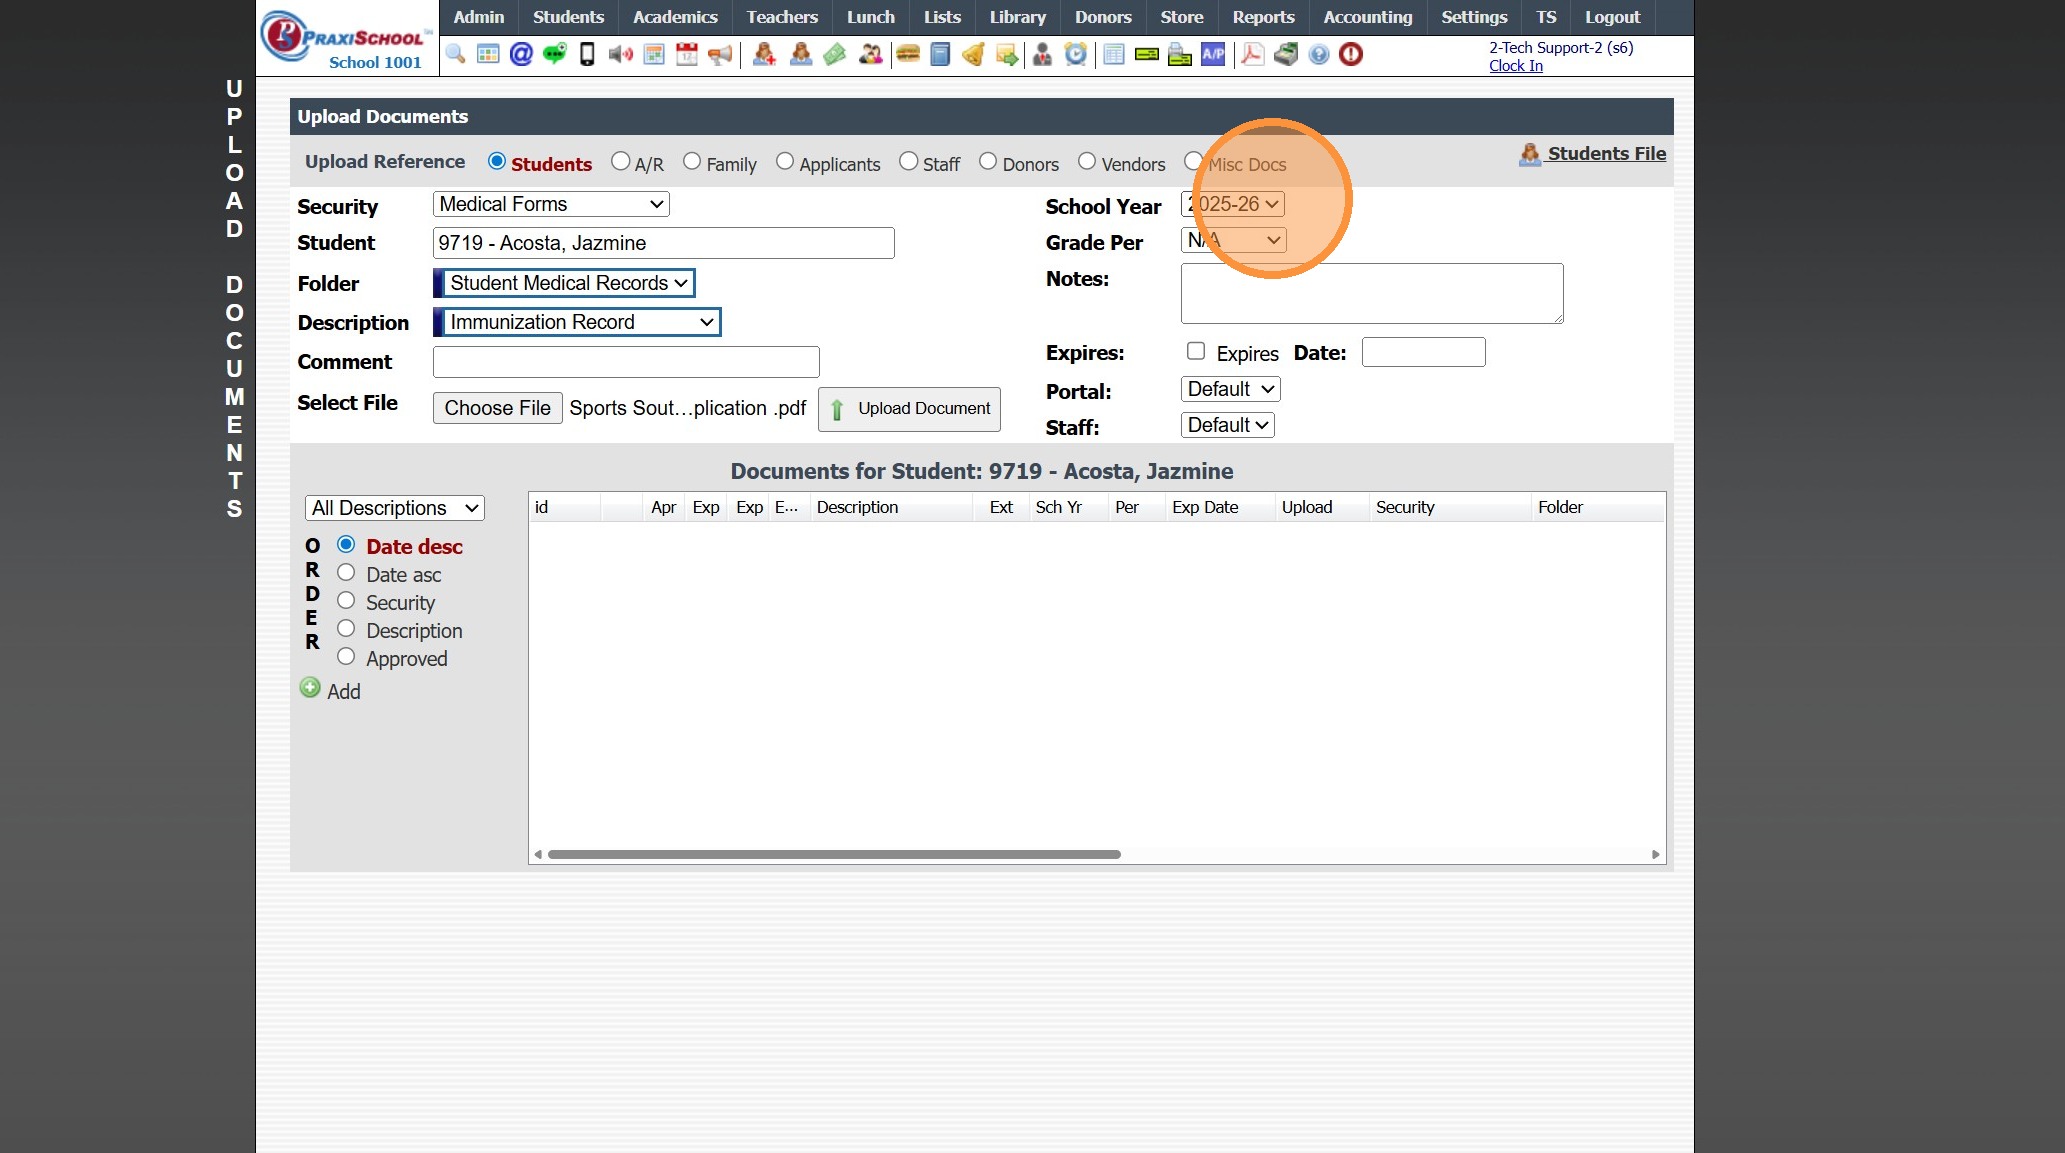
10. Click "Upload Document"
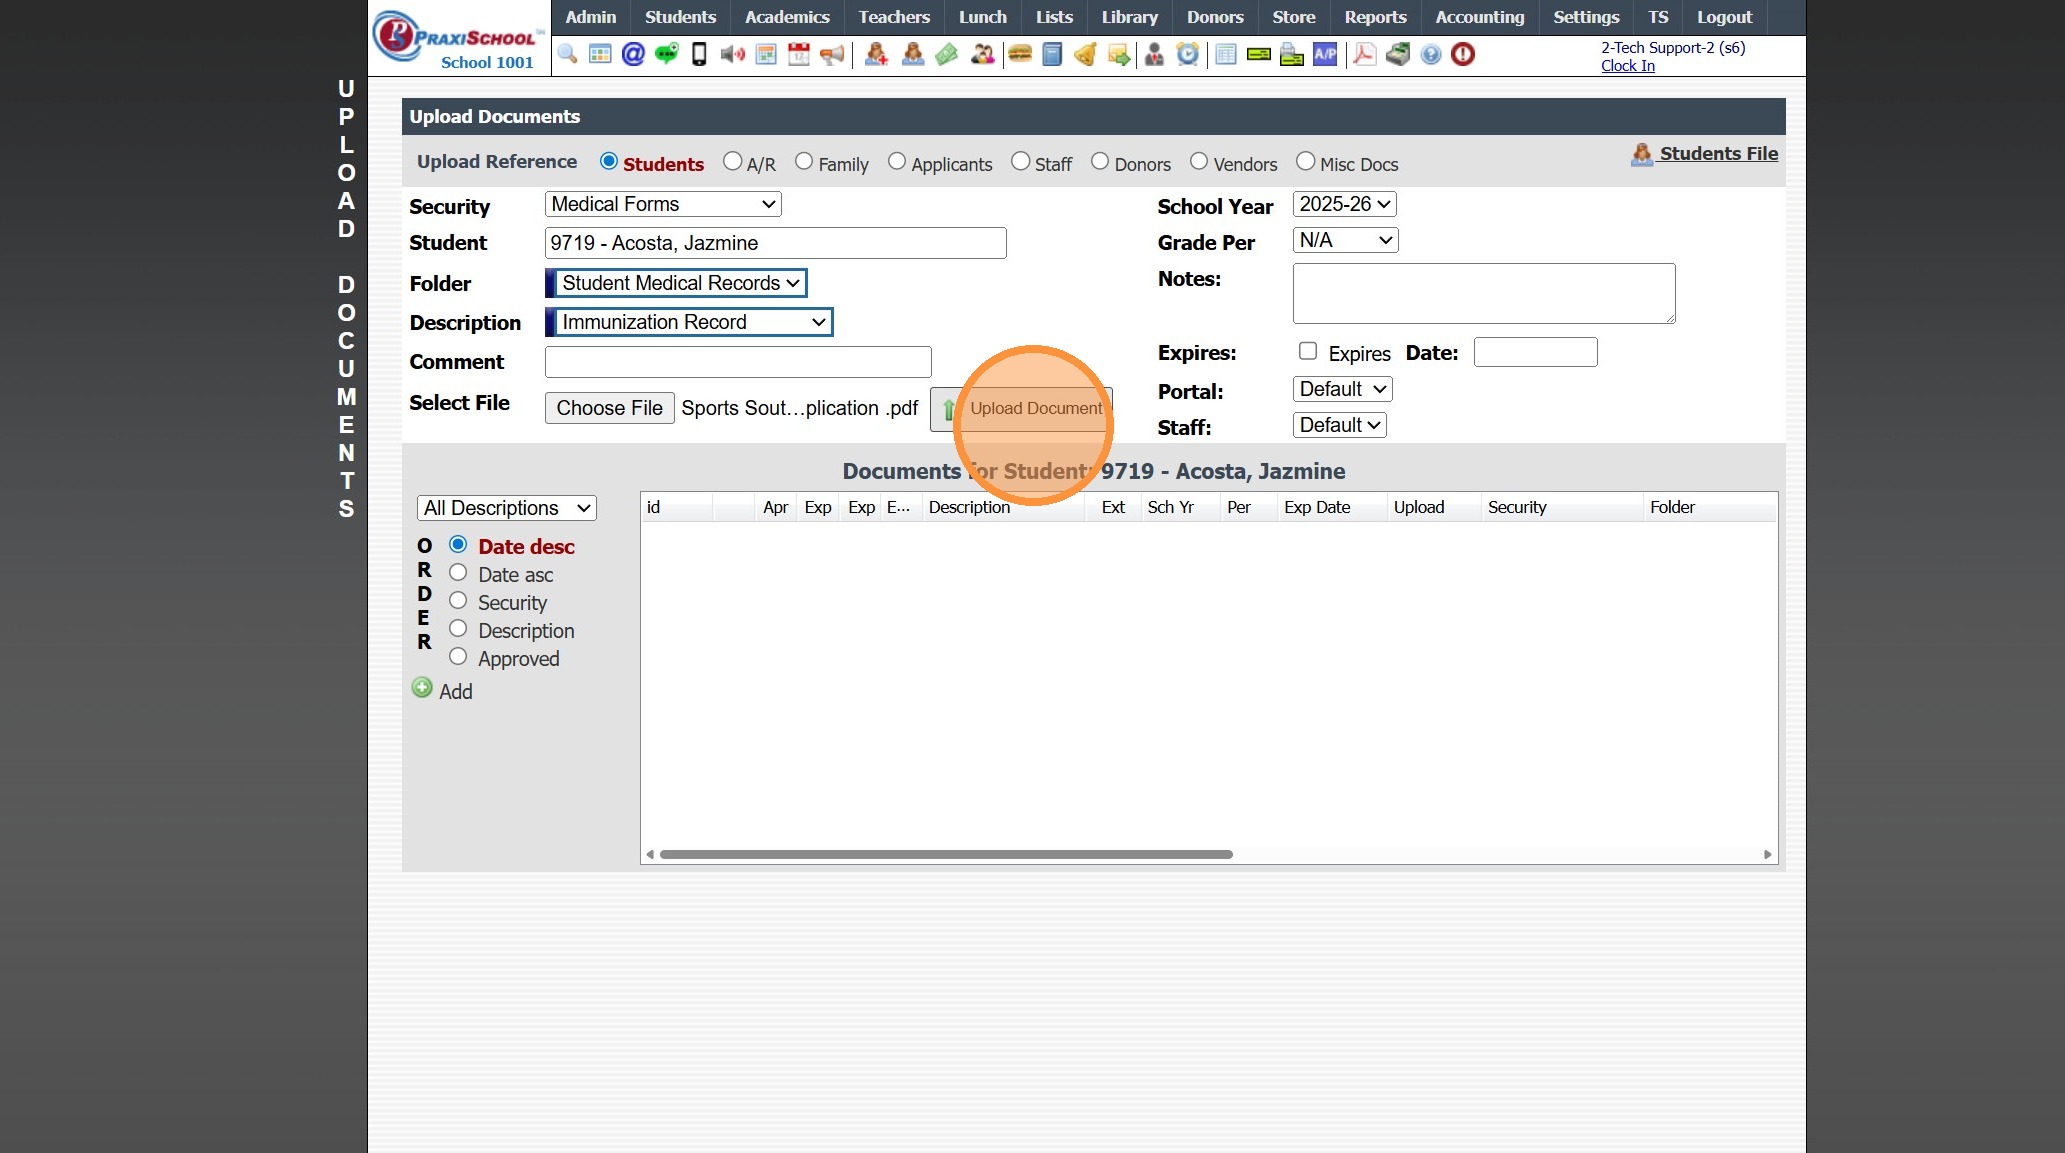
11. Uploaded Document is Visible in Documents Screen for Student

1000.4.1
Related Articles
Uploading Student Documents from the Student File
1. Click "Students" 2. Click "Students" 3. Select Student 4. Click the "Docs" Tab 5. Click "Add" 6. Select the Security, Folder & Description 7. Click "Choose File" 8. Verify School Year 9. Click "Upload Document" 1000.4.1.1Emailing Student Documents
1. Click "Students" 2. Click "Students" 3. Select Student 4. Click the "Docs" Tab 5. Click Envelope Icon Next to Document to Email OR From the Email Screen All Documents or a Folder of Documents can be Emailed 6. Select Process Option 7. Edit/Enter ...Approving Documents Upload in the Parent, Student or Applicant Portal
1. Click "Admin" 2. Click "Manage Document" 3. Click "Documents" 4. Click "Actions" 5. Click "Approve Documents" 6. Click "Select All" or Select Individual Record(s) to Approve 7. Click "Save Changes" 8. Click "Finished" 1000.4.2Documents - Misc Documents
1. Click "Admin" 2. Click "Manage Document" 3. Click "Misc docs" 4. Click "Add" 5. Enter the Description & Comment for the Misc Documents 6. Enter Notes for Information pertaining to Misc Documents 7. Click "Save" 8. Click the "Docs" tab 9. Click ...Recycling Managed Documents
Recycling Managed Documents 1. Click "Admin" 2. Click "Manage Document" 3. Click "Recycle Bin" Deleting in Batch 4. Tag Documents in Recycling Bin to Delete 5. Click "Actions" 6. Click "Delete Tagged Documents" Deleting Individual Documents 7. Select ...