Adding a Transaction Group to an Online Form
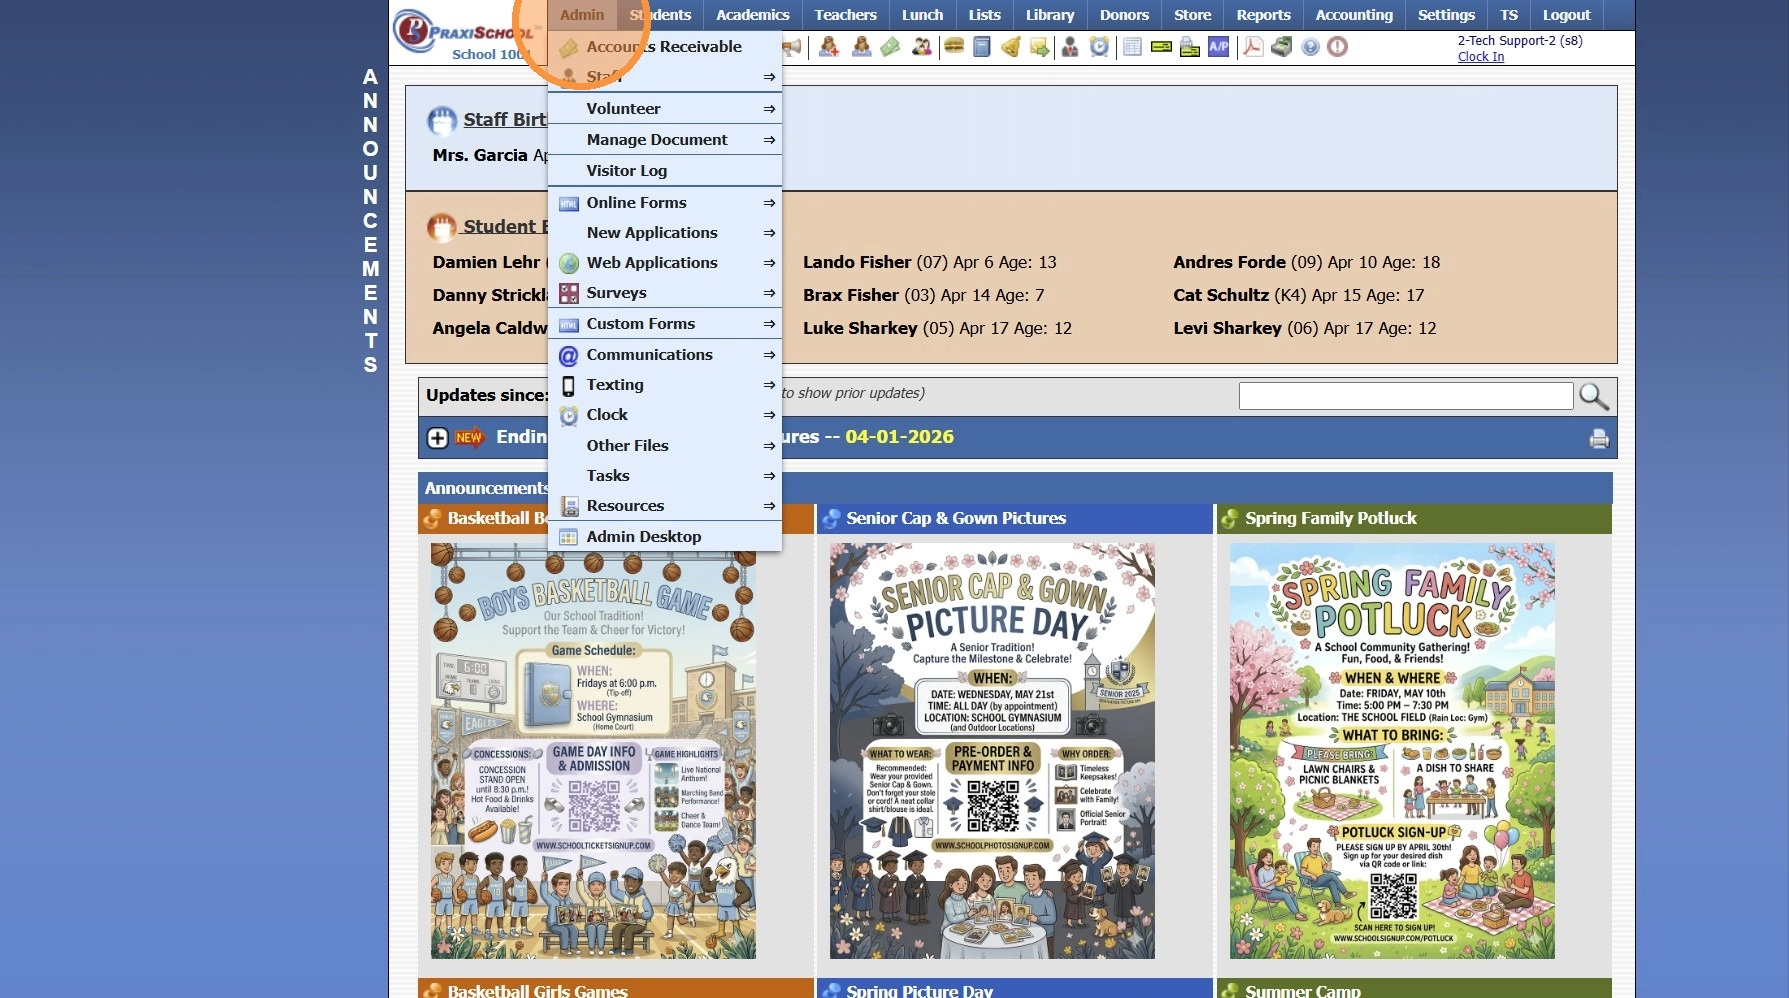
1. Navigate to Admin > Online Forms > Forms.
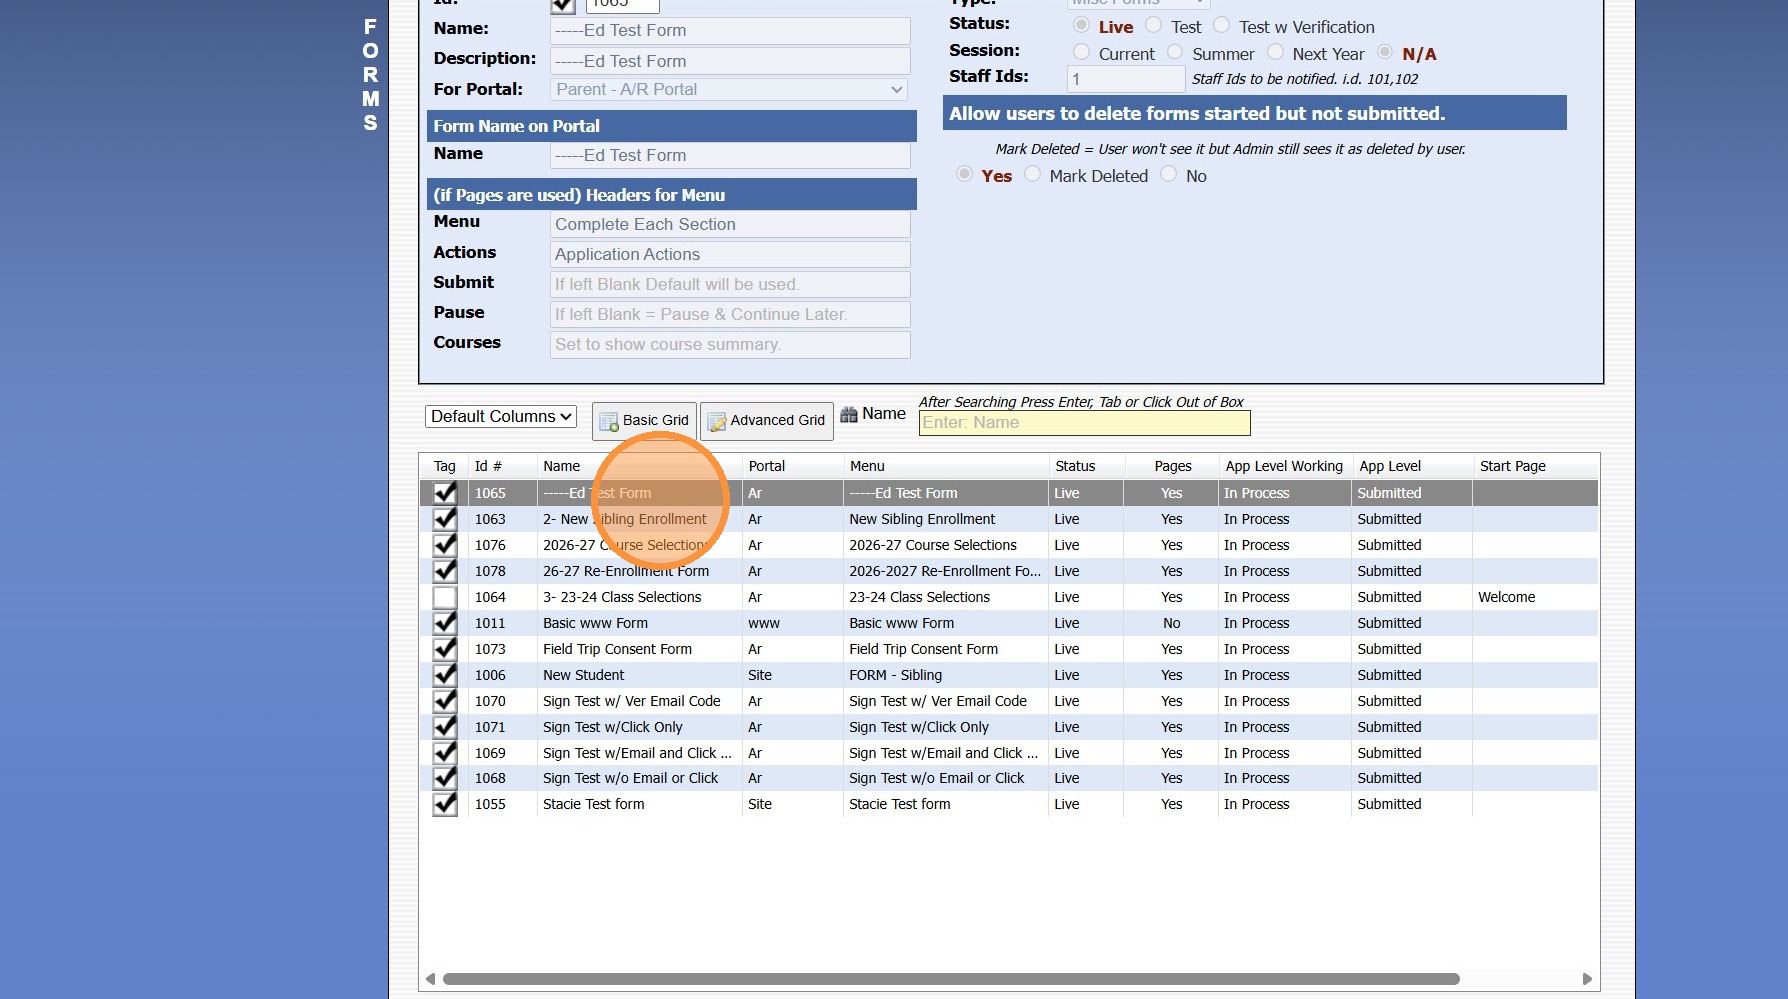
2. Select the Form to Update
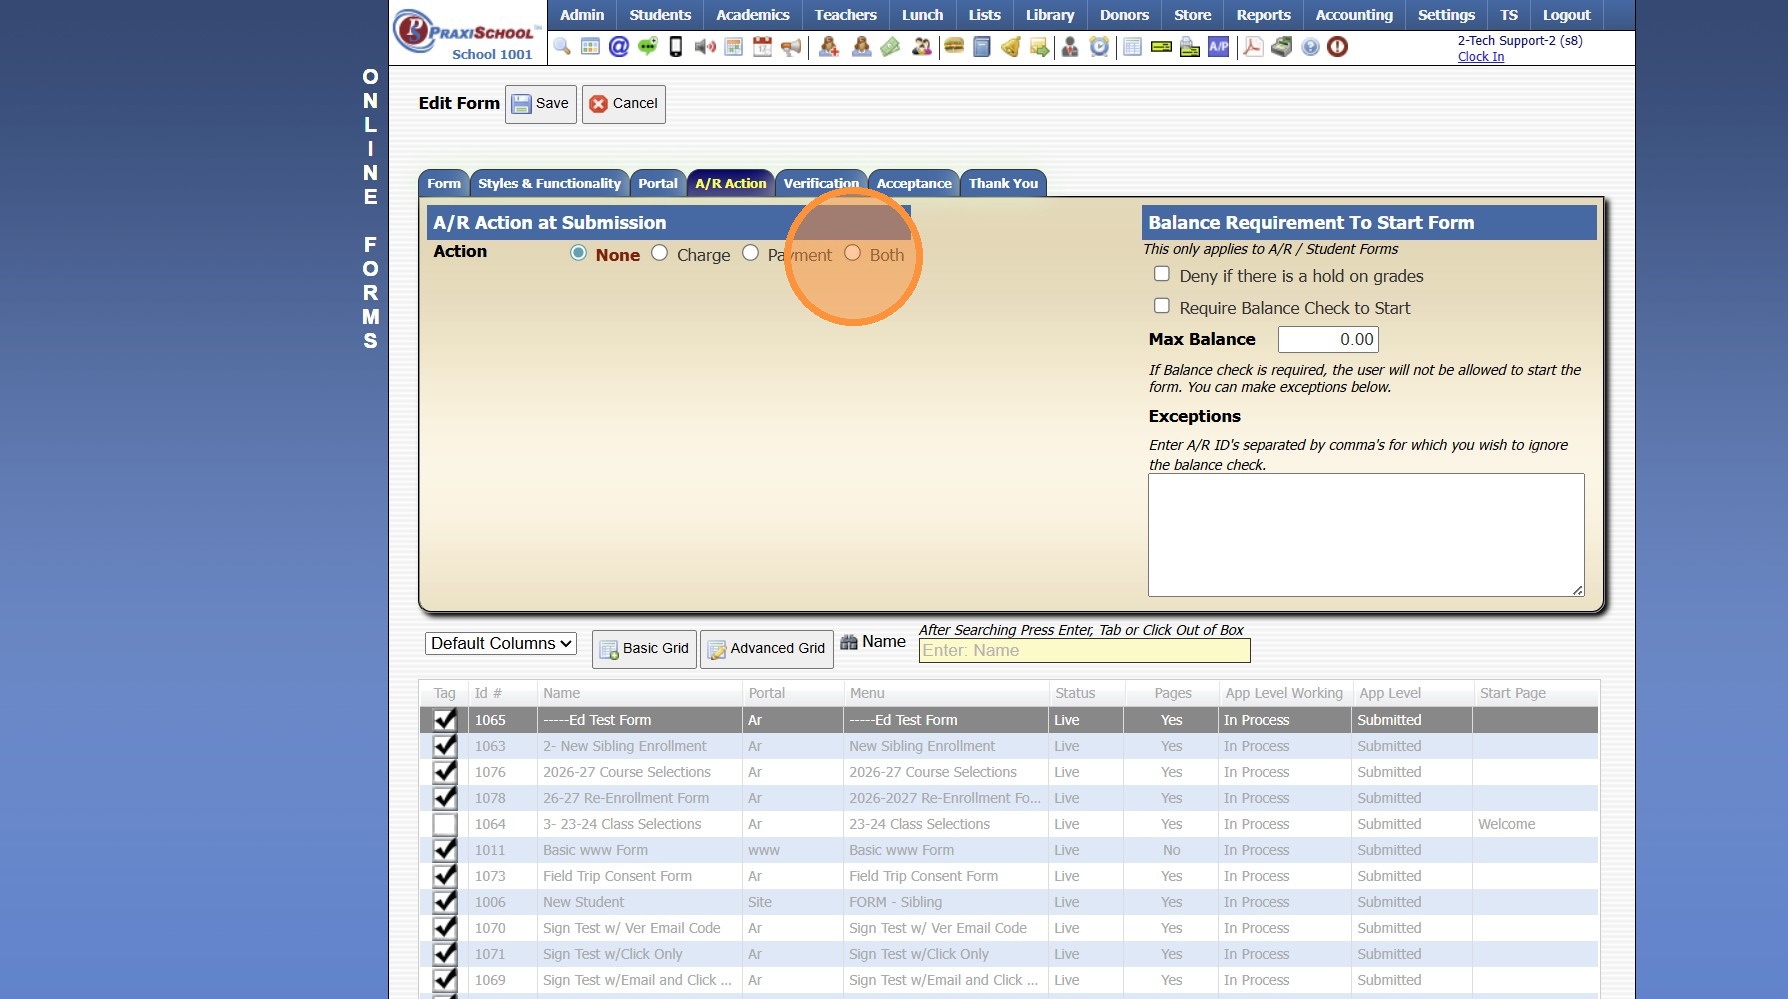
3. Click on "A/R Action" Tab
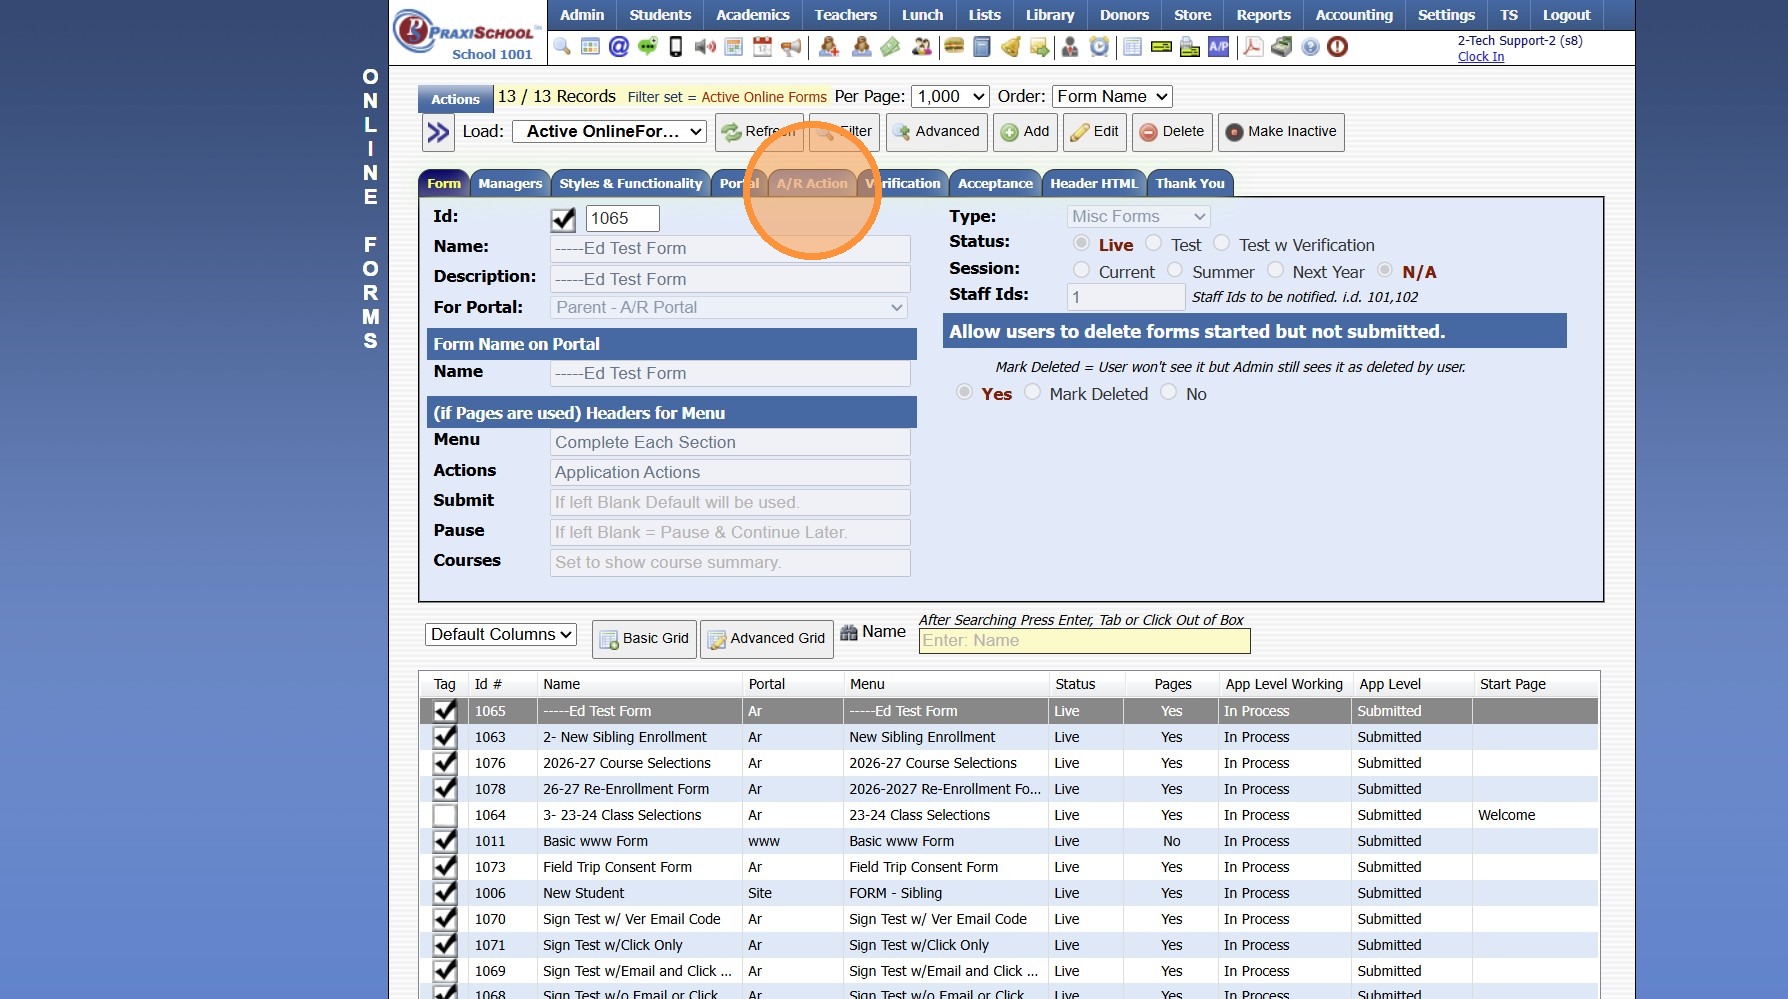
4. Click "Edit"
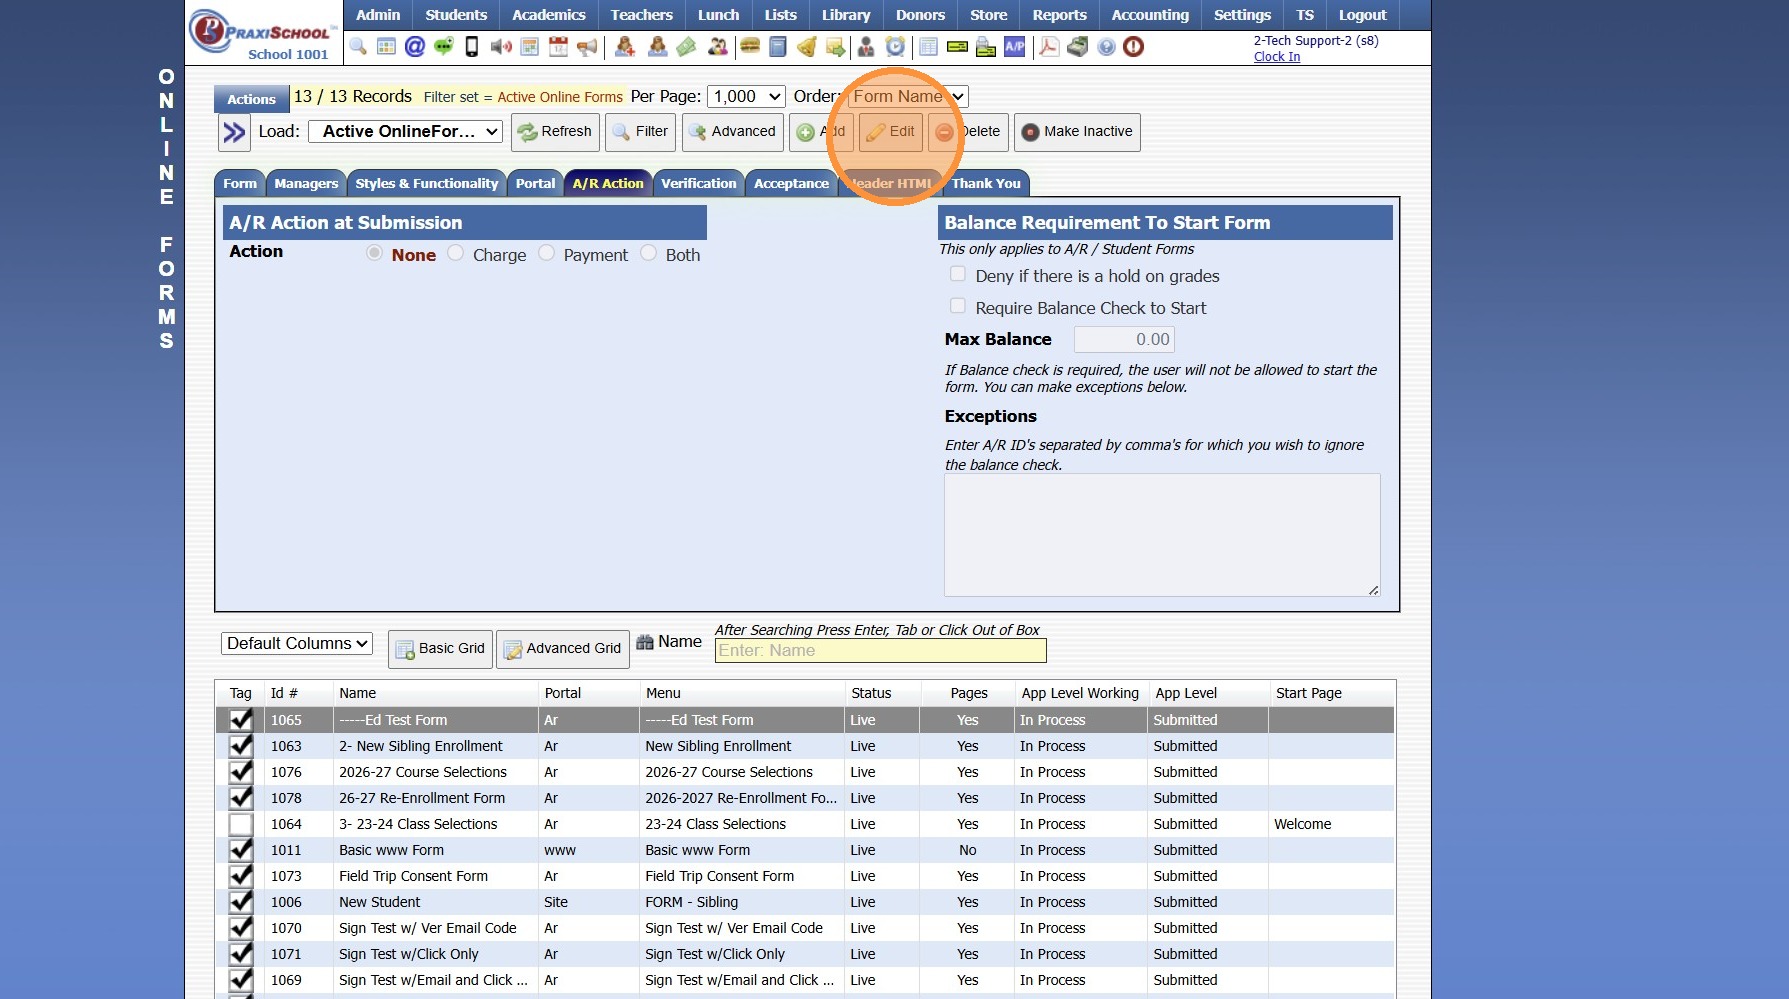
5. Select Charge, Payment or Both
(Both will Charge & Collect the Payment)
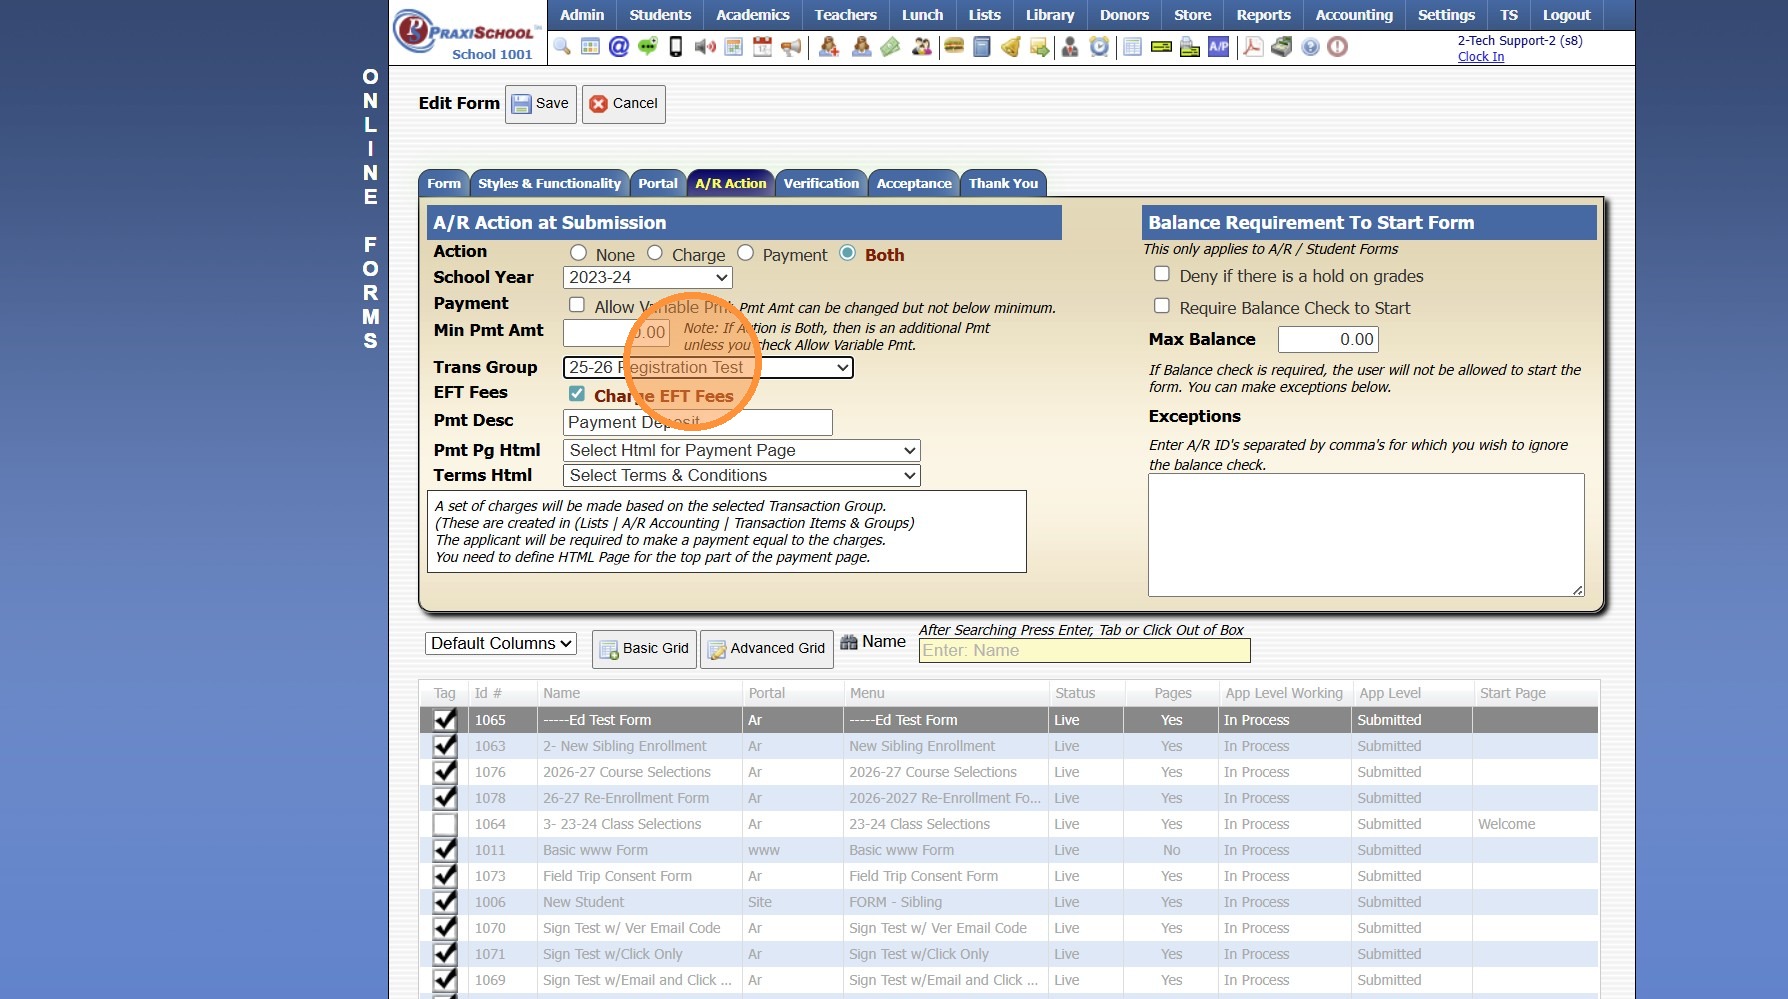
6. Select the Trans Group from the Dropdown Menu
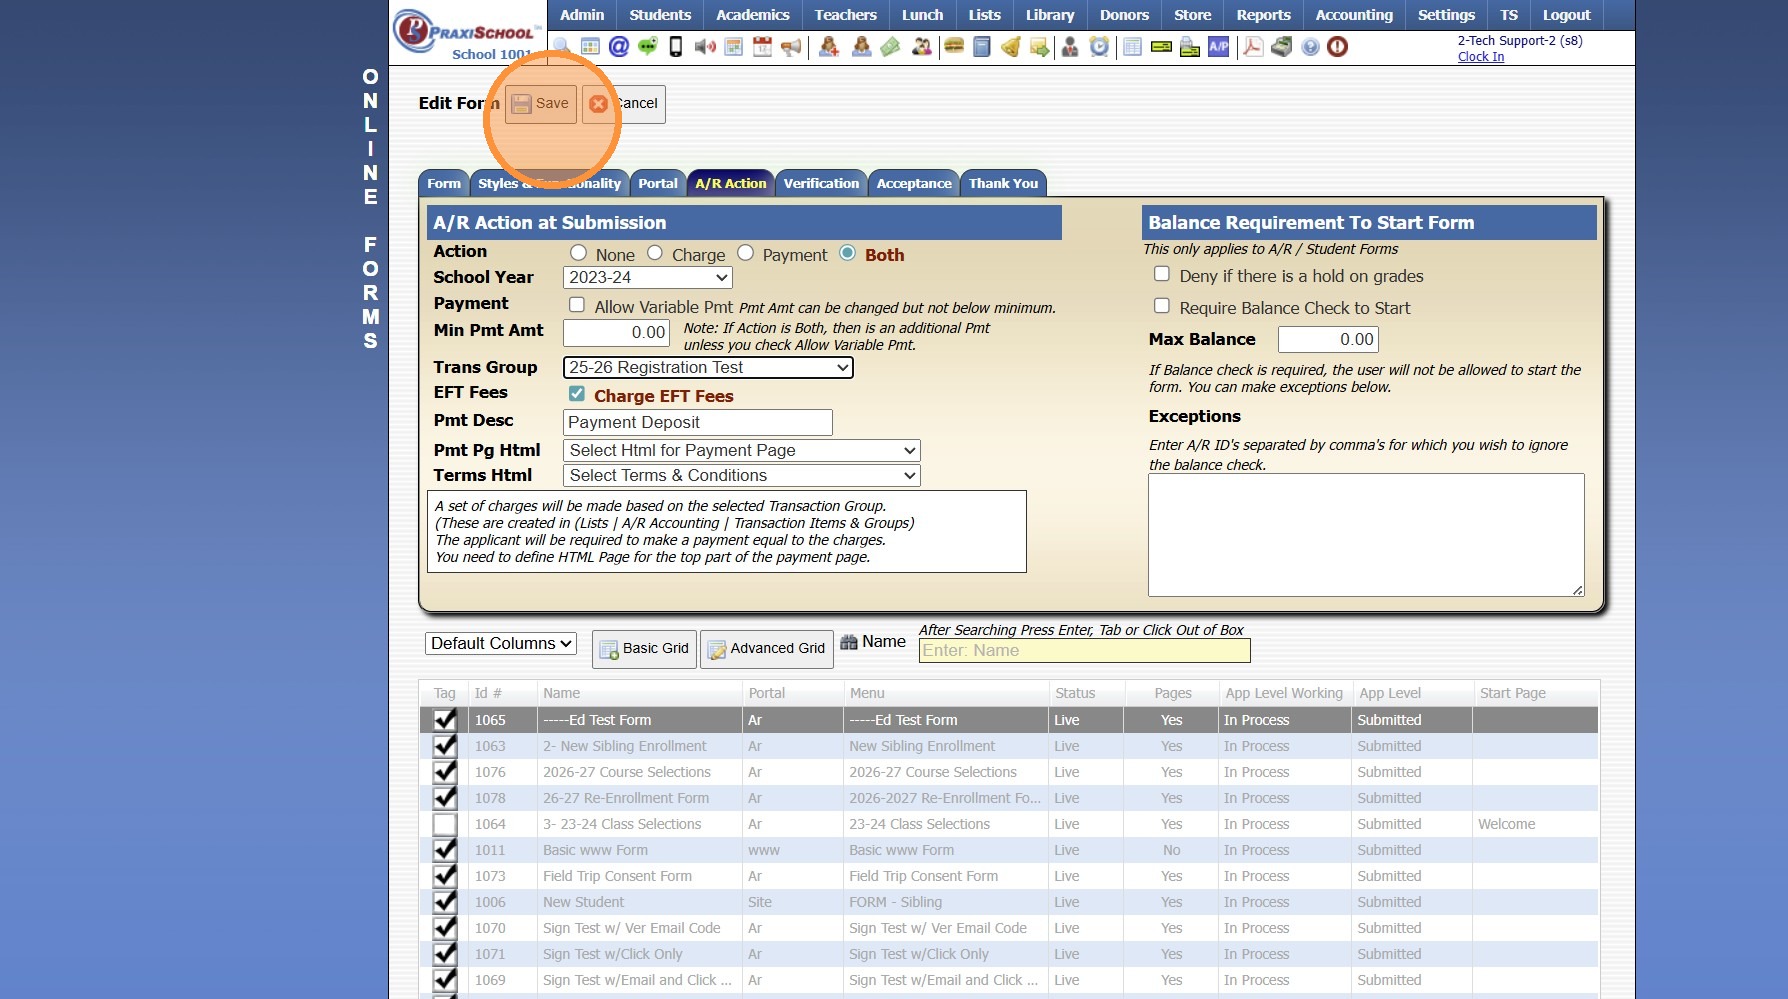
7. Click "Save"
1000.6.3.1
Related Articles
Creating a Transaction Group & Adding Transaction Items to the Transaction Group
1. Click "Lists" 2. Click "A/R Accounting" 3. Click "Transaction Groups" 4. Click "Add" 5. Enter Transaction Group Description 6. Click "Save" 7. Select Transaction Group & Click "Add/Edit/Delete" 8. Select Applicable Transaction Item 9. Click "Add" ...Creating a New Transaction Group for Online Forms
1. Click "Lists" 2. Click "A/R Accounting" 3. Click "Transaction Groups" 4. Click "Add" 5. Name Transaction Group 6. Click "Save" 7. Click "Add/Edit/Delete" 8. Select Transaction Item & Click Add (Repeat to Add Additional Transaction Items to Same ...Adding Form Templates
Adding Form Templates 1. Click "Lists" 2. Click "Enrollment" 3. Click "Forms Templates" 4. Click "Add" 5. Name Template Group 6. Select School Year 7. Click "Save" 8. Click "Change Forms in Template" 9. Select Applicable Forms 10. Click "Finished" ...Creating Custom Fields for Online Form/Surveys
Custom Fields create for Online Forms are for the purpose of Printing the Form Only, Custom Fields do NOT Save to the Student, AR nor Family Files. 1. Click "Admin" 2. Click "Online Forms" 3. Click "Custom Fields" 4. Click "Add" 5. Select or Add a ...Online Form Levels & Meanings
1. There can be many Online Form Levels. However, each Level will connect to 1 of 4 Level Types: Exclude, In Process, Submitted or Approved 2. All Forms start at the In Process level. In Process means the form has been started, but has not been ...