Heartland Declined ACH Message - Blacklist
Heartland Declined ACH Message - Blacklist
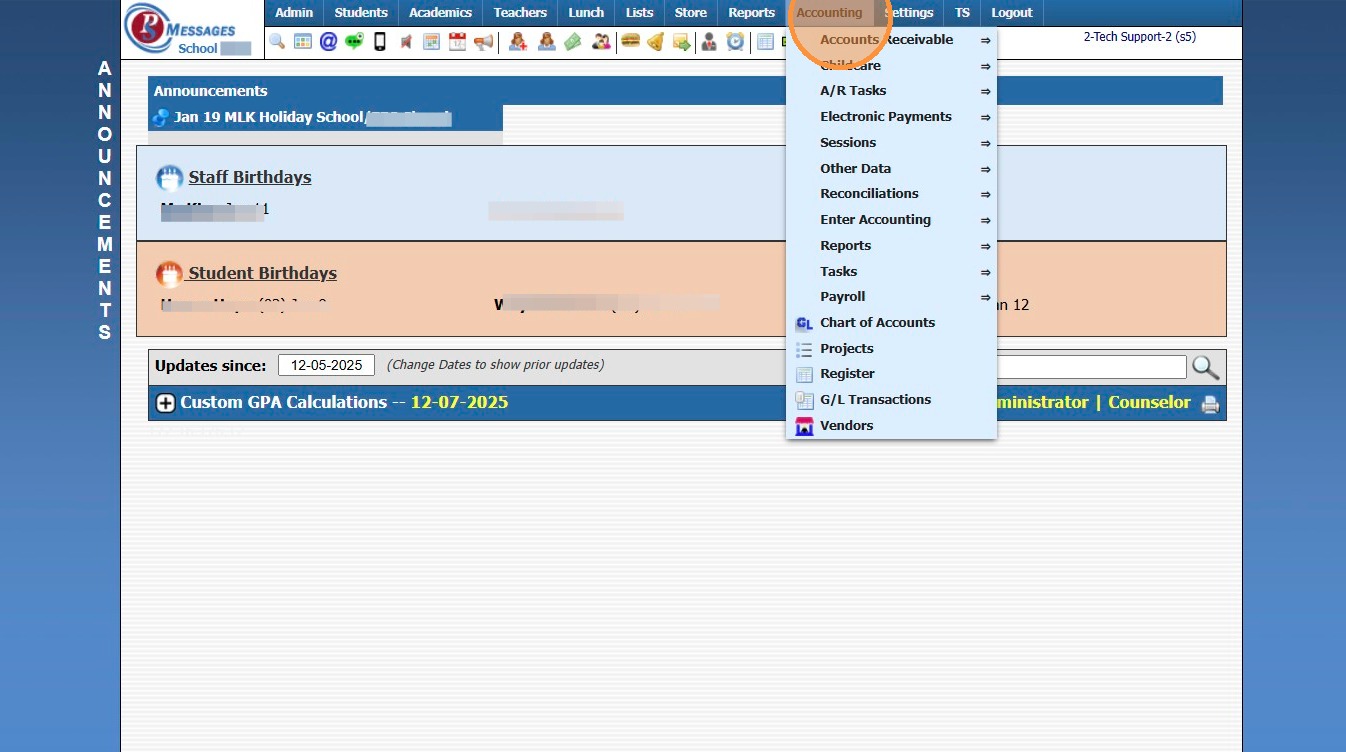
1. Click "Accounting"
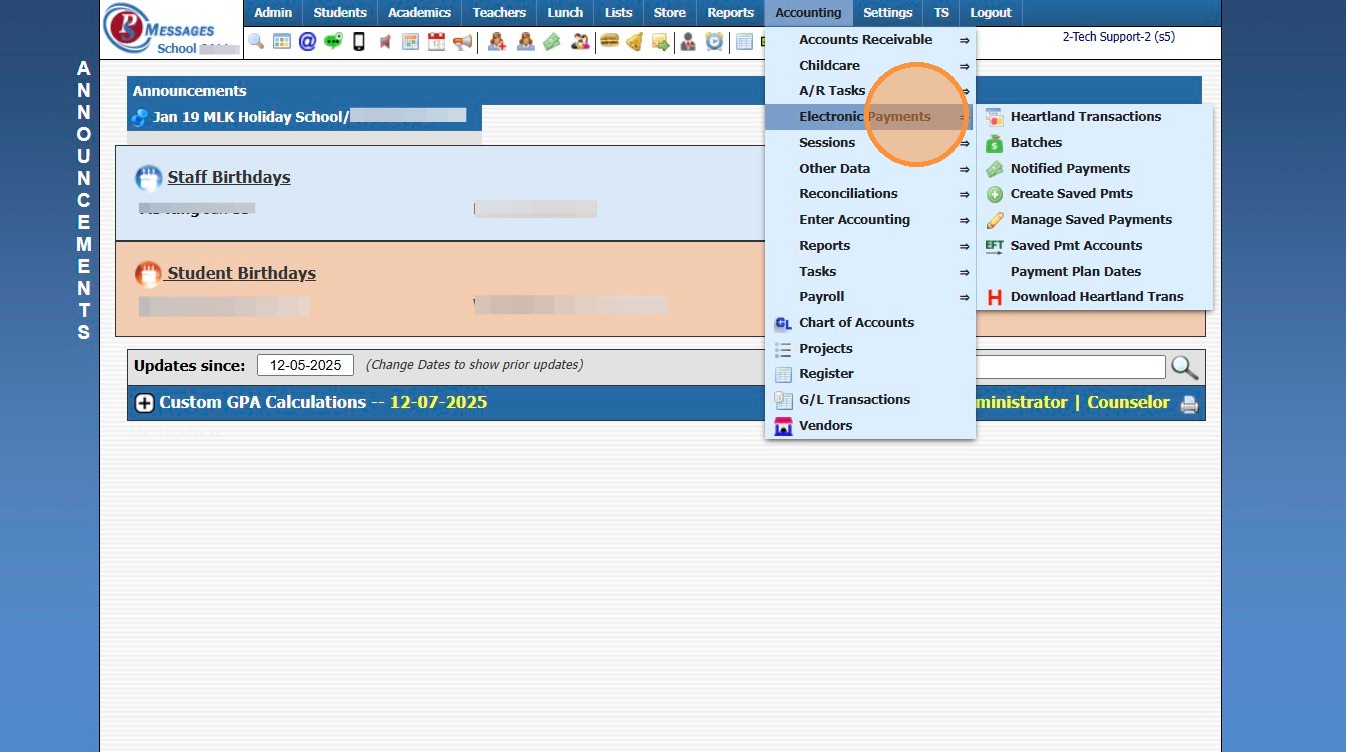
2. Click "Electronic Payments"
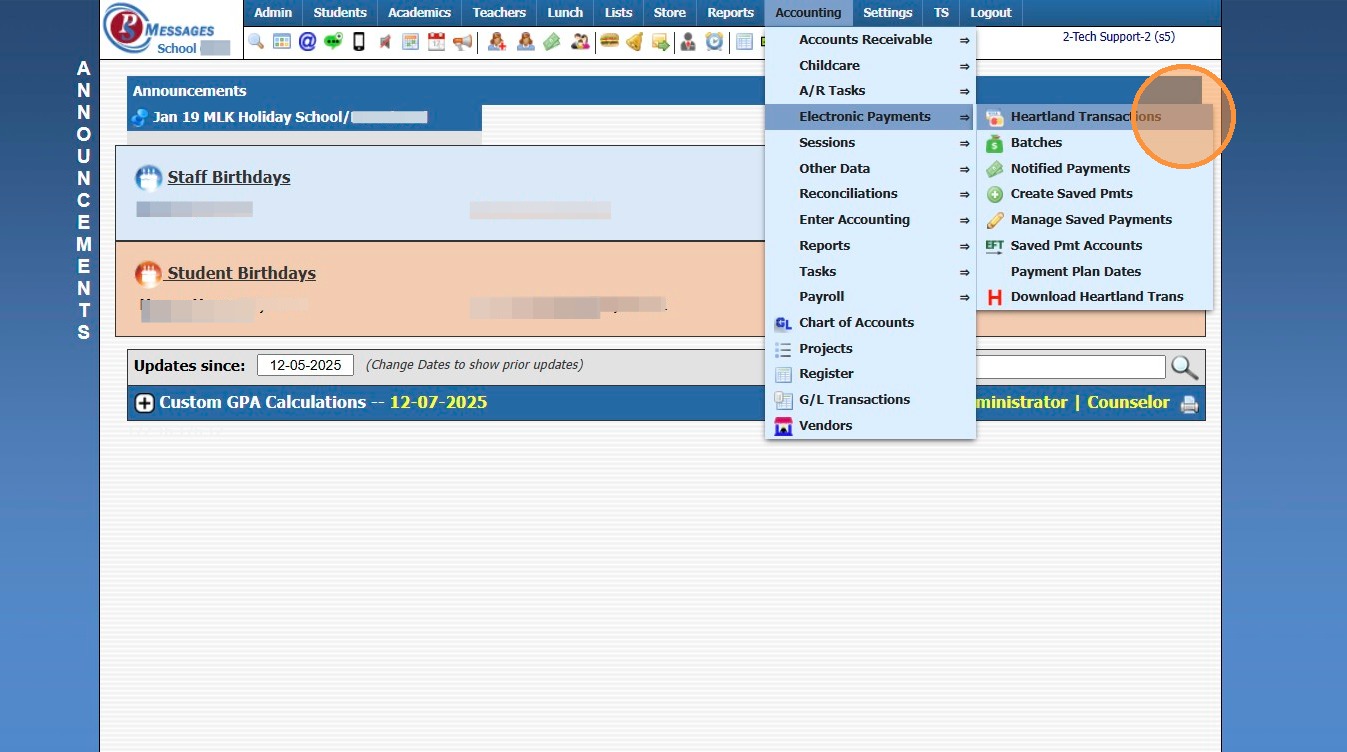
3. Click "Heartland Transactions"
4. Select the non-successful transaction
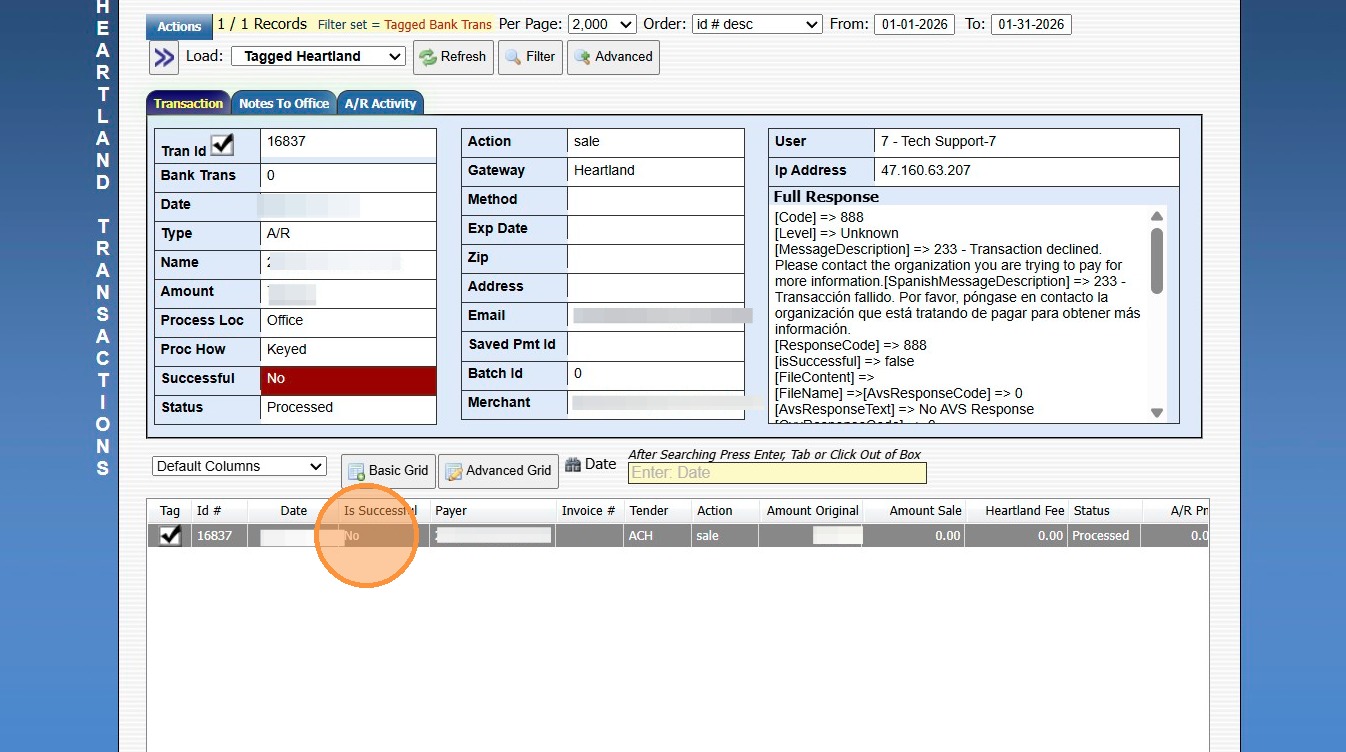
5. [MessageDescription] => 233 - Transaction declined. Please contact the organization you are trying to pay for more information..."
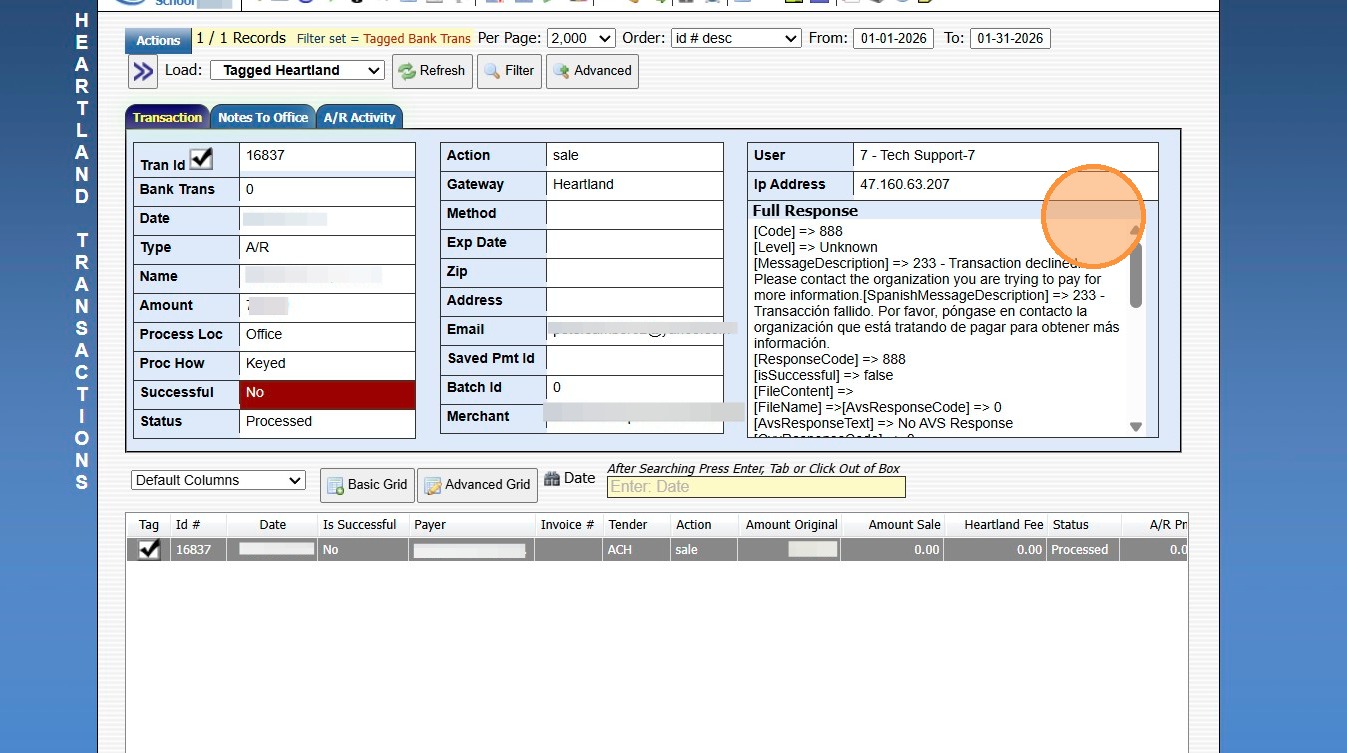
6. This Message Description means the Customer has been placed on Heartlands Blacklist.
7. Contact Heartland directly for assistance with having Customer removed from Heartlands Blacklist.
Contact Email: productopsbillingsolutions@e-hps.com
Contact Phone Number: (866) 801-4757
Related Articles
Updating Heartland ACH Convenience Fees
1. Click "Settings" 2. Click "School Settings" 3. Click "Accounting" 4. From the Accounting Settings screen, Scroll Down 5. Update the ACH Service Fee A/R& Lunch to $1.50 6. Update the ACH Service Fee Message to $1.50 7. Click "Save" 6000.4.16Heartland Payments Set Up Details
Heartland Payments is eager to assist in establishing a merchant processing account (MID) for credit/debit and echeck (ACH). The purpose of this document is to furnish details specific to each option as well as the boarding portals (labeled ...Posting a Returned AR Check/ACH
1. Log into PraxiSchool 2. Click "Admin" 3. Click "Accounts Receivable" 4. Select the Account 5. Click "Actions" 6. Click "Post Returned Check" 7. Enter Returned Date 8. Enter Check Number OR ACH (for Online Payments) 9. Enter Check/ACH Amount 10. ...Download Heartland Transaction Report
Download Heartland Transaction Report 1. Click "Accounting" 2. Click "Electronic Payments" 3. Click "Download Heartland Trans" 4. Set Date Range 5. Click "Download Transactions" 6. Report will Download for Review 6000.4.11Setting Message Alert Tones
Setting Message Alert Tones 1. Click "Settings" 2. Click "User Settings" 3. Click "Message Alerts" 4. Select Volume Preference for Message Alerts 5. Select Message Alerts Sound Preference 6. Select Volume Preference for Urgent Message Alerts 7. ...