Email Options - Using Friendly Name, Que Processing Notification Options & Suppressing Duplicate Emails
Sending School Wide Email Blasts
Tip: School Wide Email Blasts can now be Accessed from the Icon Toolbar OR from the Admin Tab!
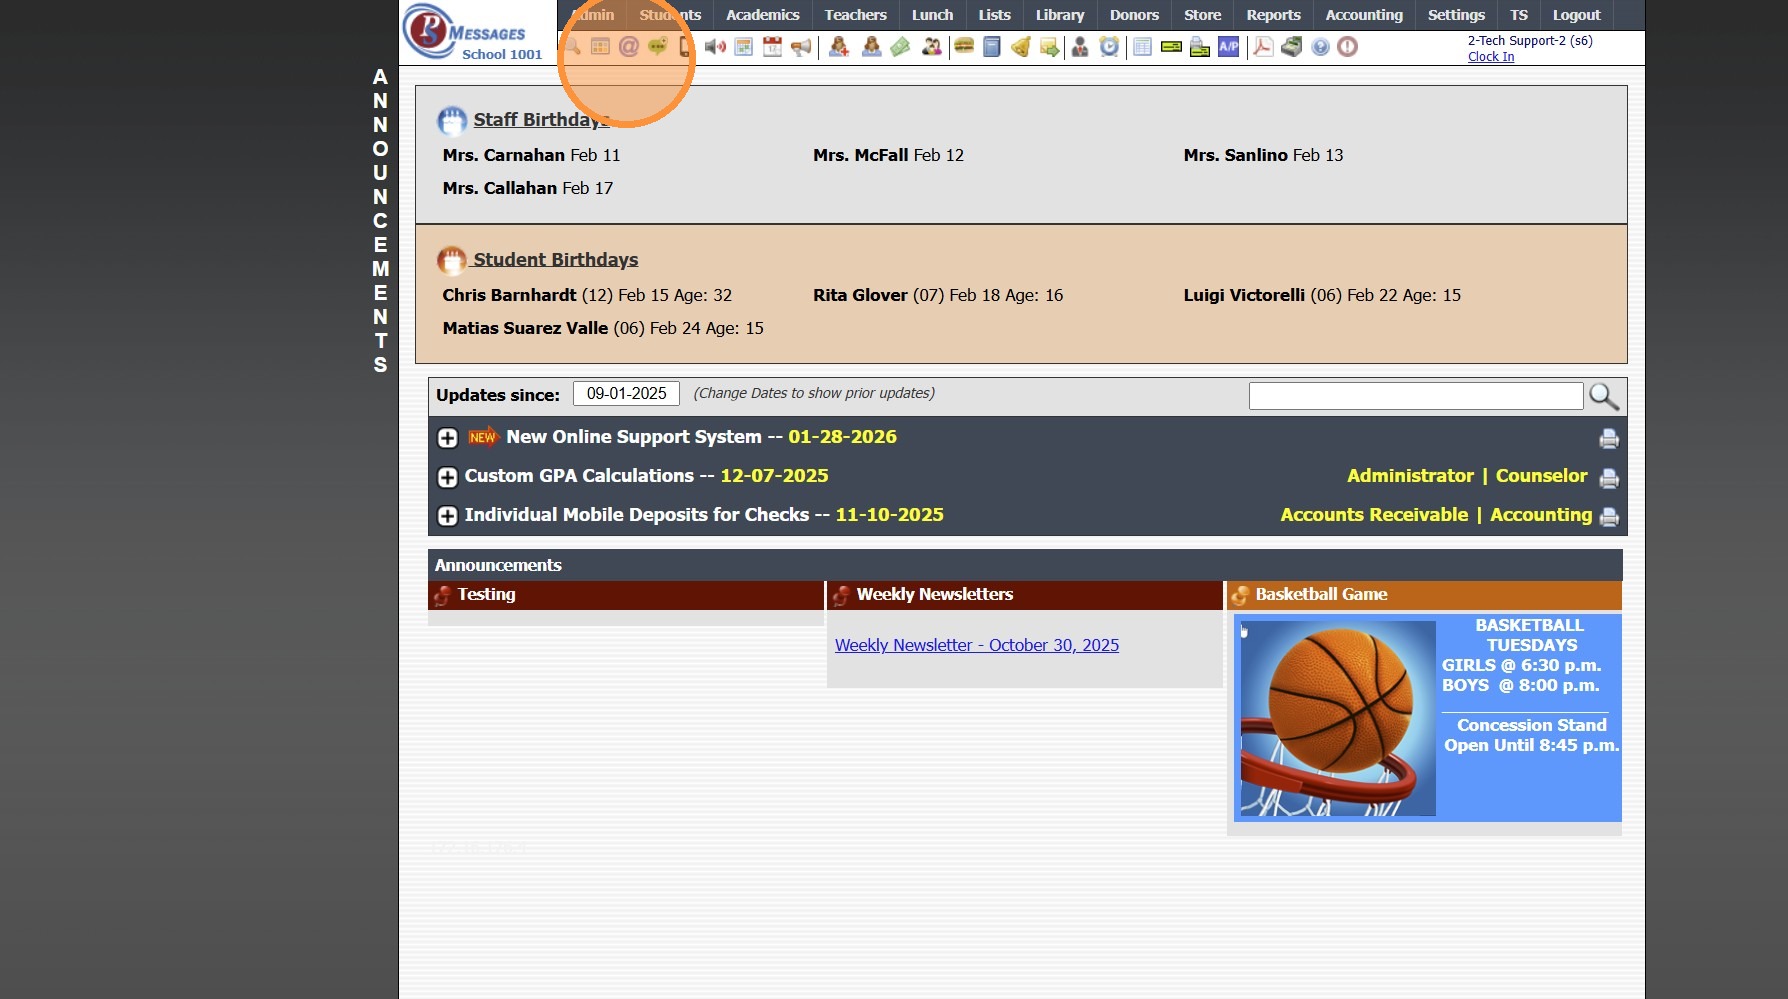
Icon Toolbar Option
1. Click the "@" Icon
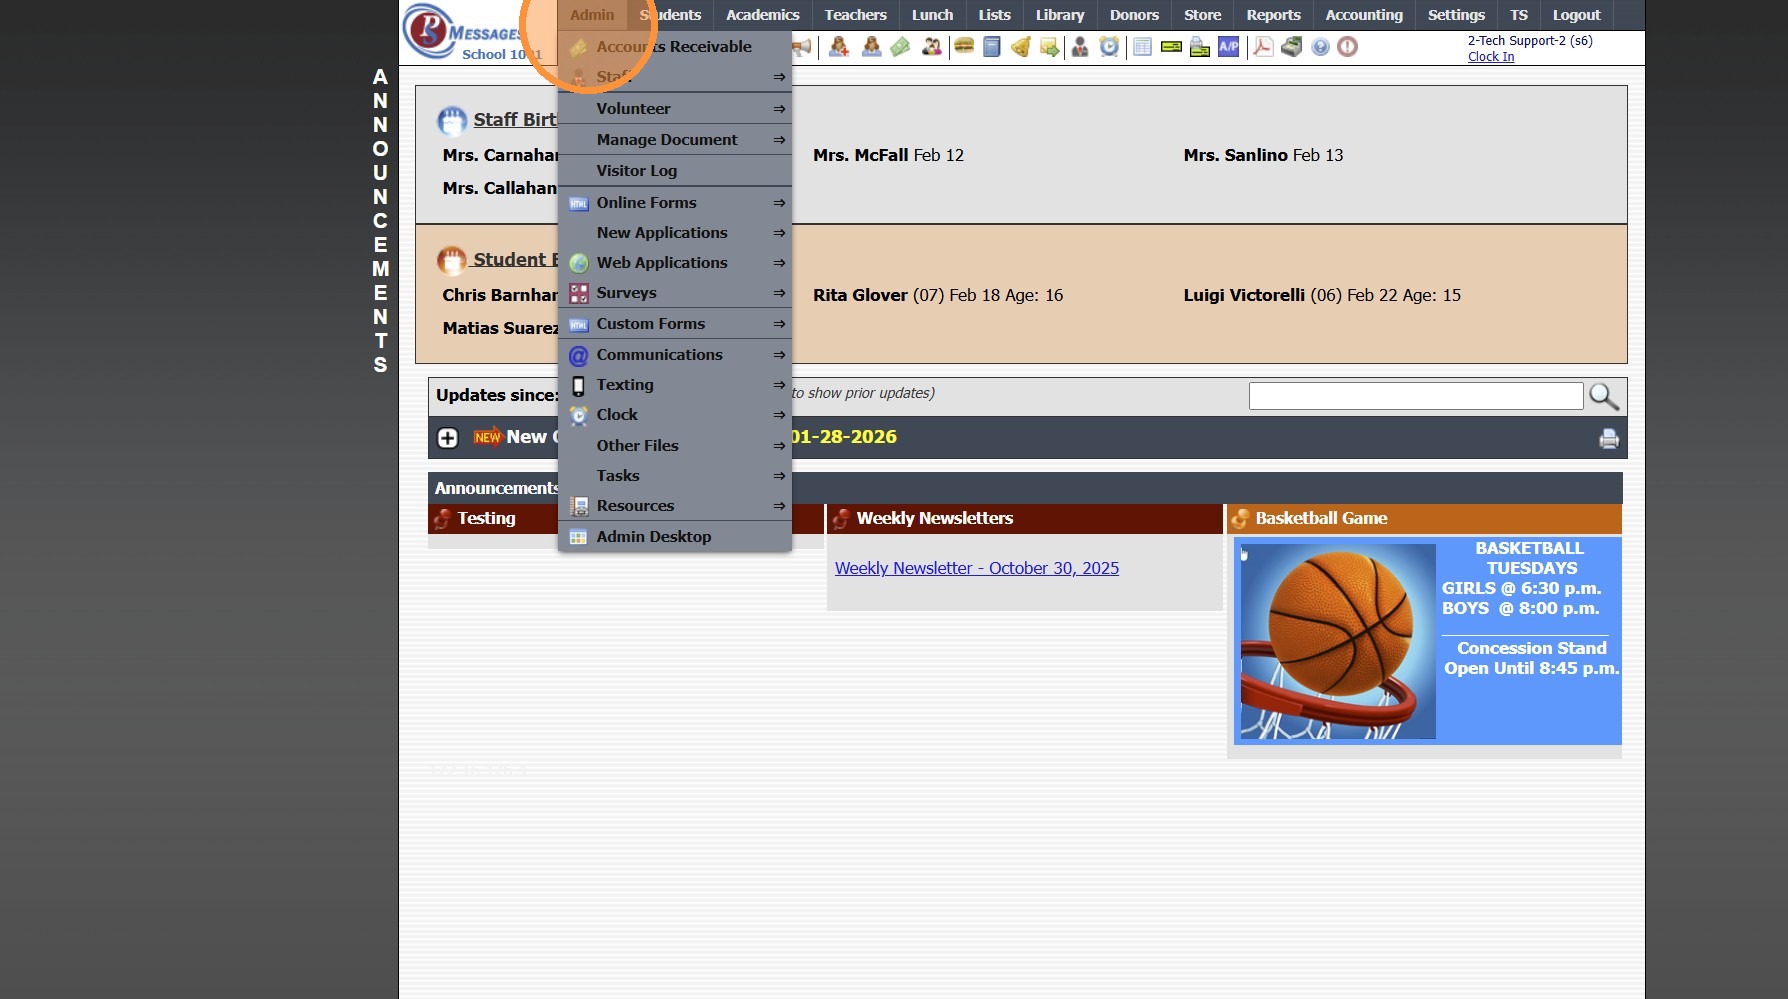
Admin Tab Option
2. Click "Admin"
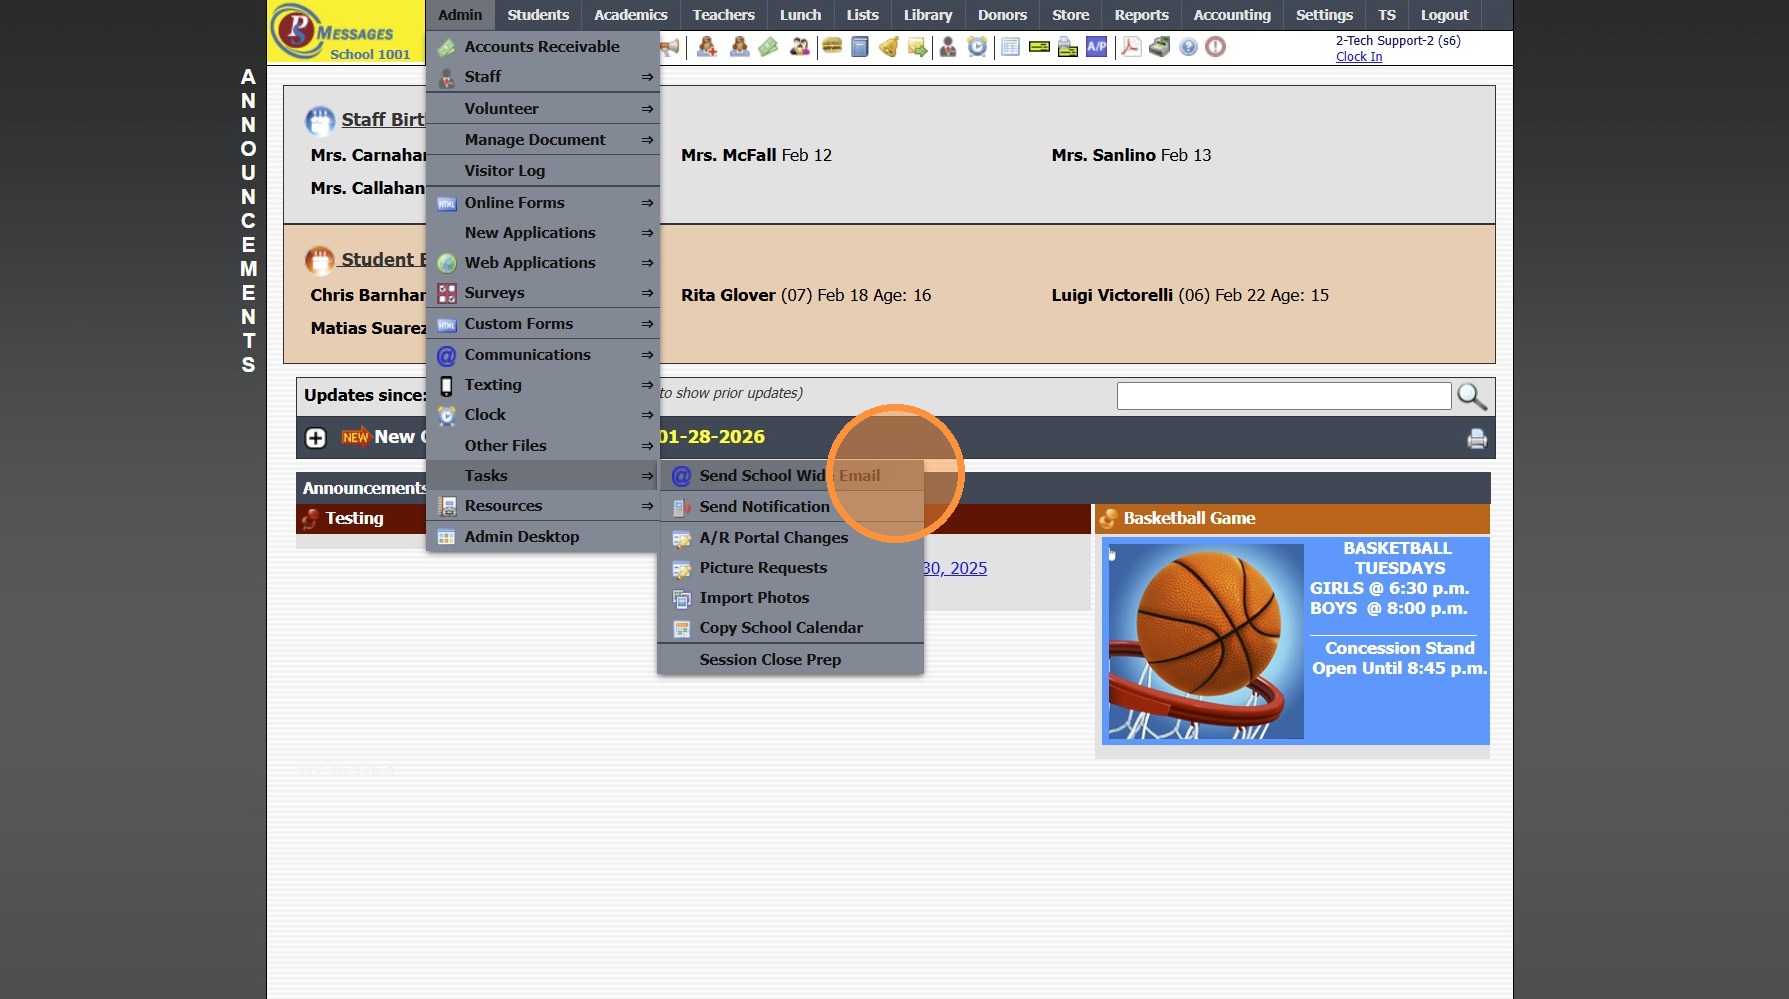
3. Click "Tasks"
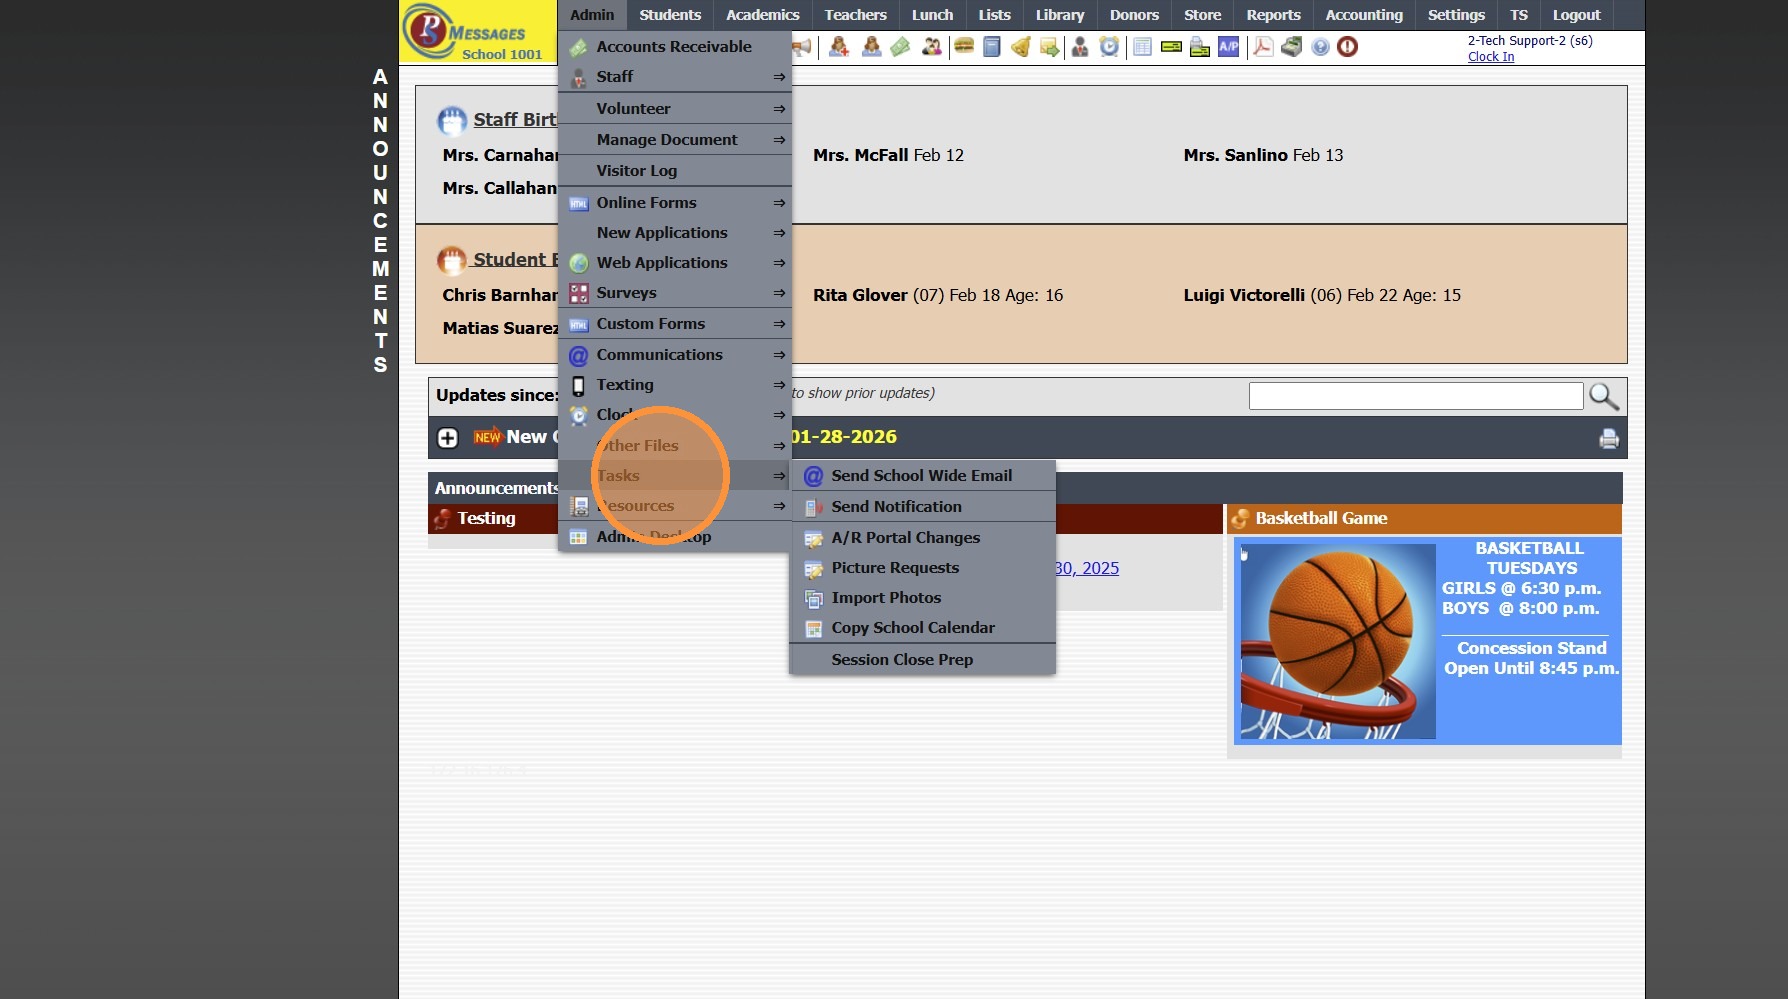
4. Click "Send School Wide Email"
5. School Wide Email is Now a Full Page Rather than a Pop-Up Window
With this Update, the Finished Button is no longer necessary and has been Removed
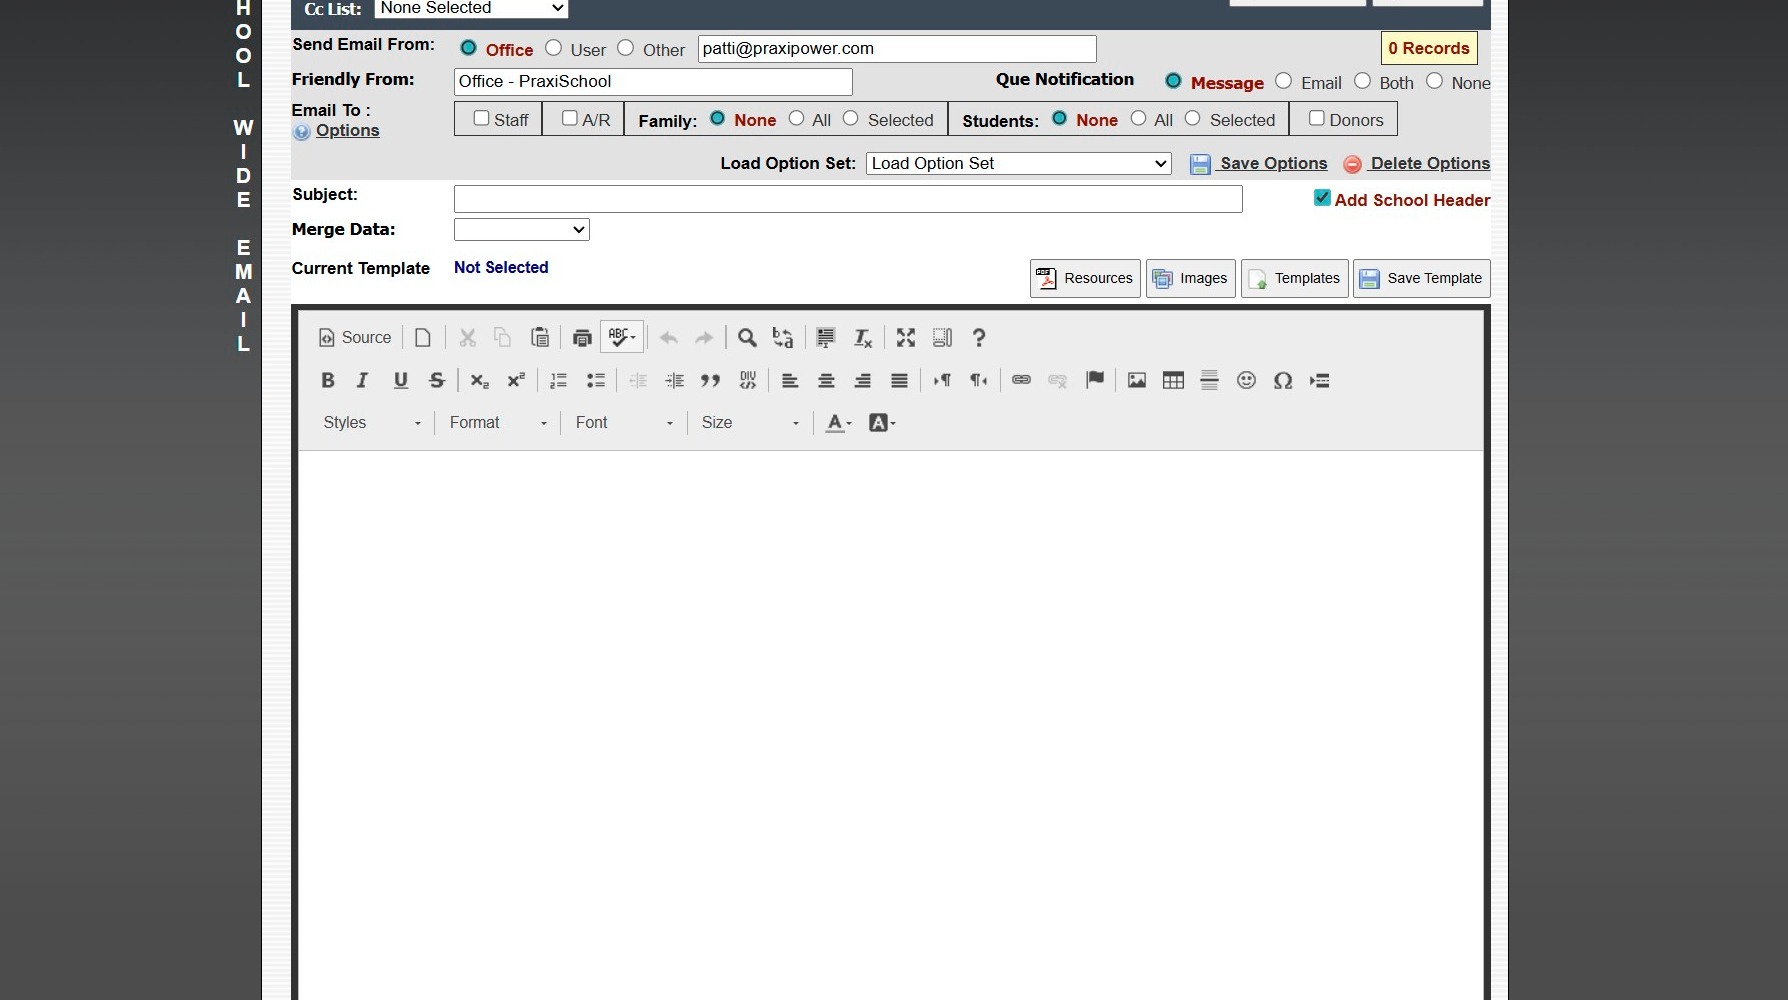
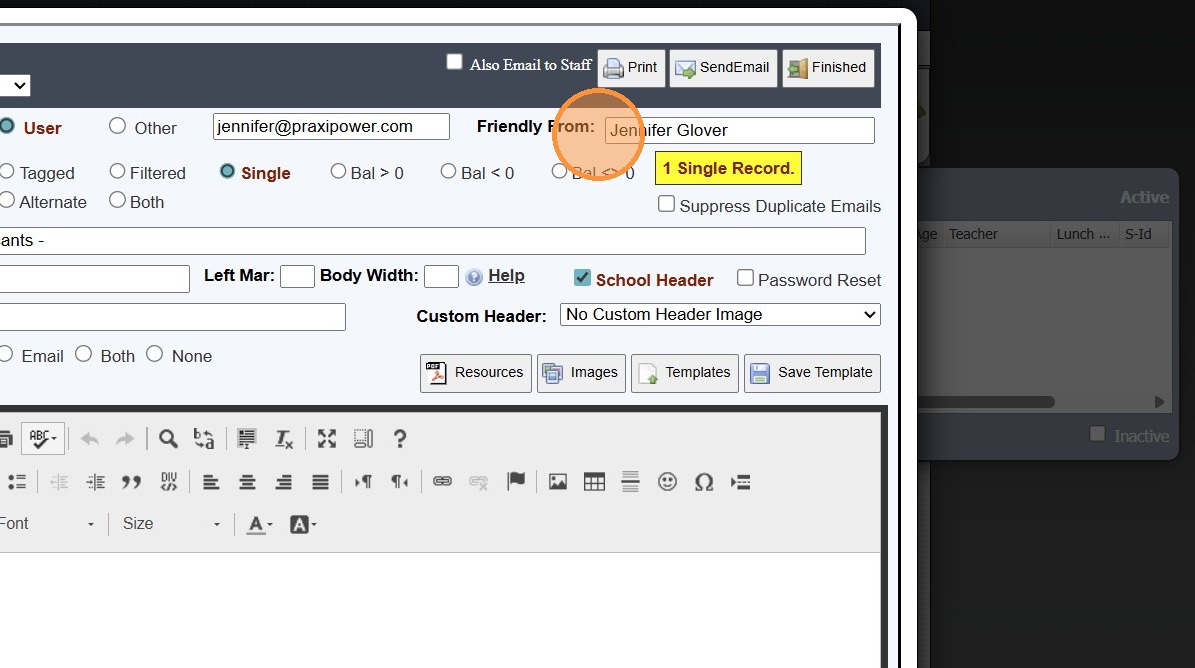
6. Select Send From Option
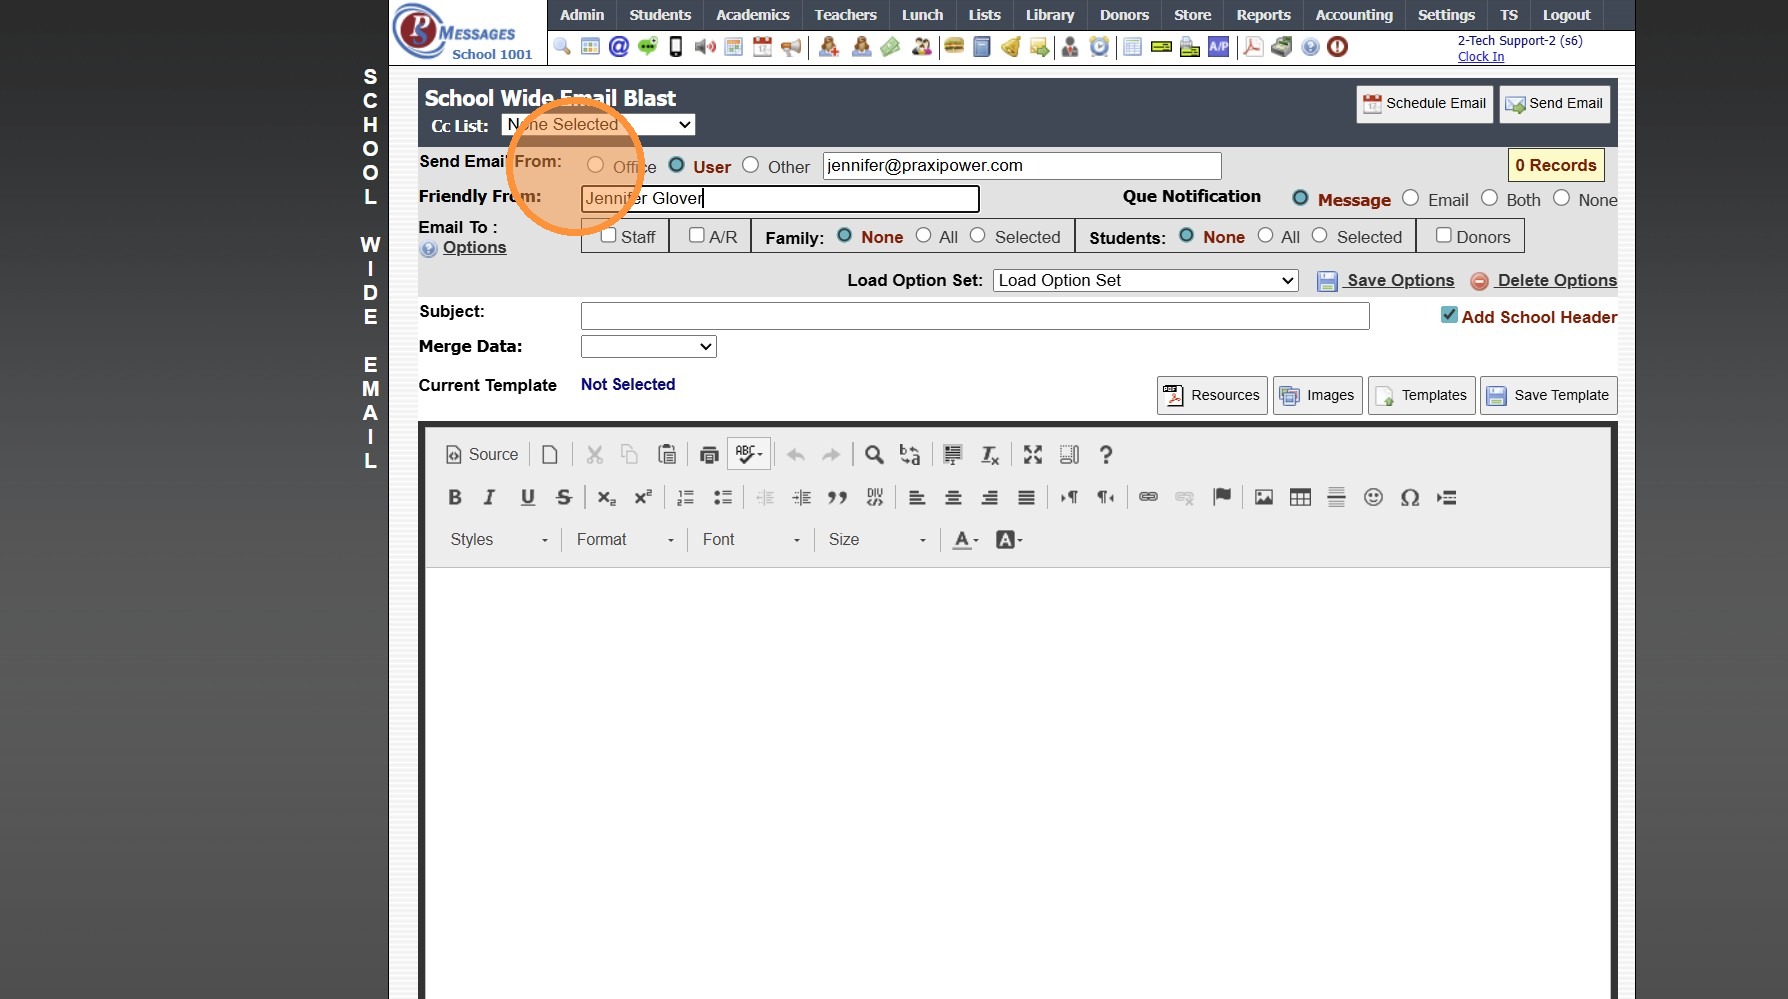
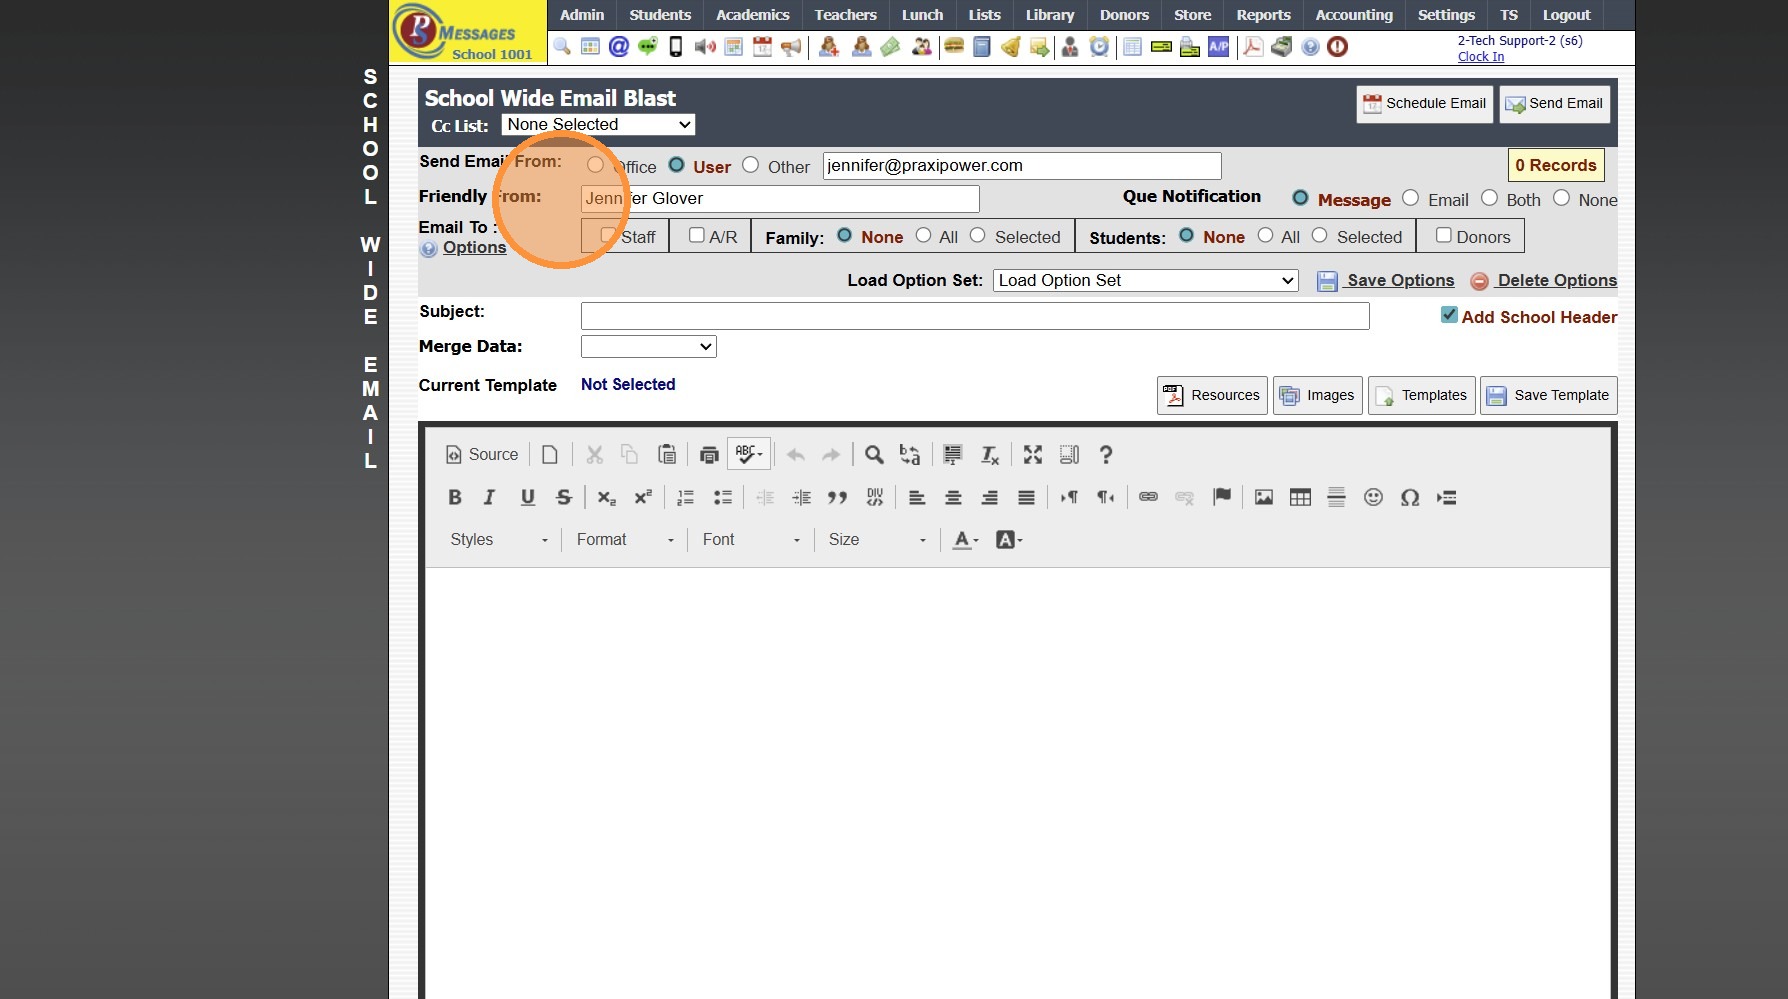
7. Enter Friendly From Name
(The Friend From Name will Save for the User in School Wide Email Blasts)
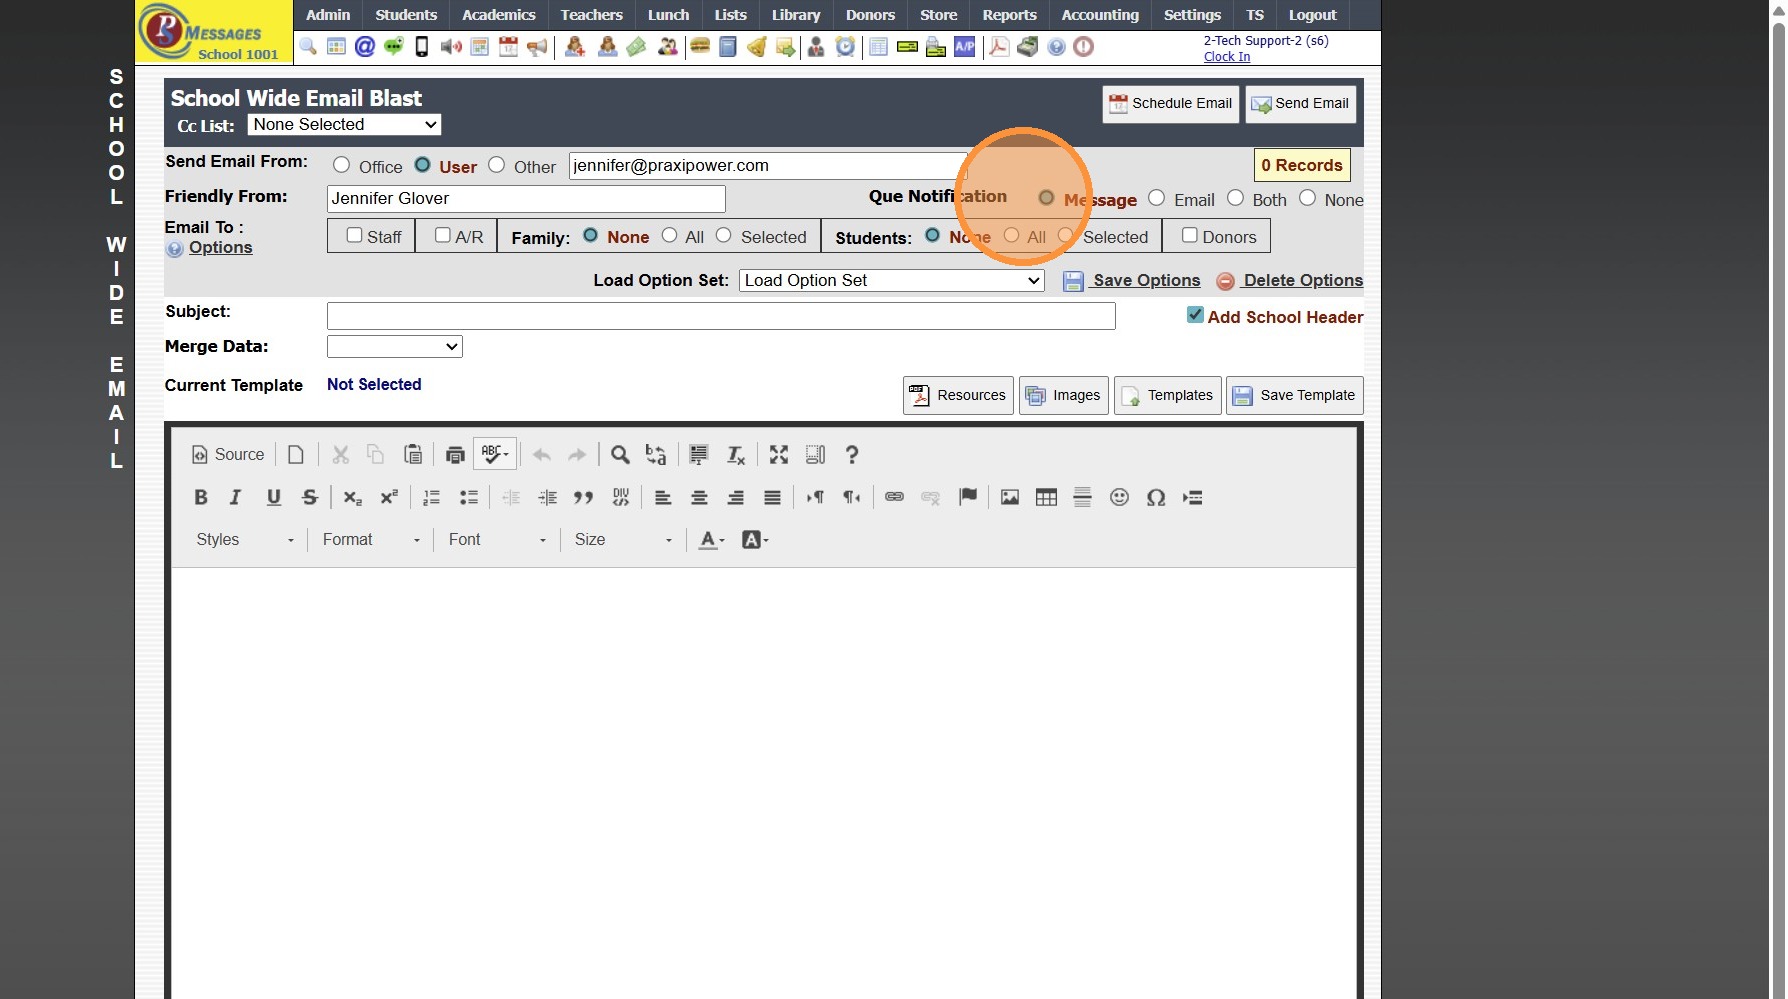
8. Select the Que Notification Option
(Selecting the Que Notification Option determines how Notification is sent once Emails in the Que have been Completed)
Sending Table Specific Emails
9. Select the Table
(Ex. Accounts Receivable, Students, Staff)
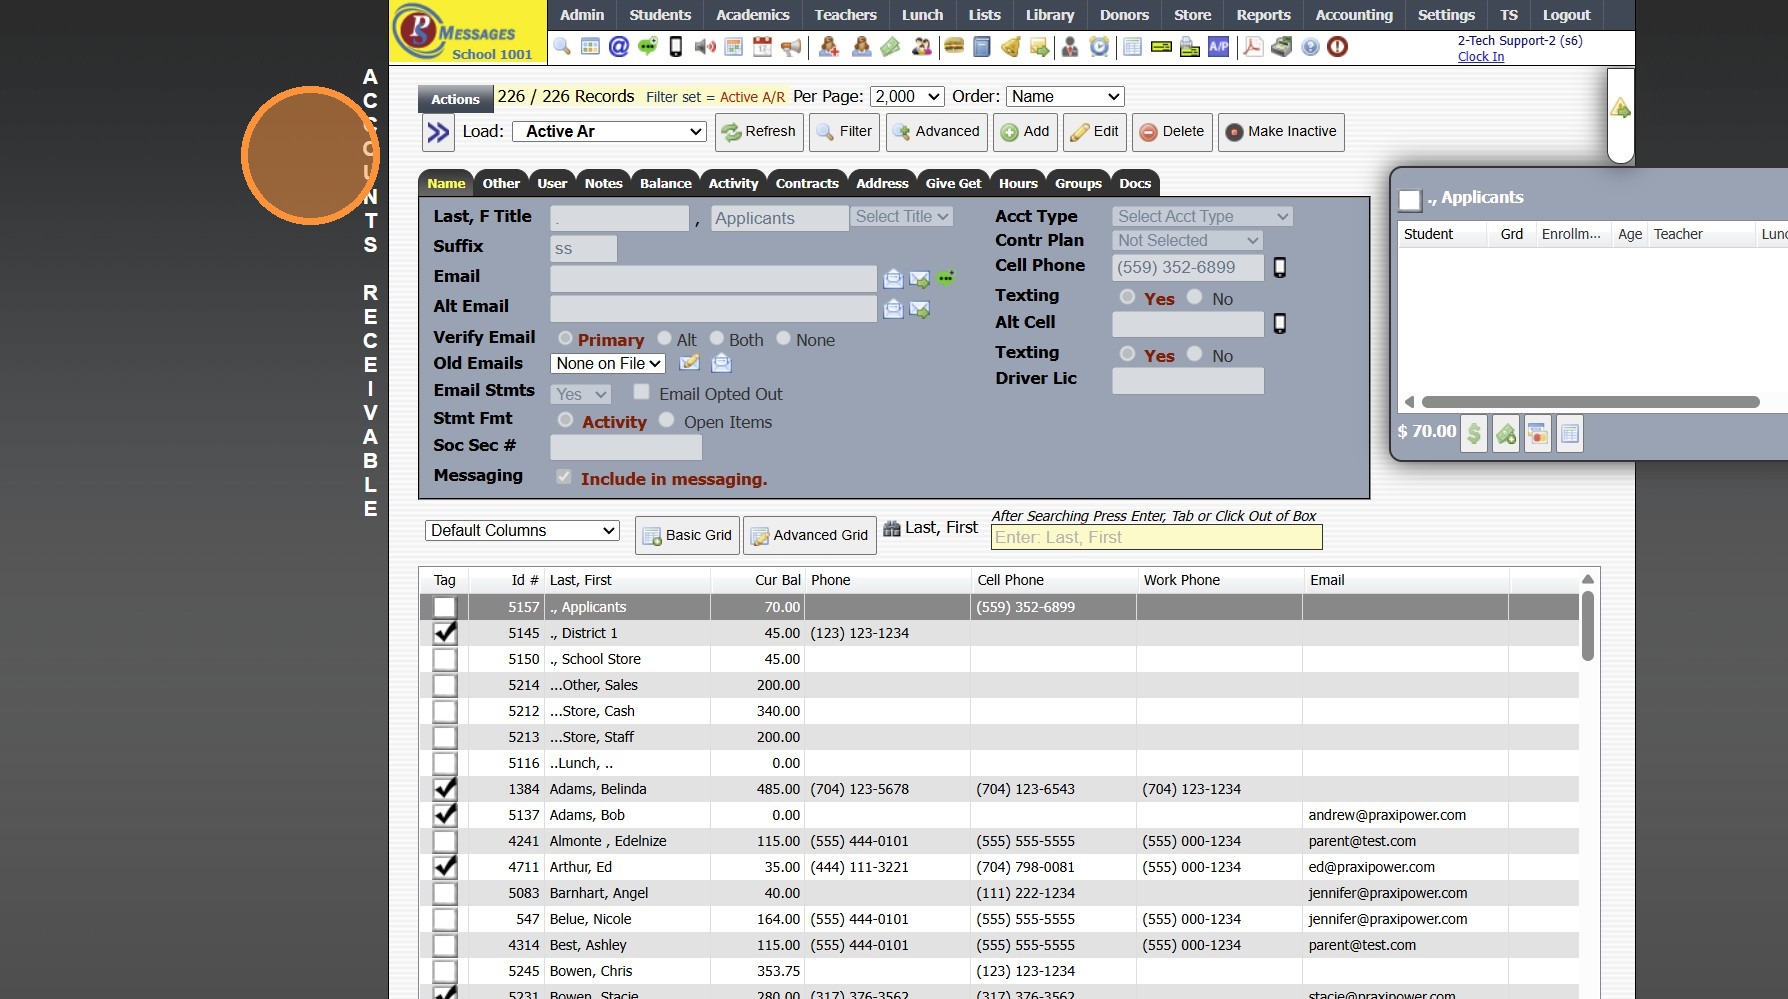
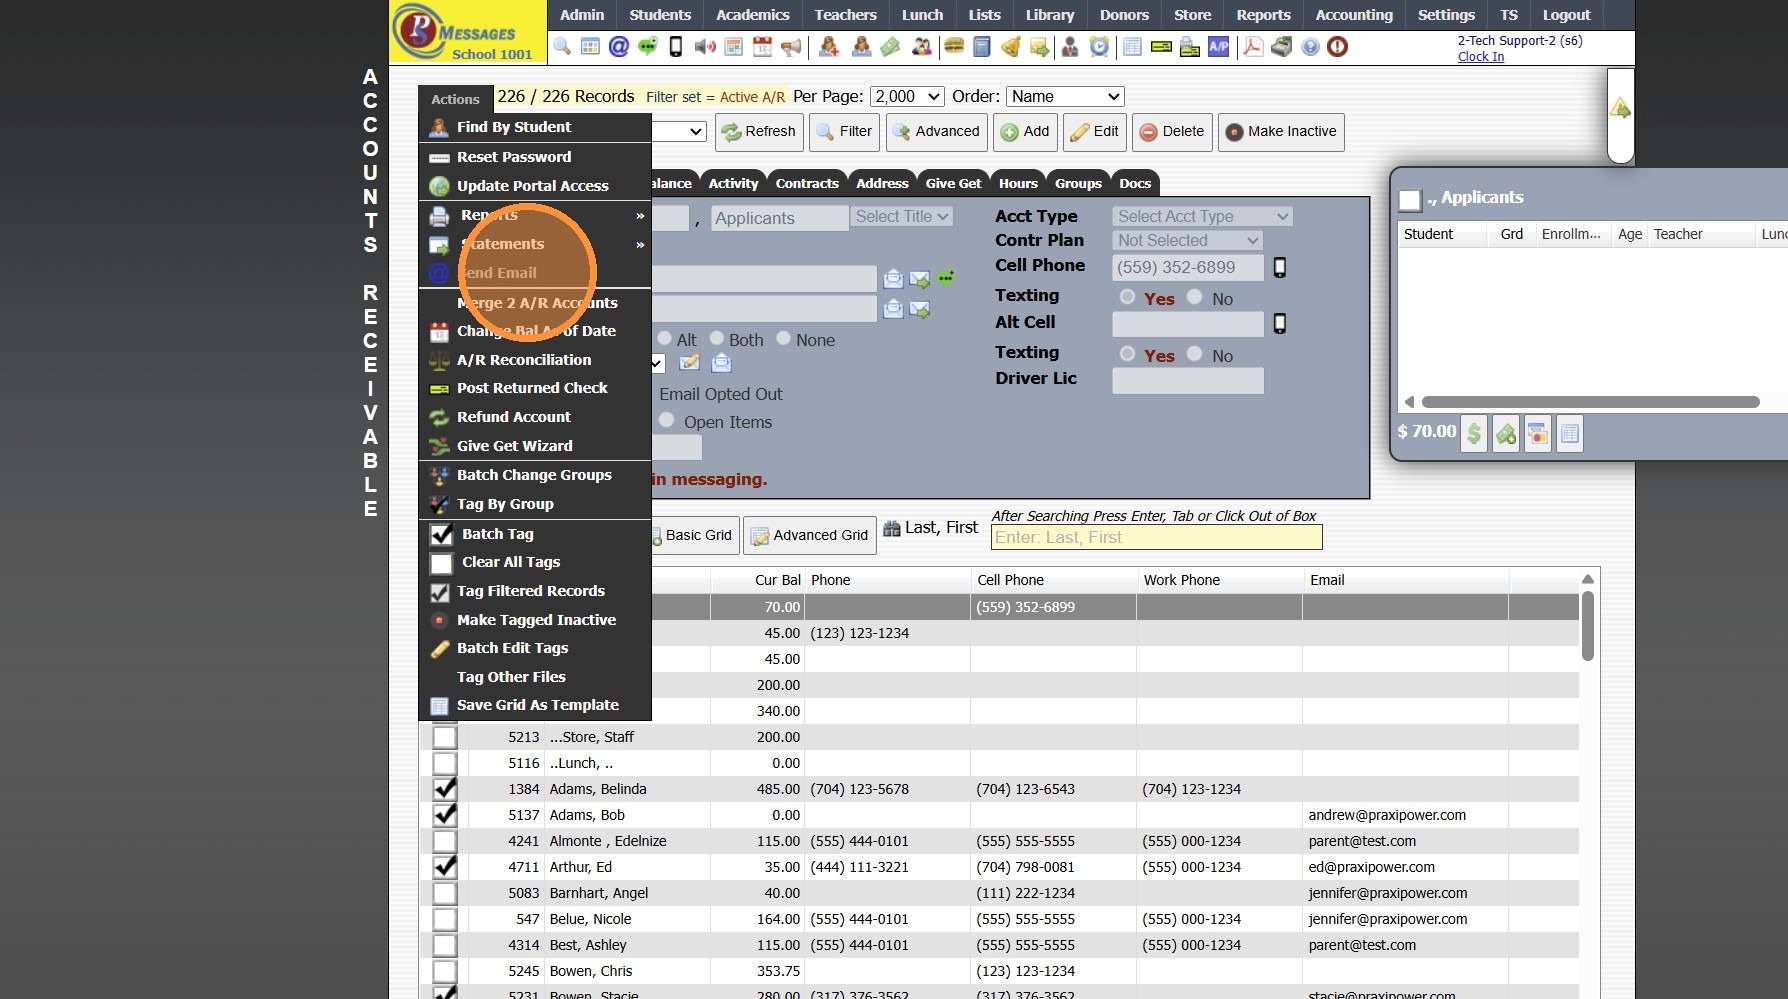
10. Click "Actions"
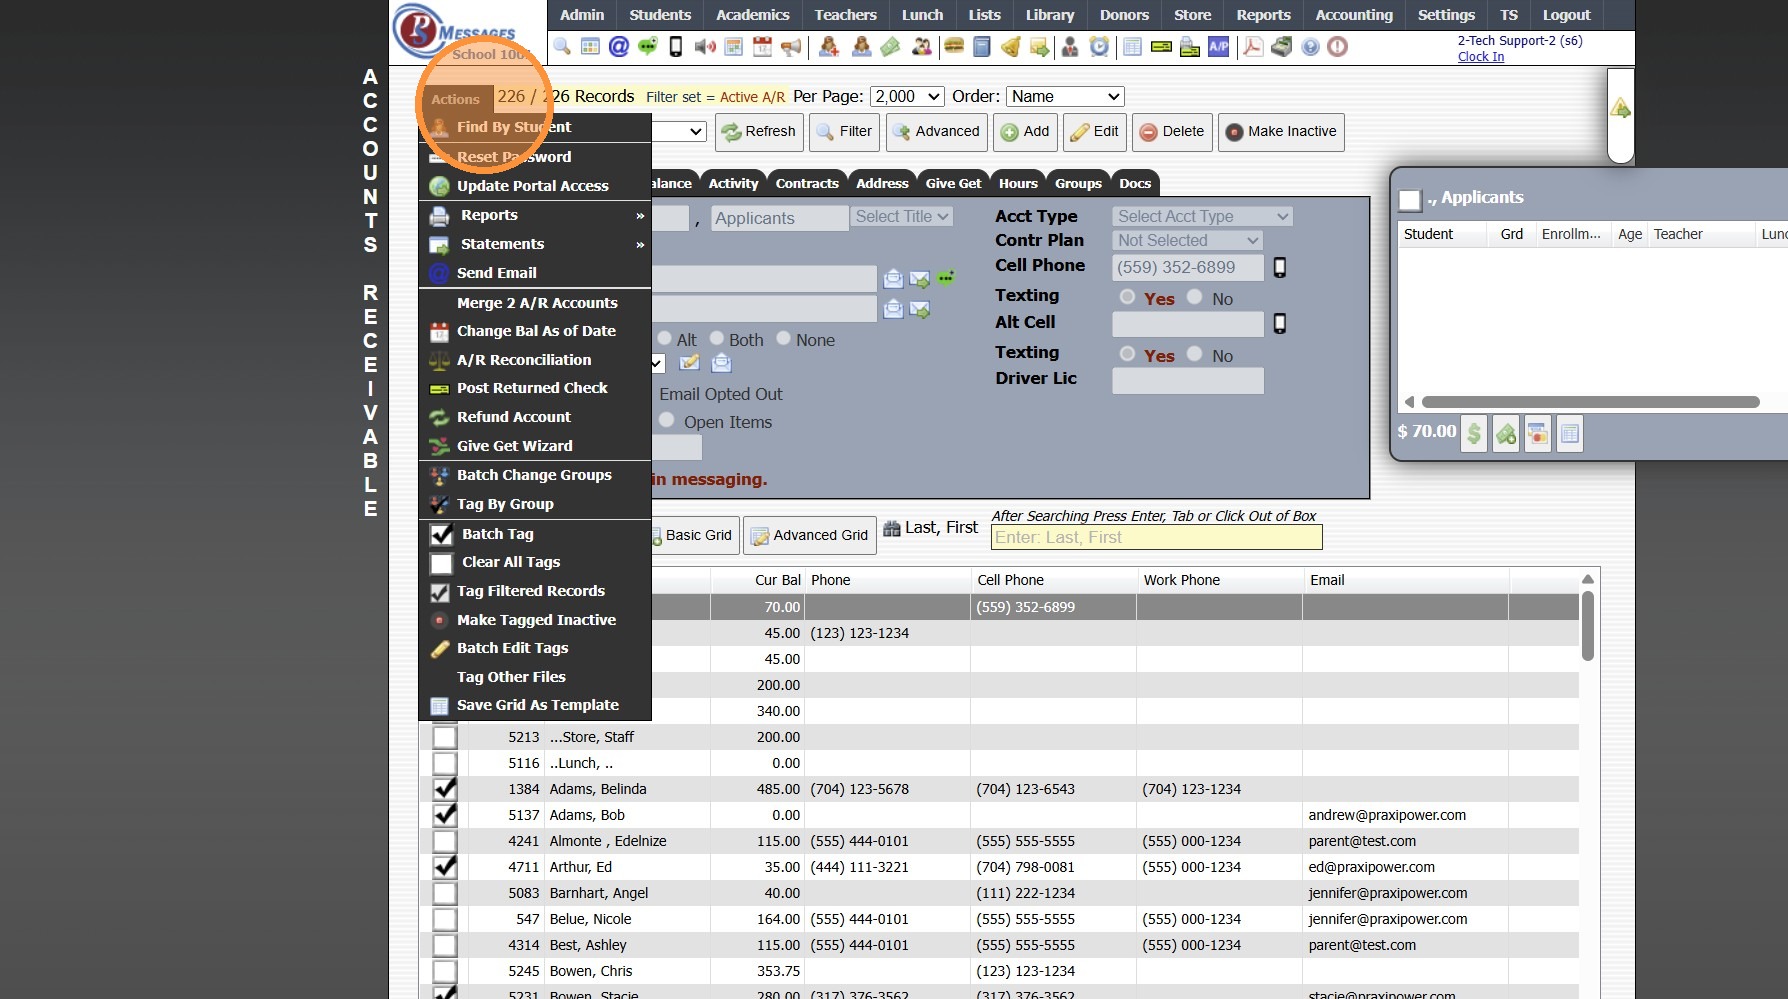
11. Click "Send Email"
12. Select Send From Option
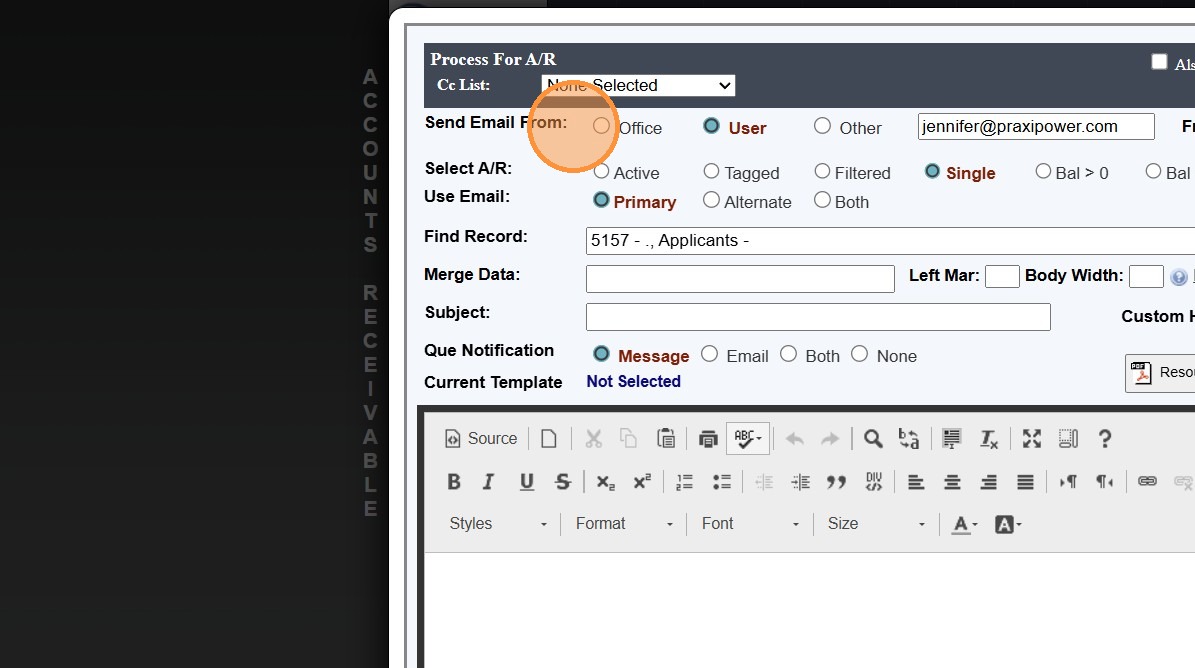
13. Enter Friendly From Name
(The Friend From Name will Save for the User in School Wide Email Blasts)
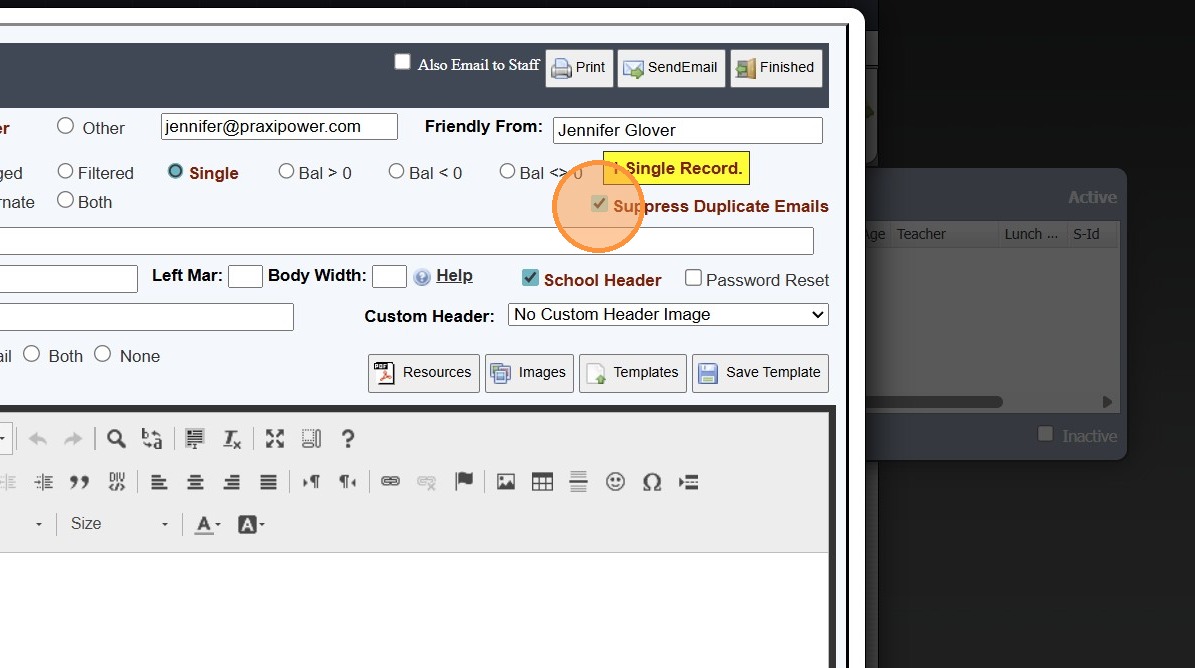
14. Check the "Suppress Duplicate Emails" Box to eliminate duplicate emails being sent
- There may be scenarios where suppress duplicates should not be selected
(Ex. Sending an email where using merging student data to create a form, where the parent should receive a separate email for each student)
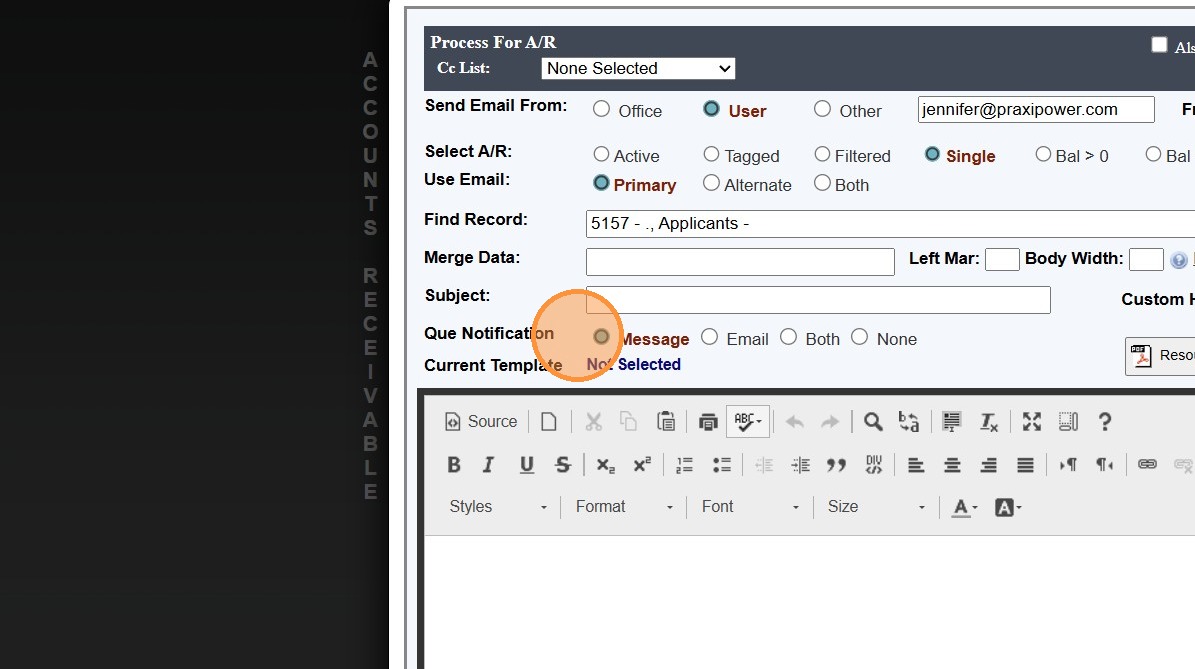
15. Select the Que Notification Option
(Selecting the Que Notification Option determines how Notification is sent once Emails in the Que have been Completed)
Related Articles
Creating Student Email Address Using School Domain
Creating Student Email Address Using School Domain 1. Click "Students" 2. Click "Students" 3. Click "Batch Tag" 4. Batch Tag by Grade Level or for All Grade Levels 5. Click "Tag Students" 6. Click "Close & Set Filter" 7. Click "Actions" 8. Click ...Viewing Scheduled Emails
1. Click "Admin" 2. Click "Communications ⇒" 3. Click "Scheduled Emails" 4. Select Scheduled Email 5. In the Options tab Selected Email Options are Visible 6. Click "Email" to View Email Verbiage 7. Click "Recipients" tab to View Selected Recipients ...Using Merge Data Fields in Emails
1. Select Database to Send Email From 2. Click "Actions" 3. Click "Send Email" 4. Click "Dear ^arFirstName^ ^arLastName^,^firstName^ has been invited to sing at this year's Spring Chorus Concert! Please complete the attached form giv..." 5. Select ...Subscribing to PraxiSchool Updates Emails
Subscribing to PraxiSchool Updates Emails 1. Log into PraxiSchool 2. Click "Settings" 3. Click "Subscribe-Update Email" 4. Enter Email, First Name, Last Name, School Name and ID Number 5. Select Appropriate Group 6. Click "Submit" 7. Click "Submit" ...Invalid Email Report
Invalid Email Report 1. Login to PraxiSchool 2. Click "Reports" 3. Click "Email Suppressions" 4. Click the "Invalid Emails in Database" field 5. Invalid Email List provides Necessary Information for Locating Invalid Email Address for Correction. ...