Creating a Store
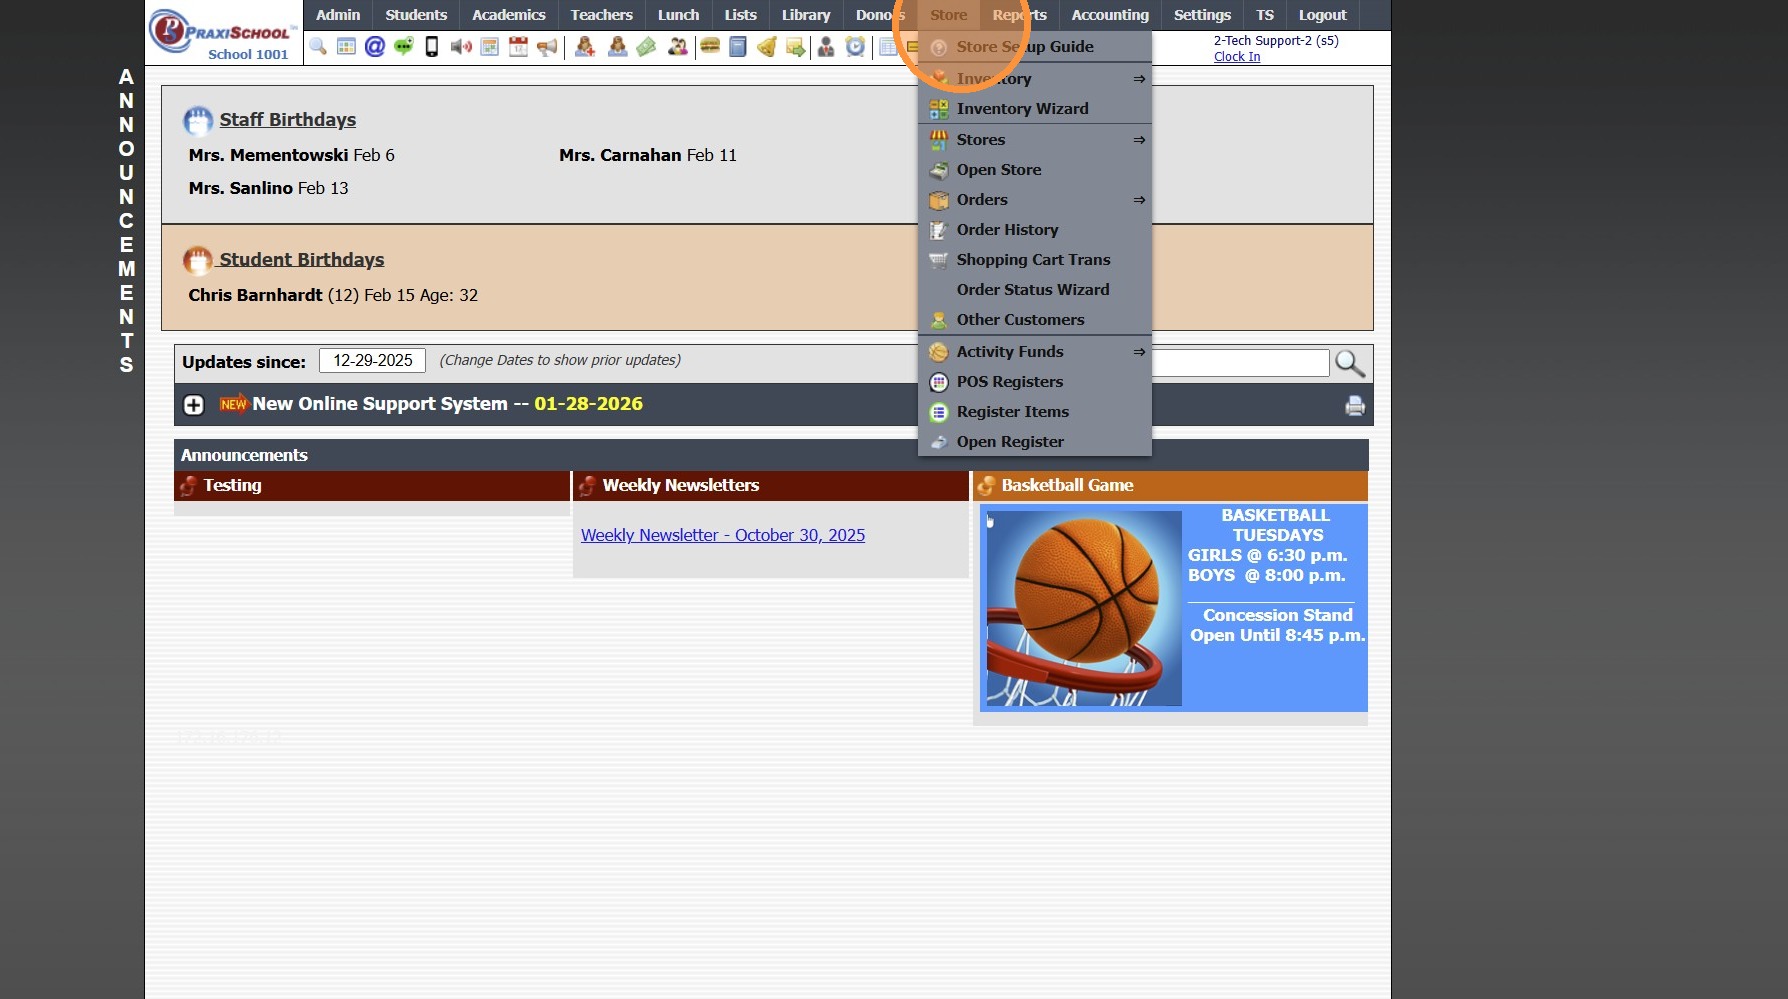
1. Click "Store"
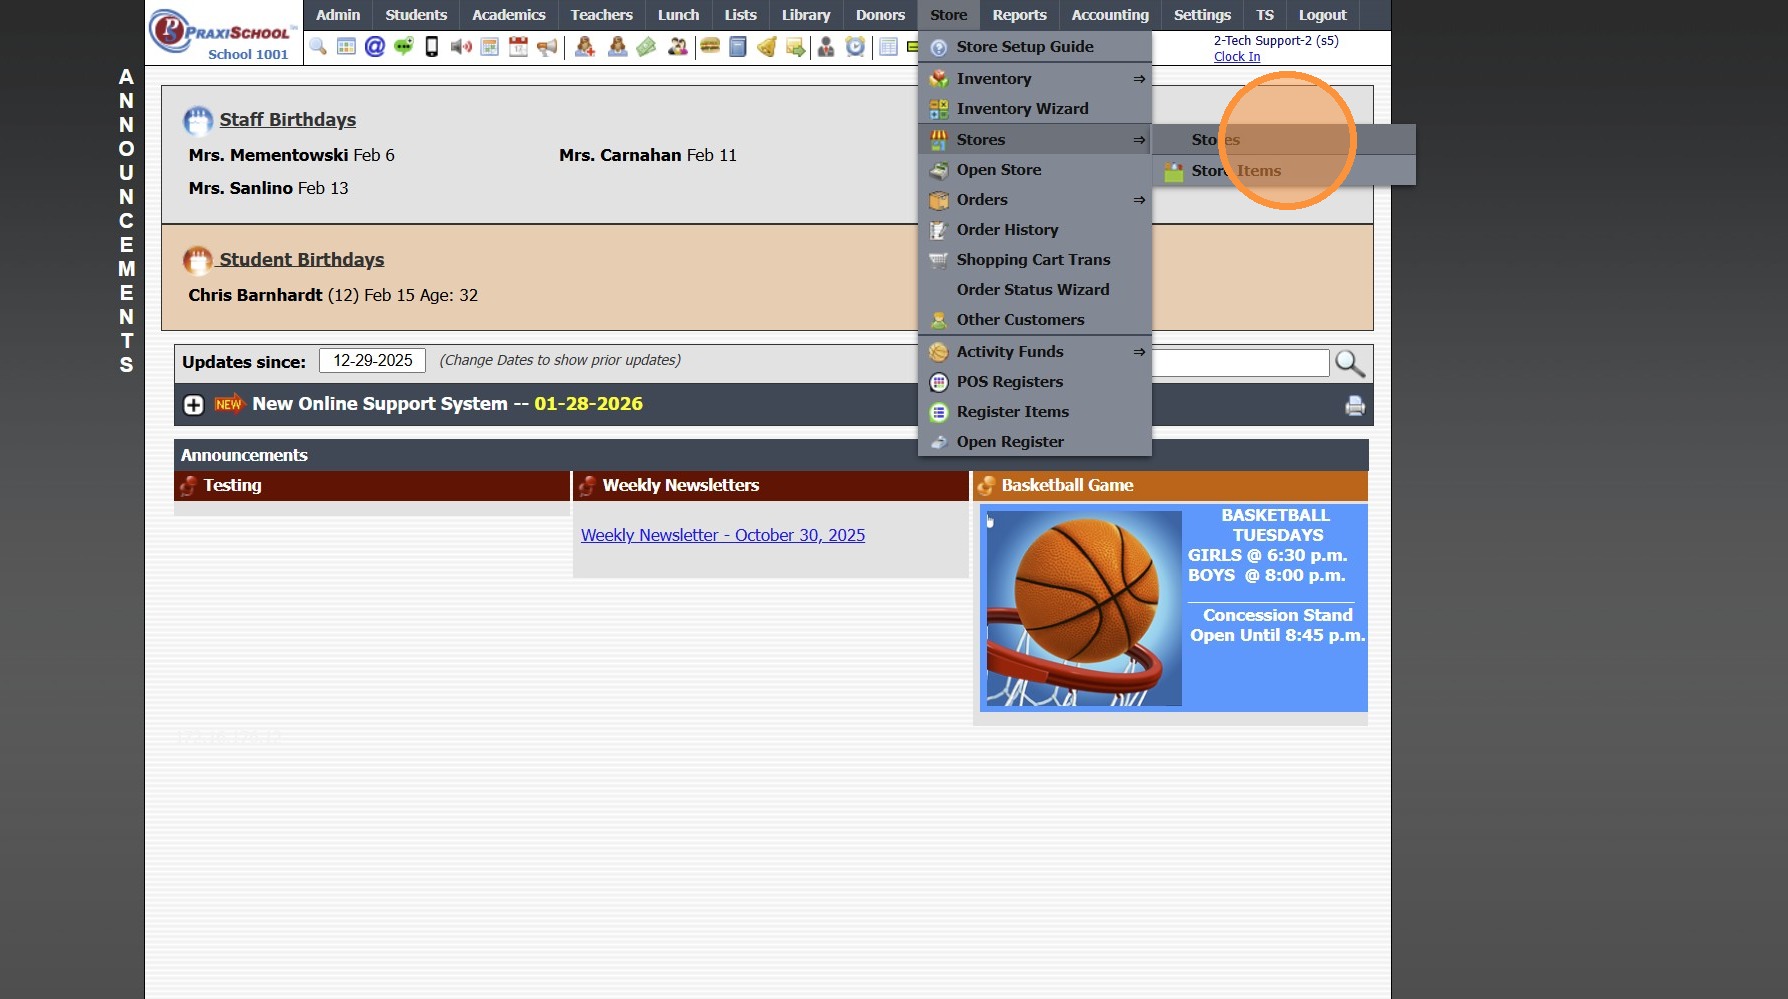
2. Click "Stores"
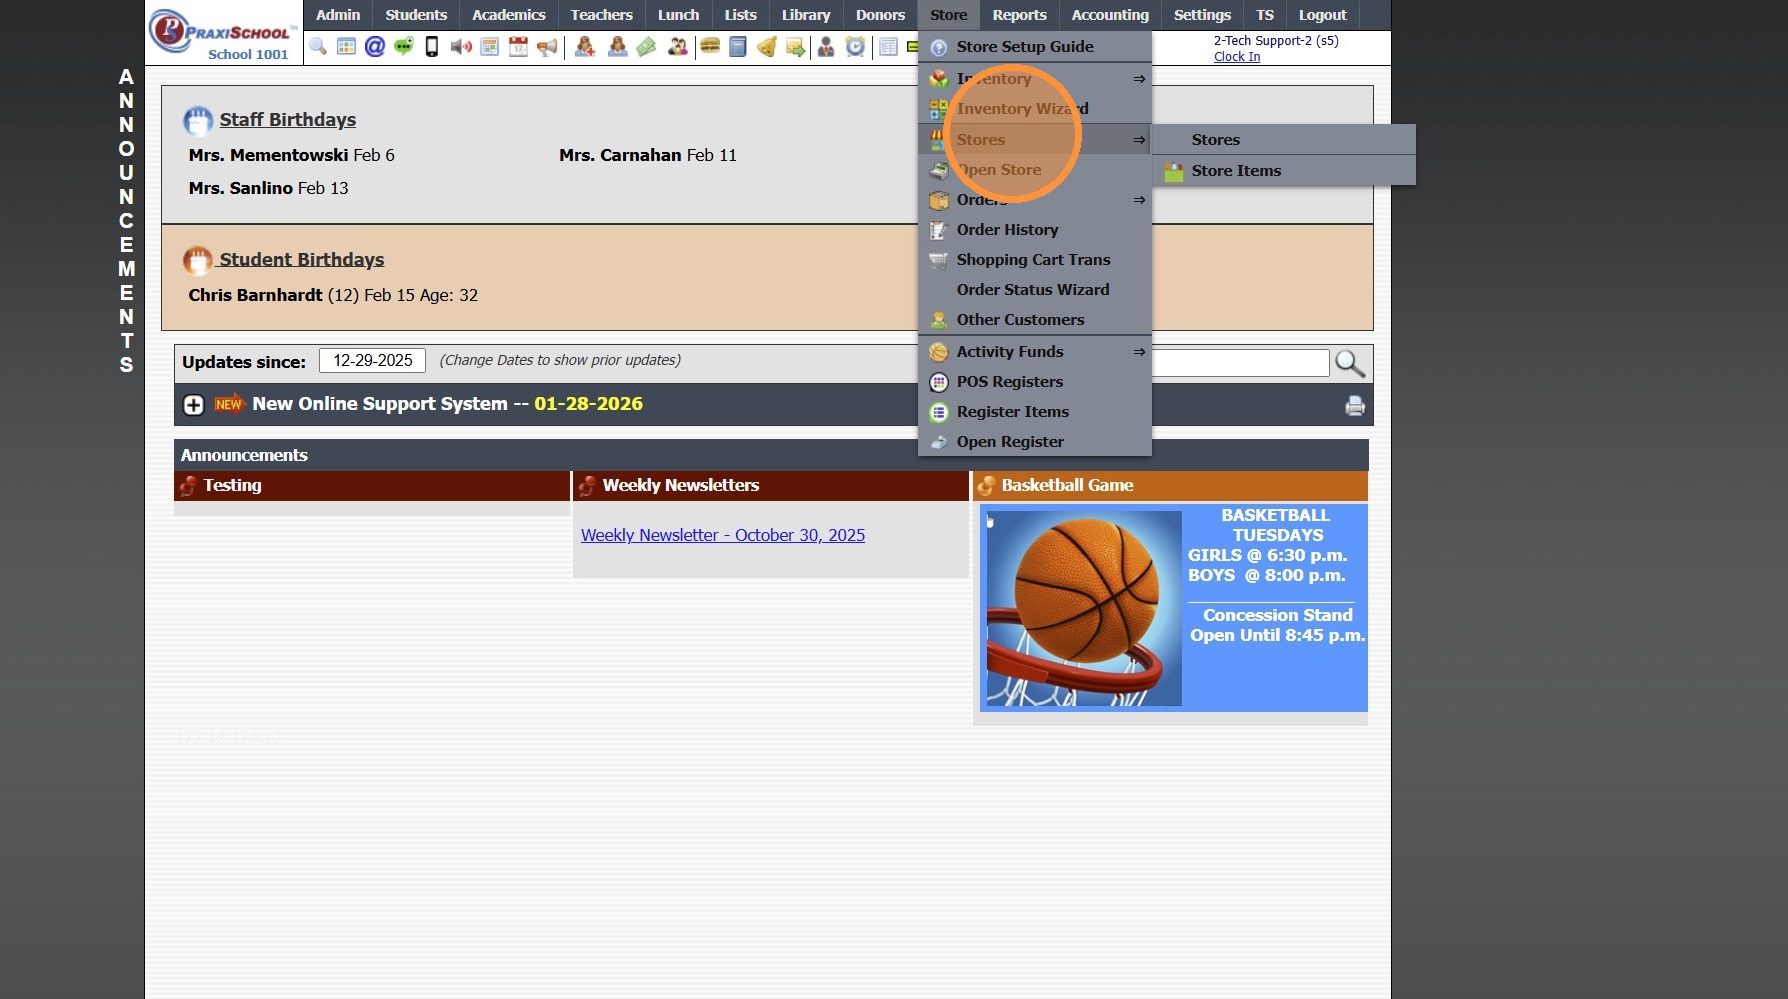
3. Click "Stores"
4. Click "Add"
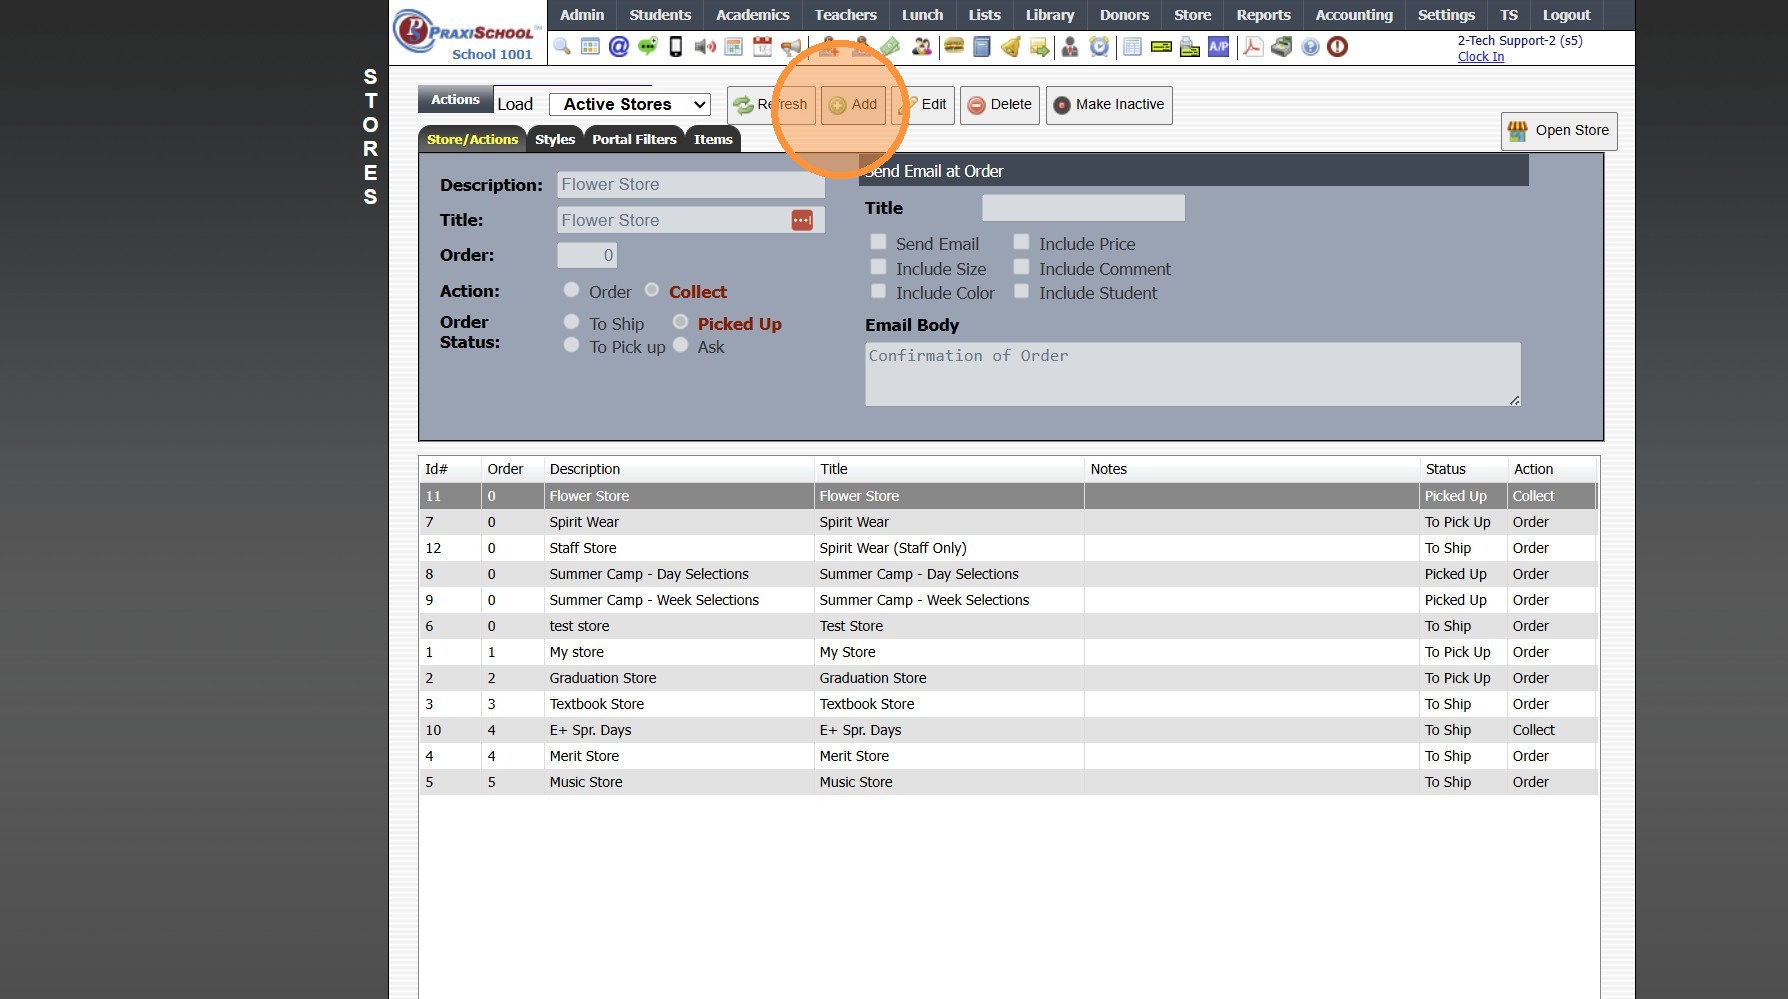
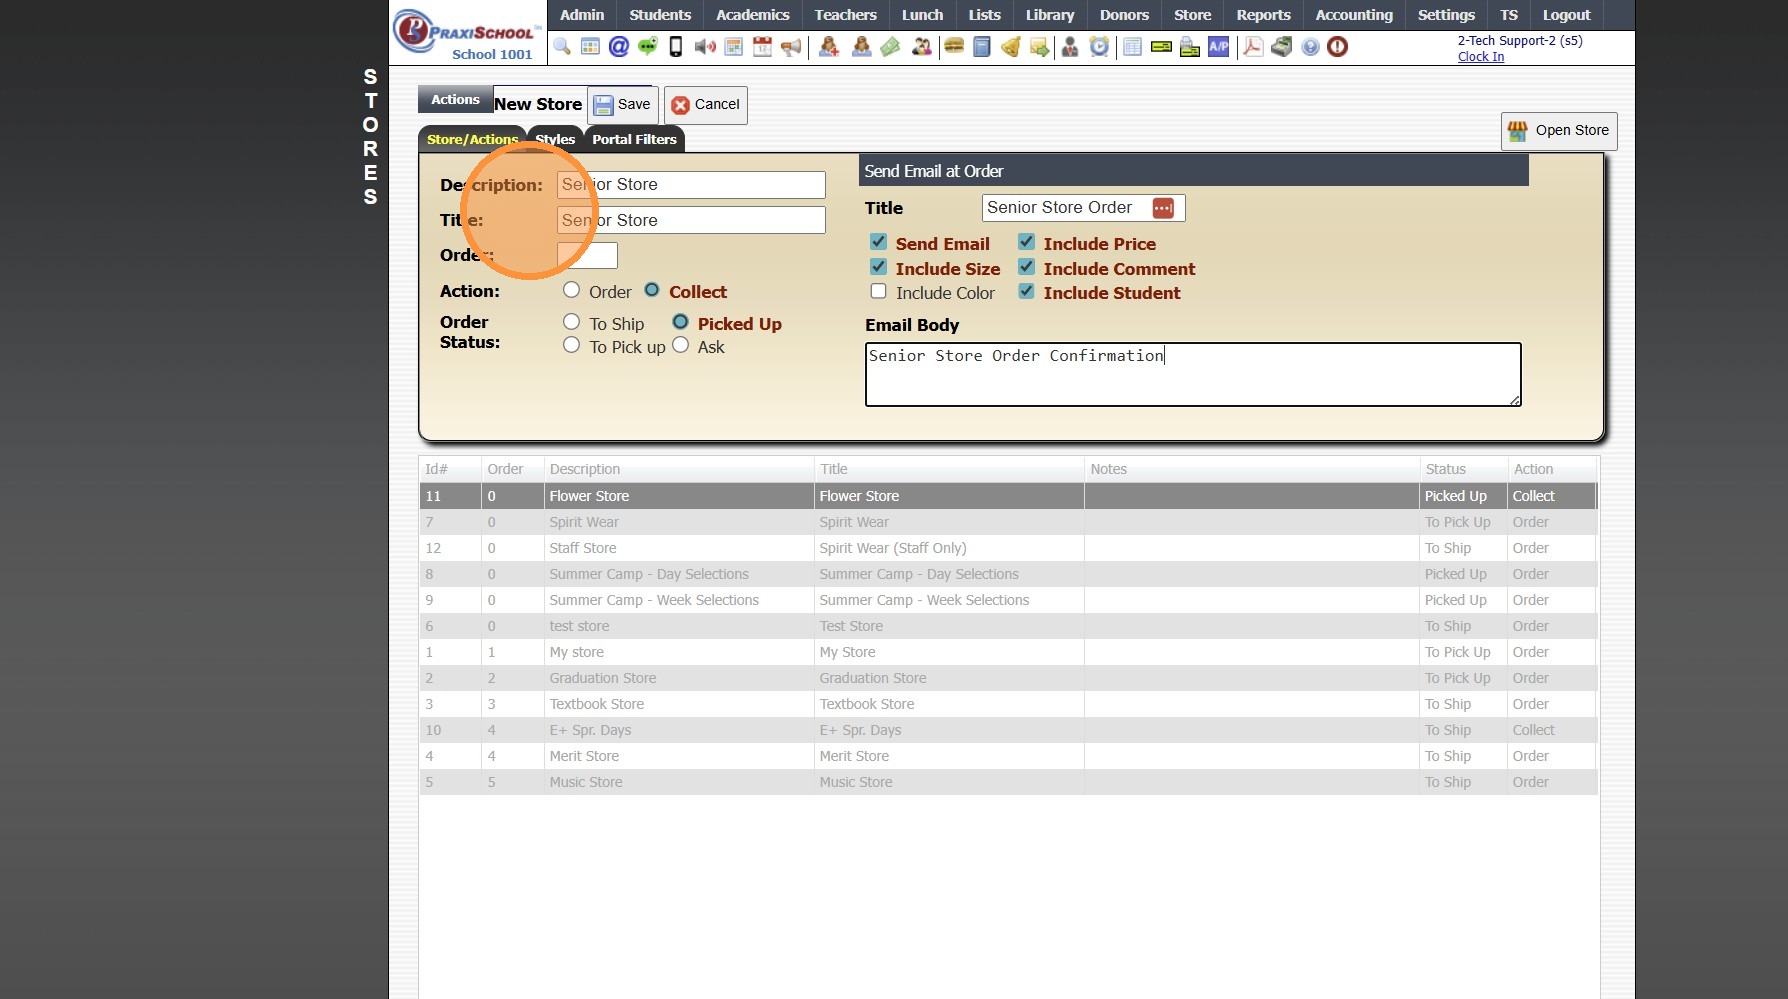
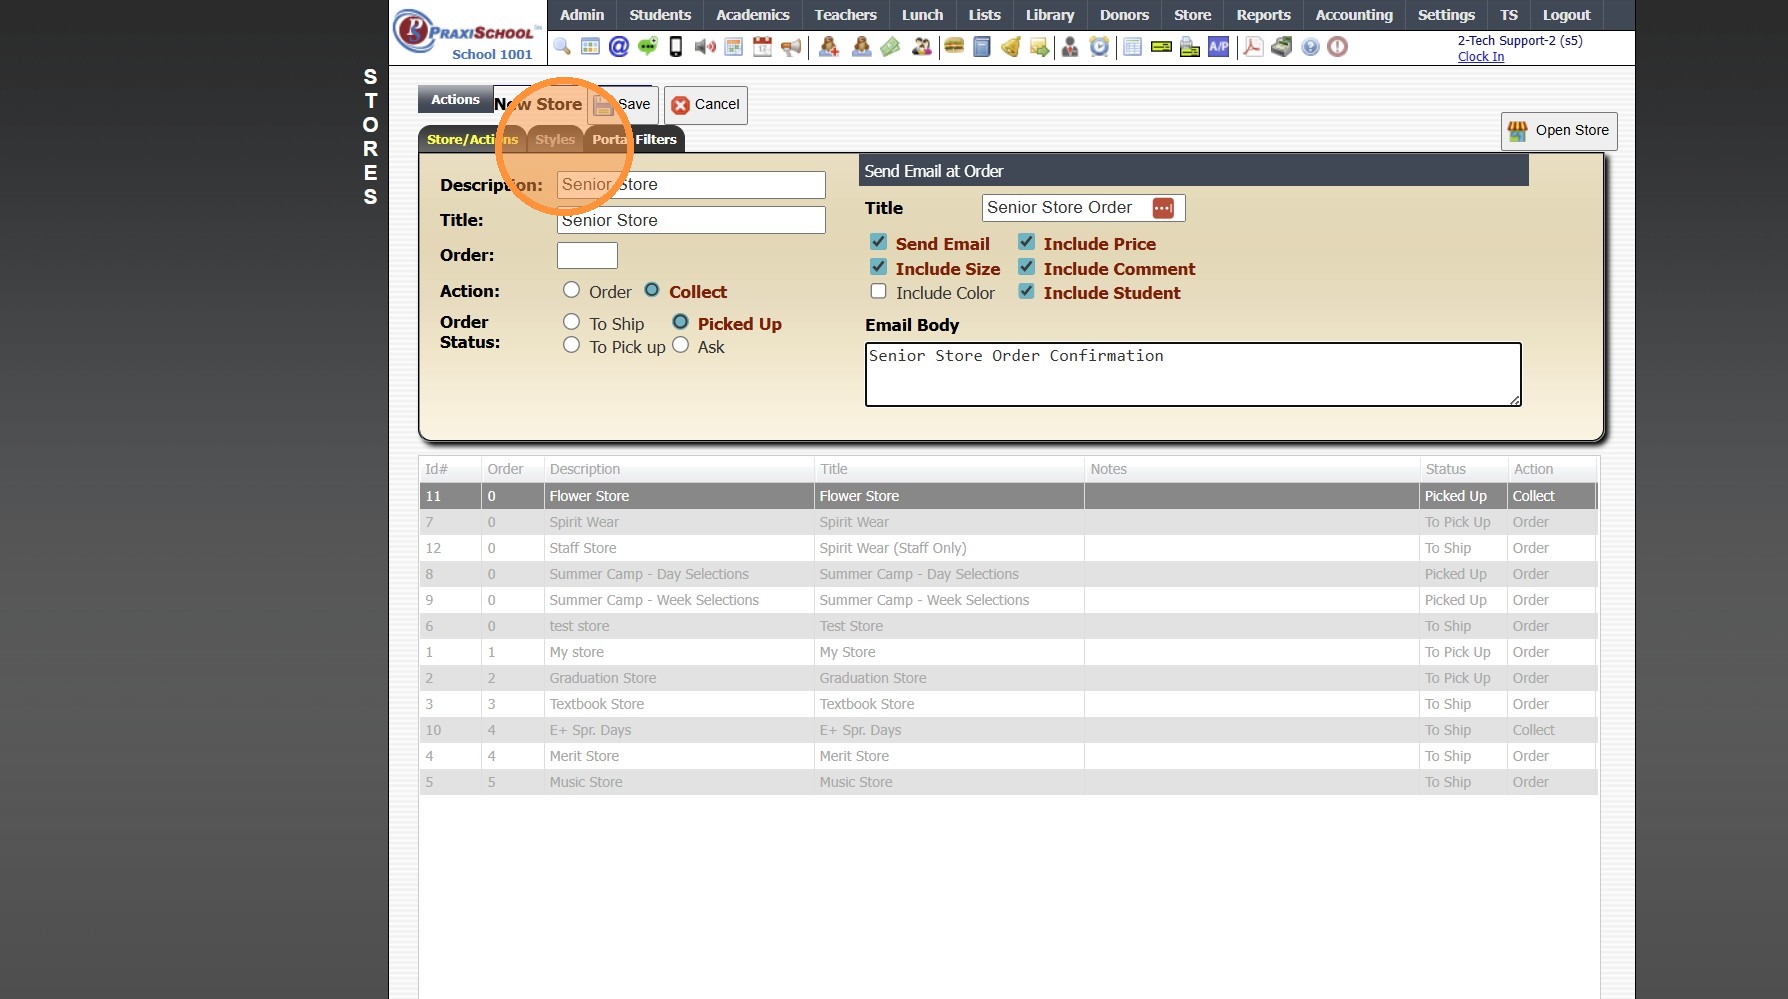
5. Enter Description & Title
(Title Appears on Portal Store)
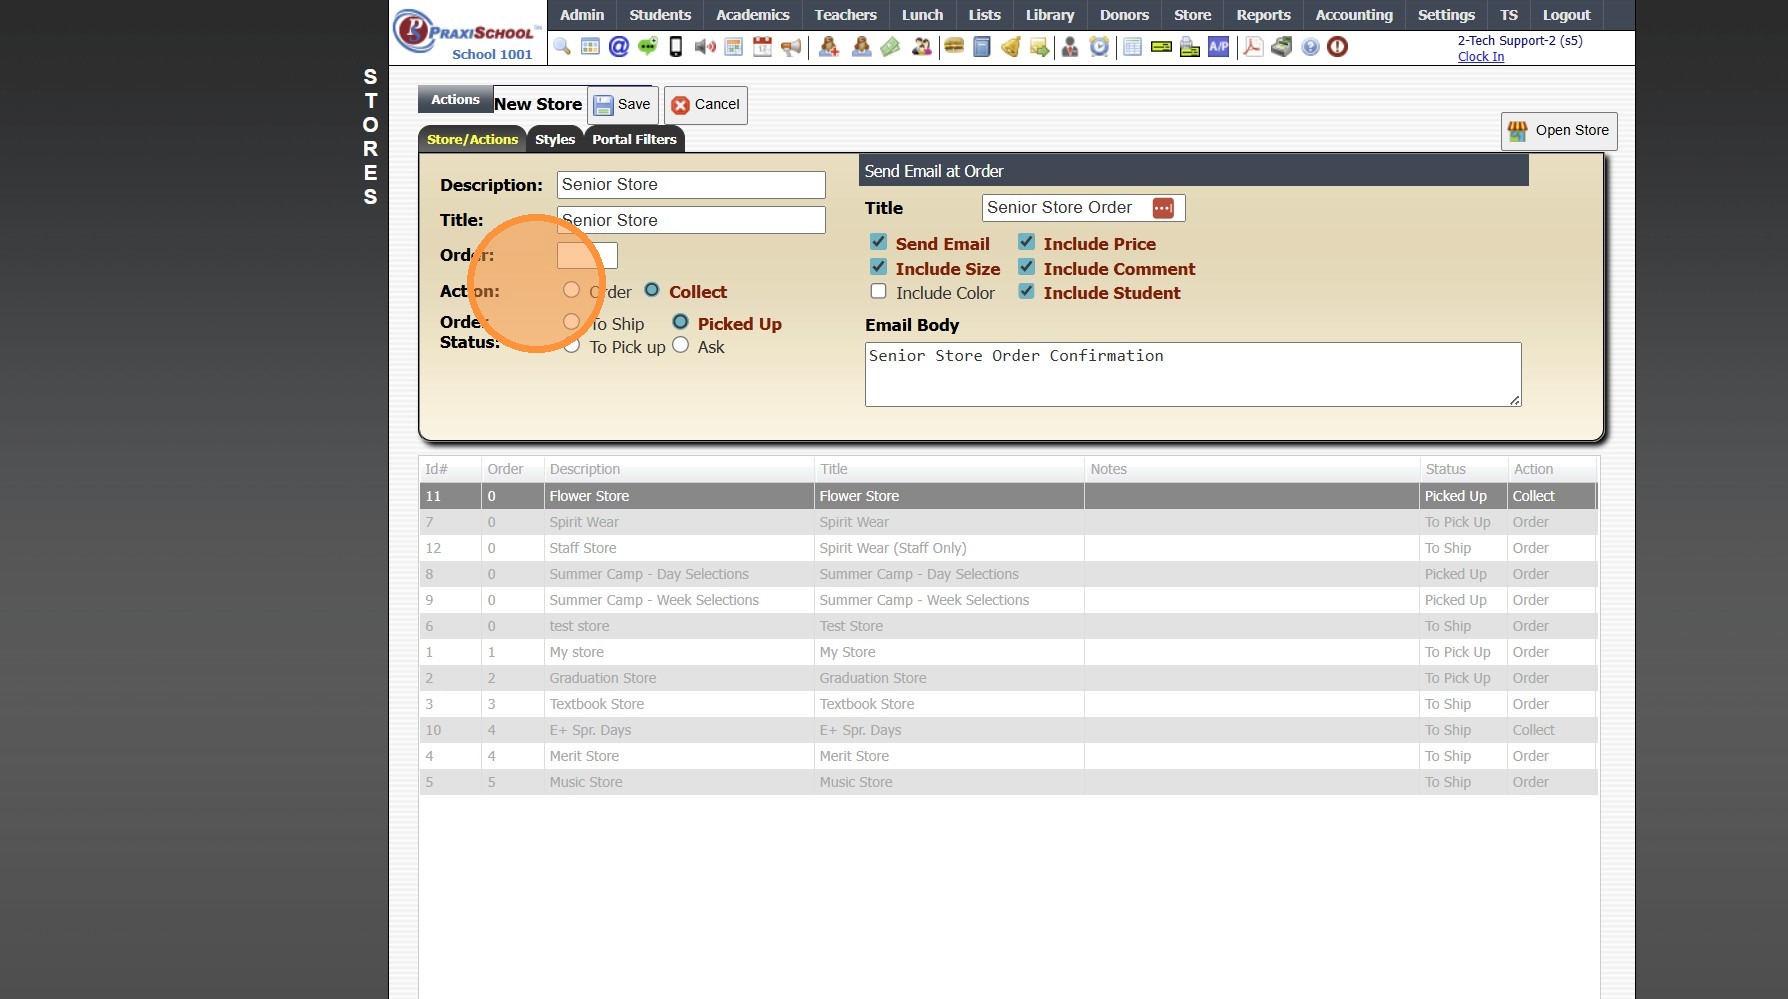
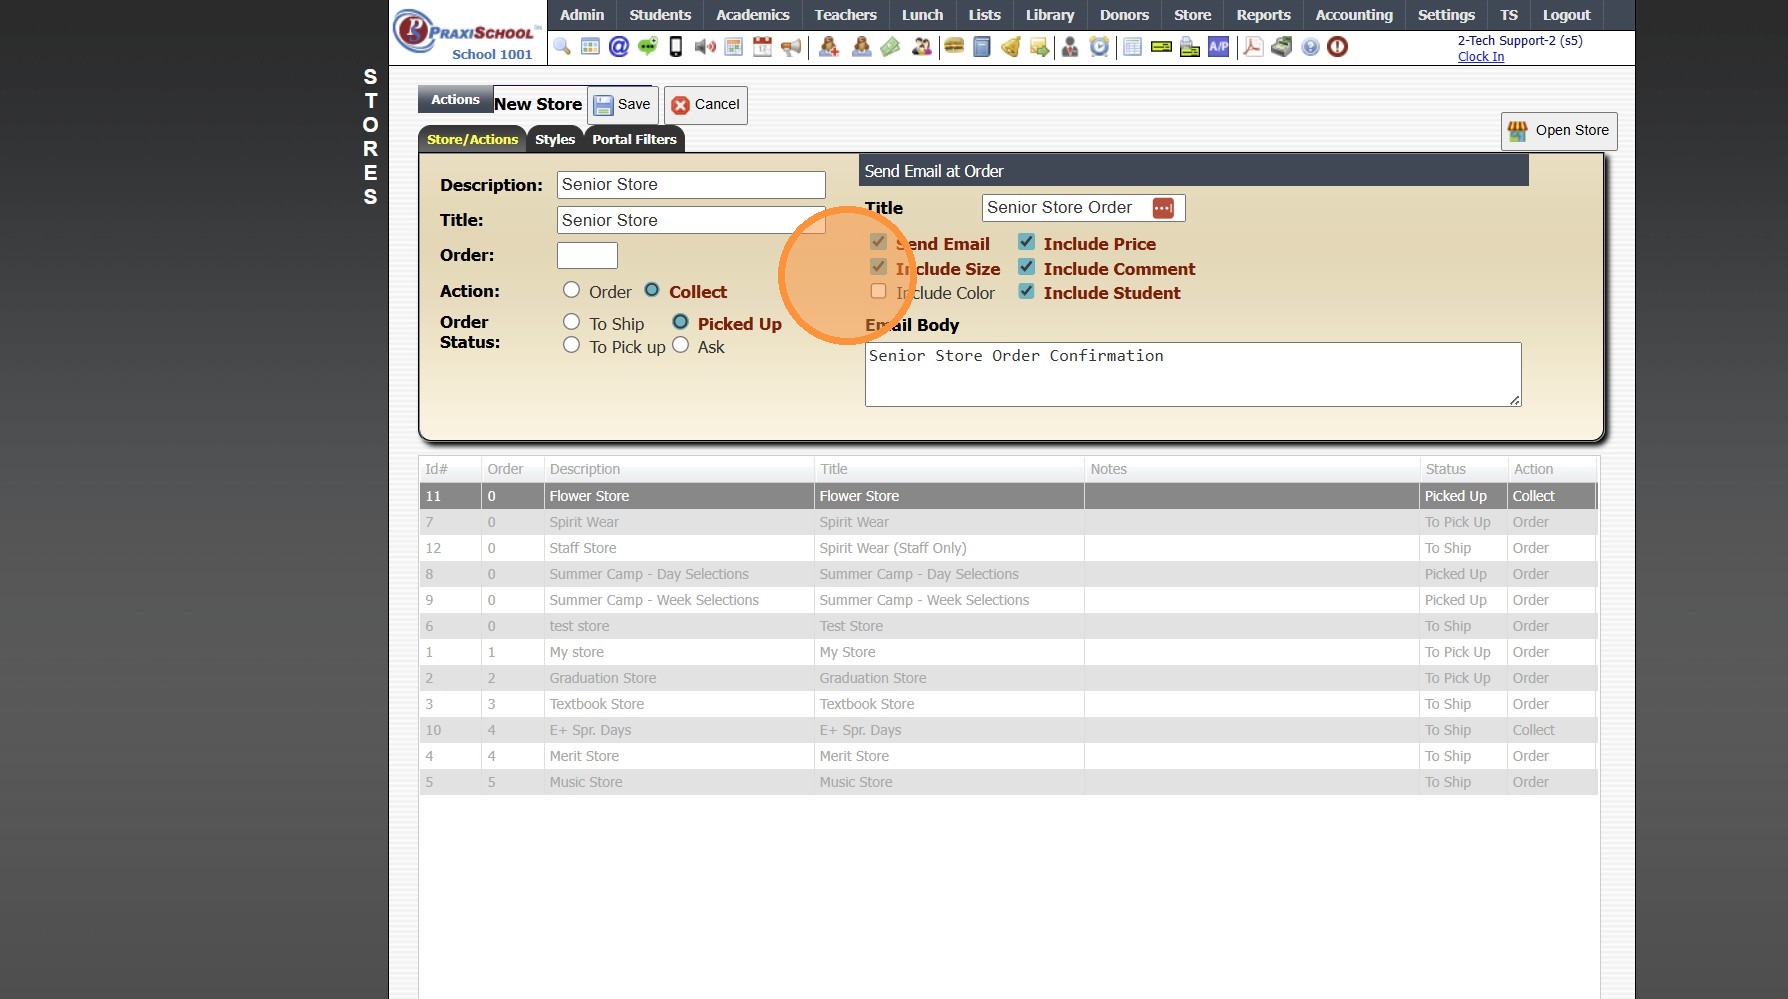
6. Select Action (Order or Collect)
(Stores set to Collect require Payment on Submission of Store Order)
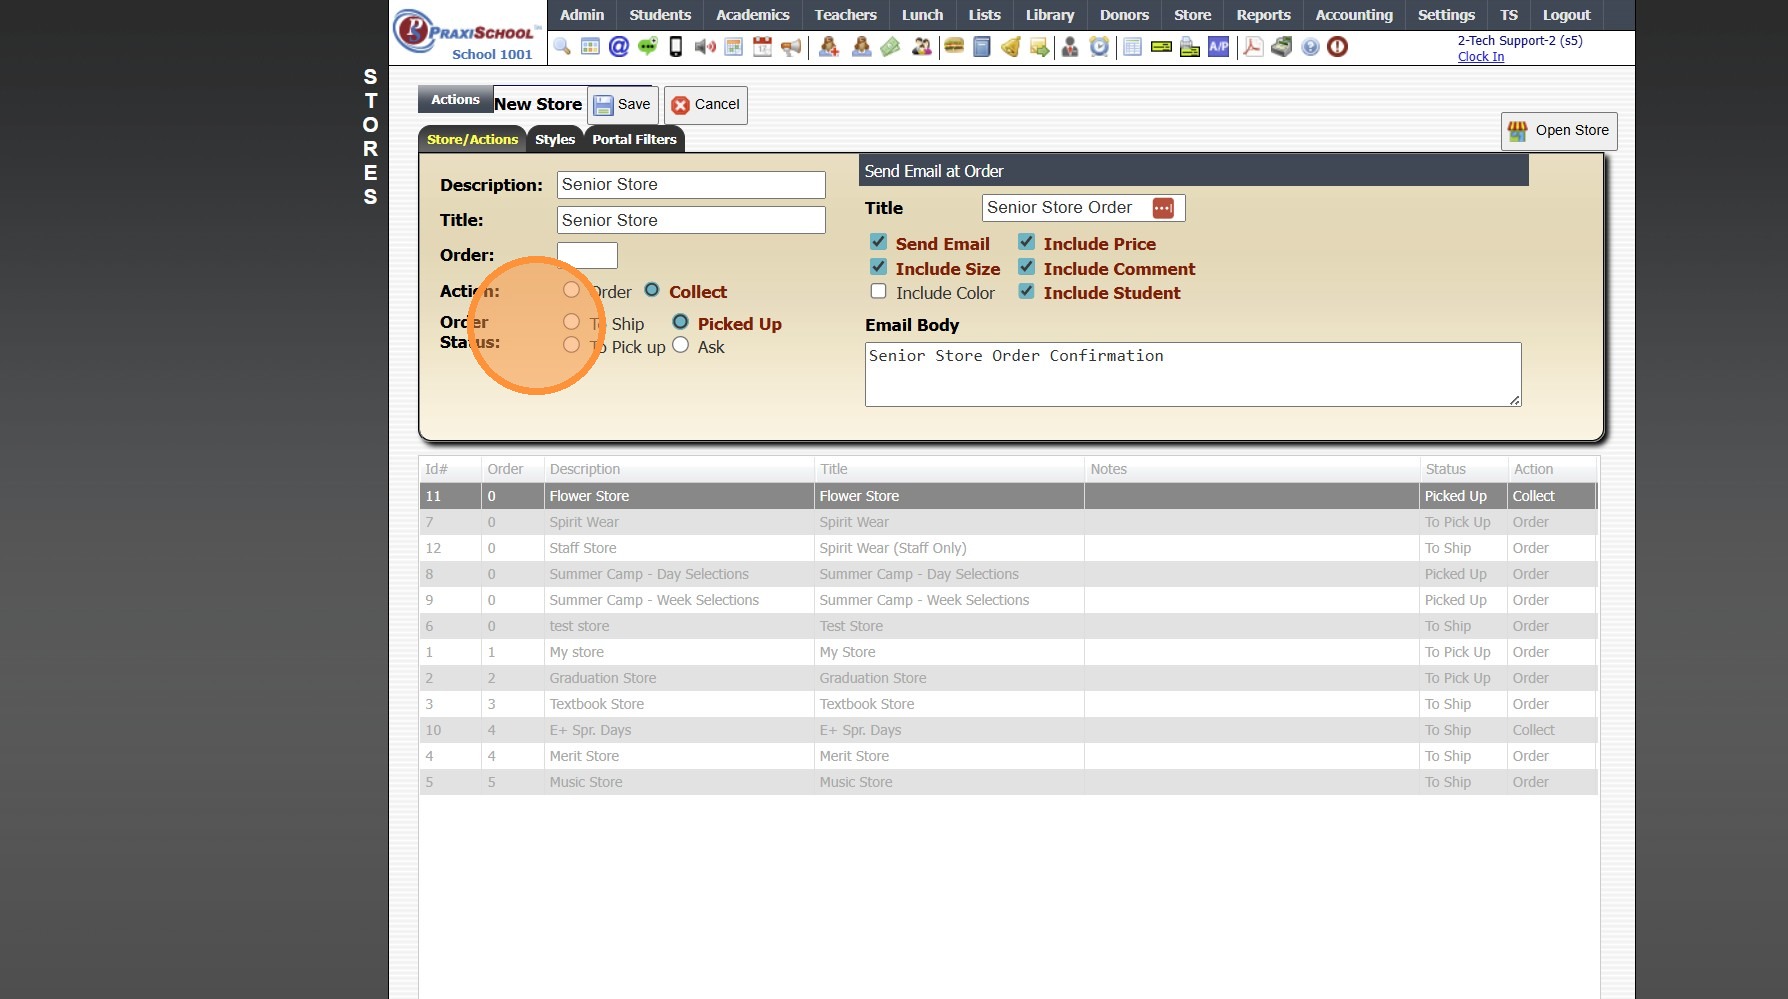
7. Select Order Status (To Ship, Picked Up, To Pick Up, Ask)
8. If Sending Email Confirmation, Enter Email Title
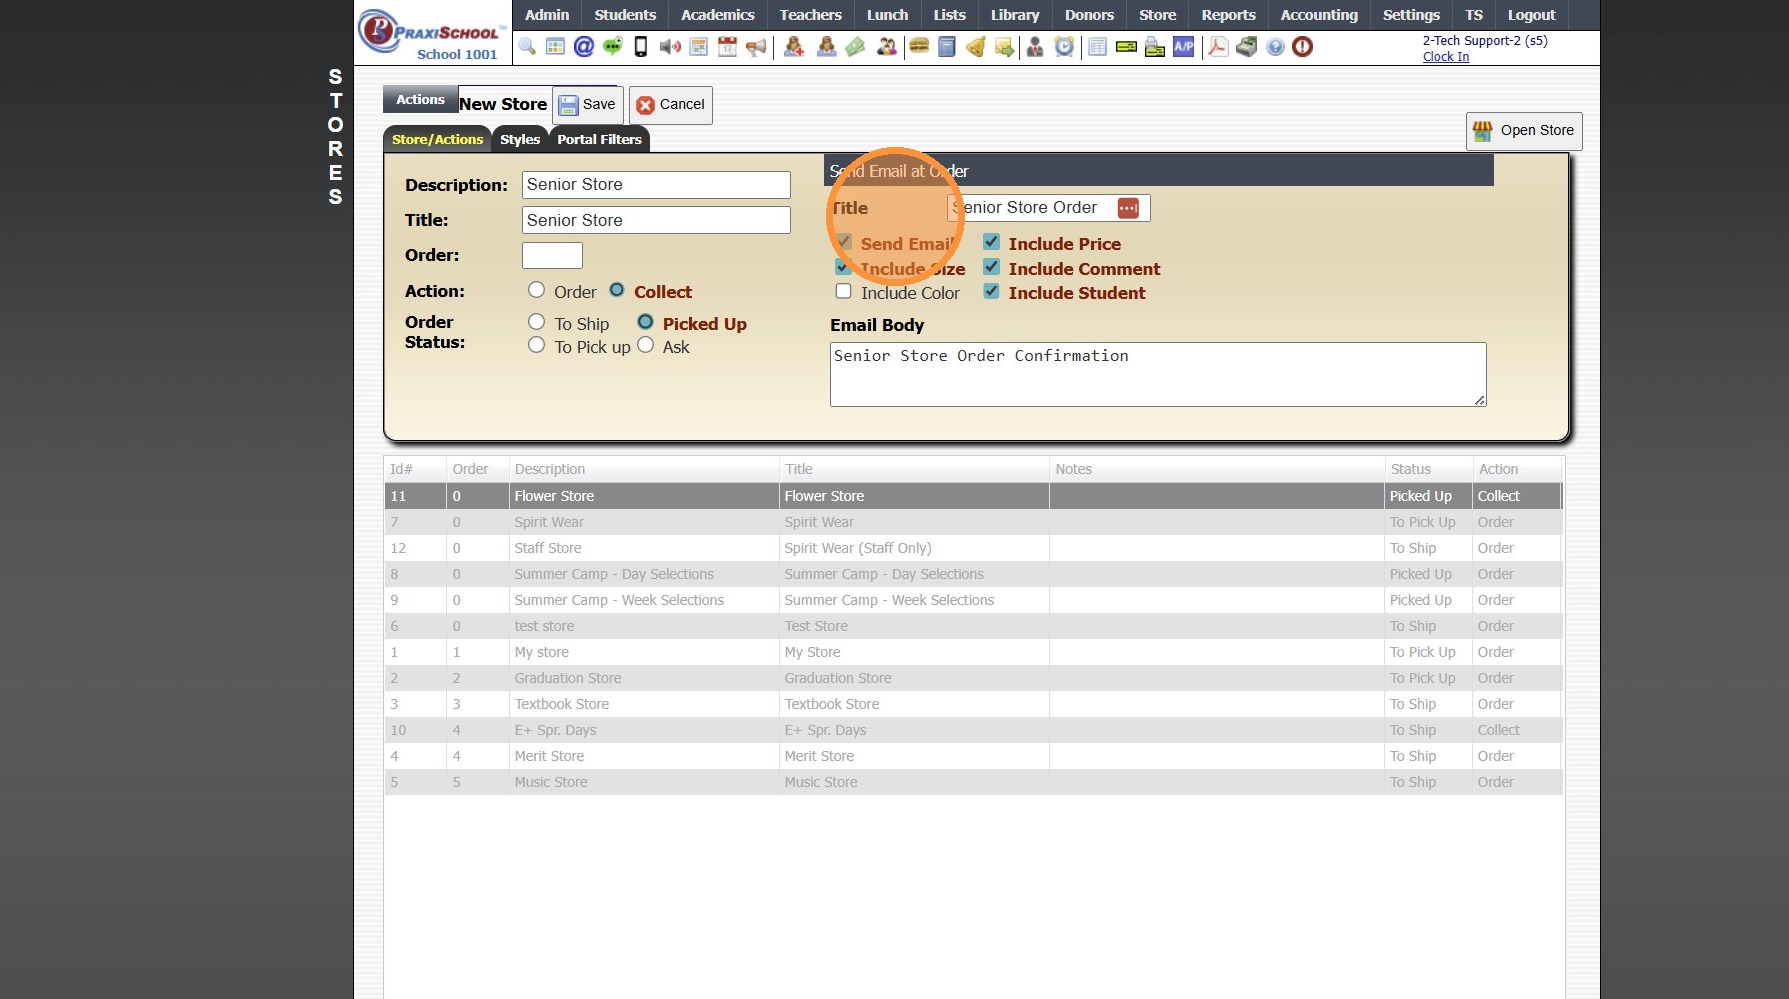
9. Select Items to be Included in Email Confirmation
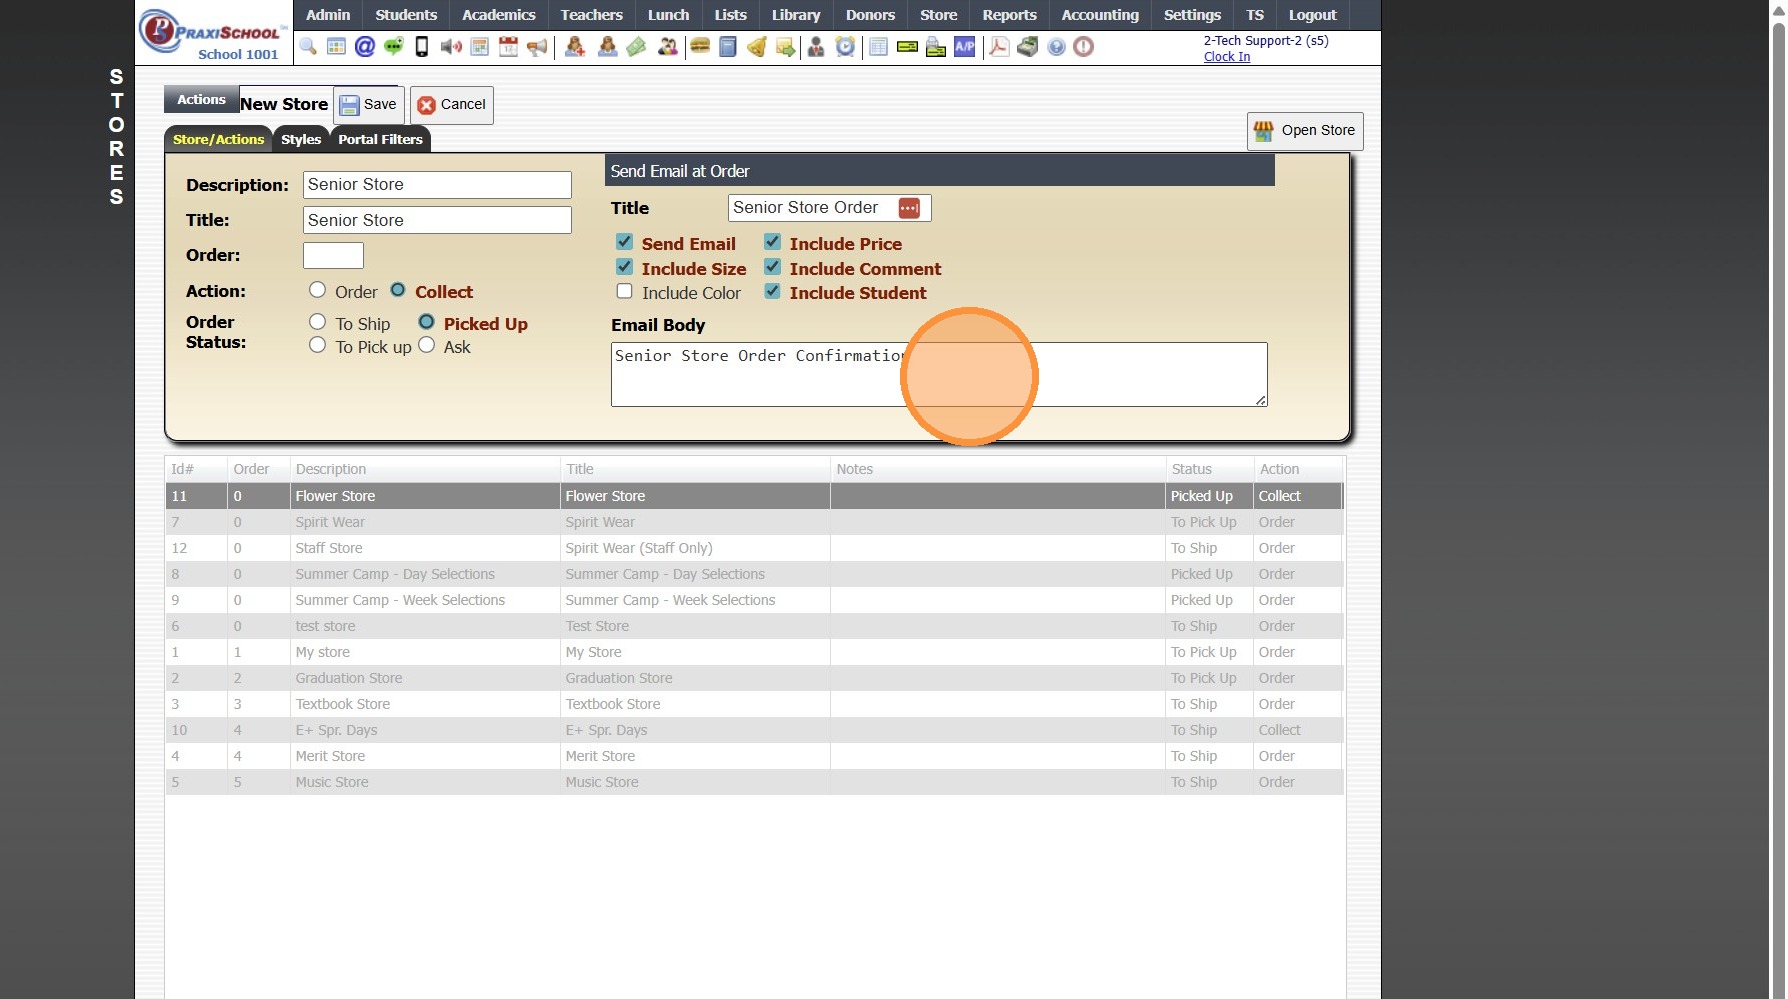
10. Enter Email Body
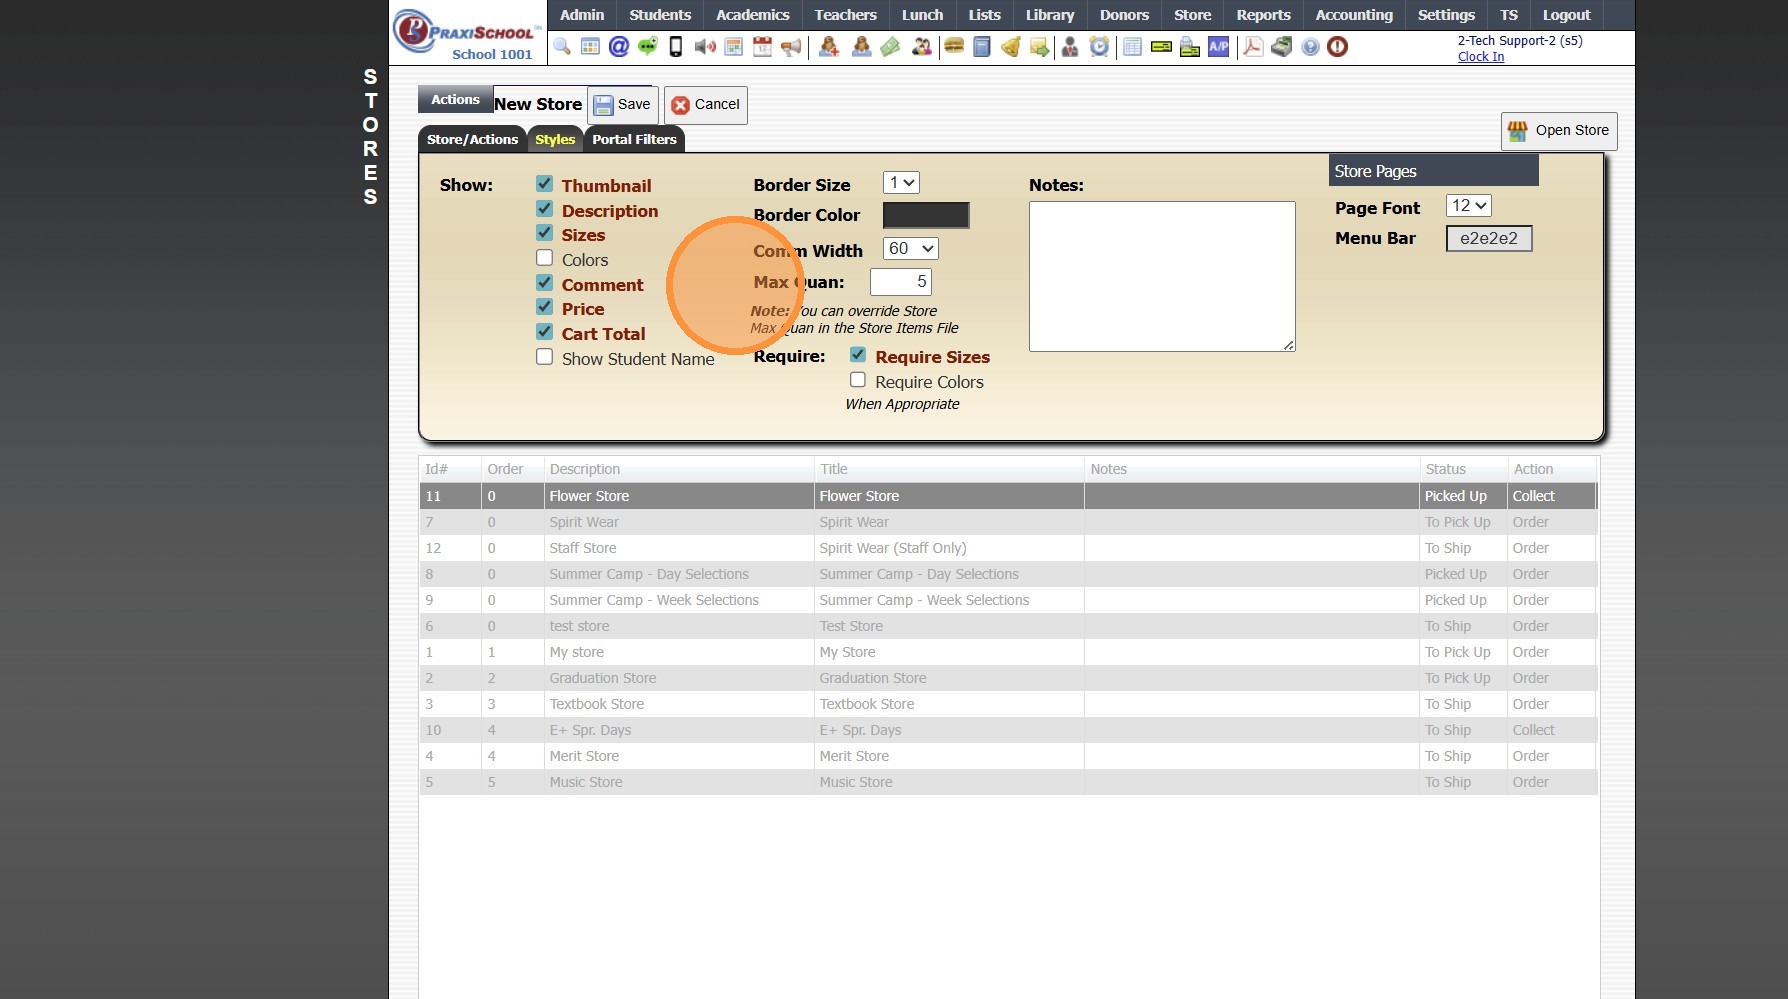
11. Click "Styles" Tab
12. Select Items to Show on Store
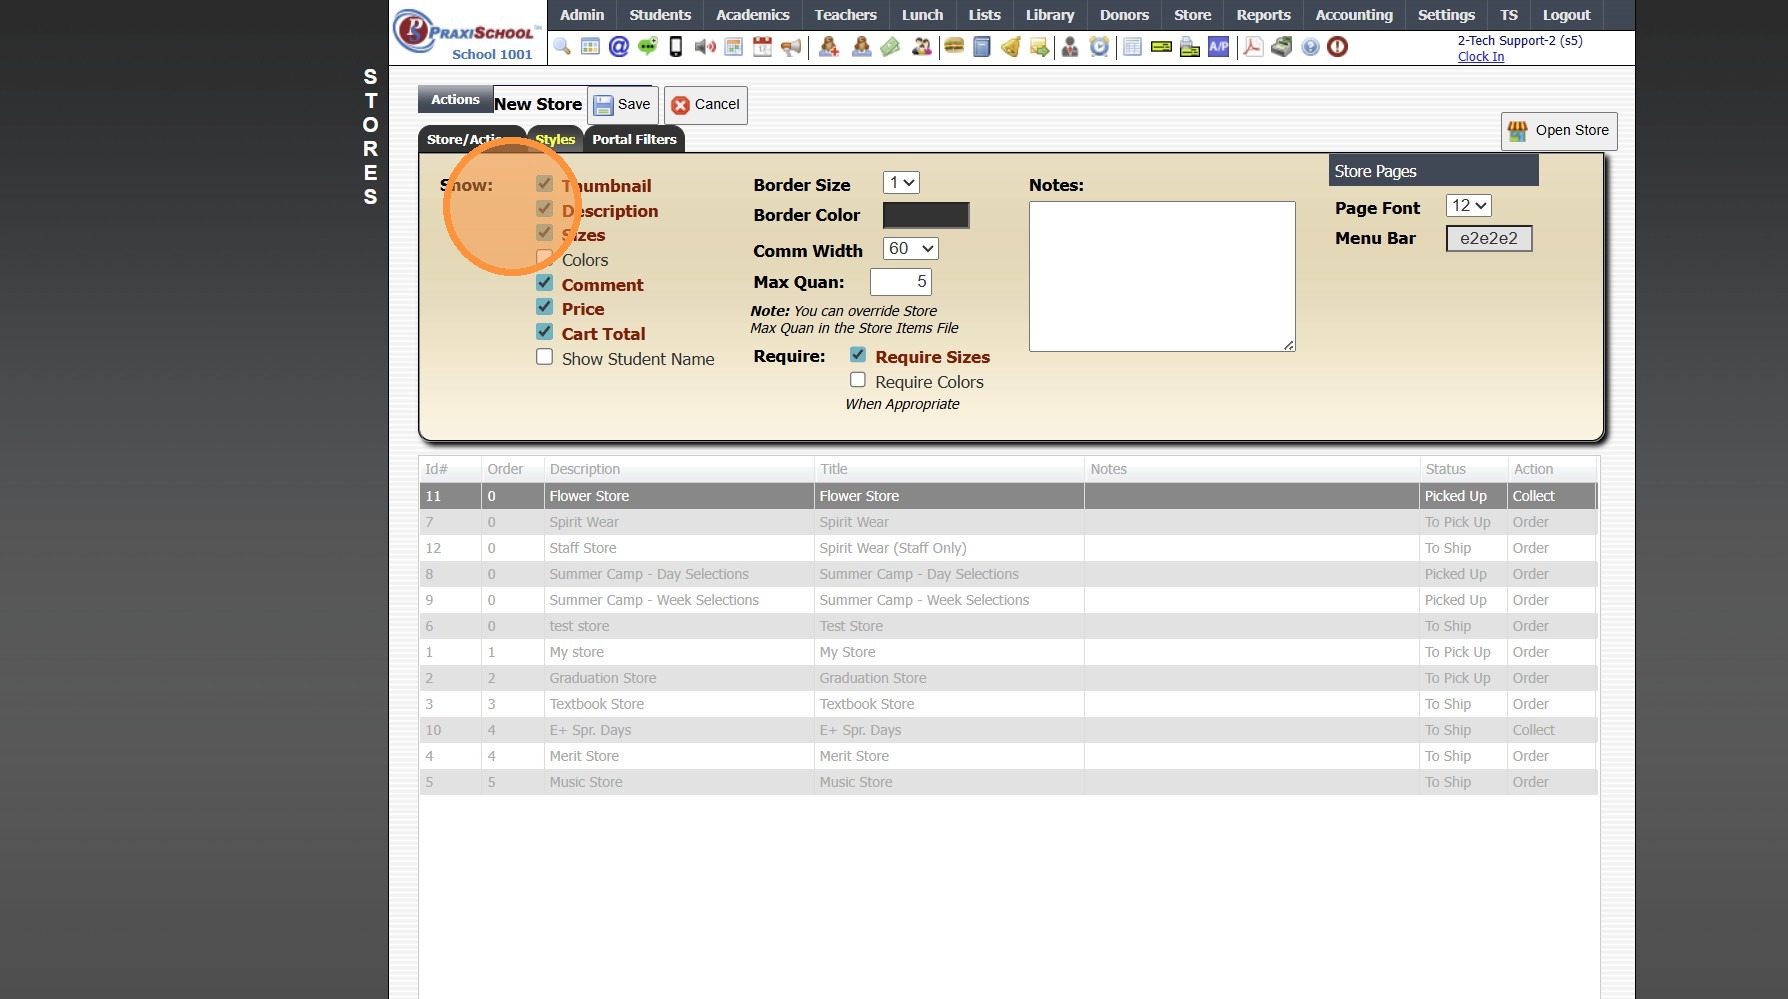
13. Enter Max Quantity
(Max Quantity set here will be the Default for all Items Added to Store, Individual Item Max Quantity can be Set when Adding Item)
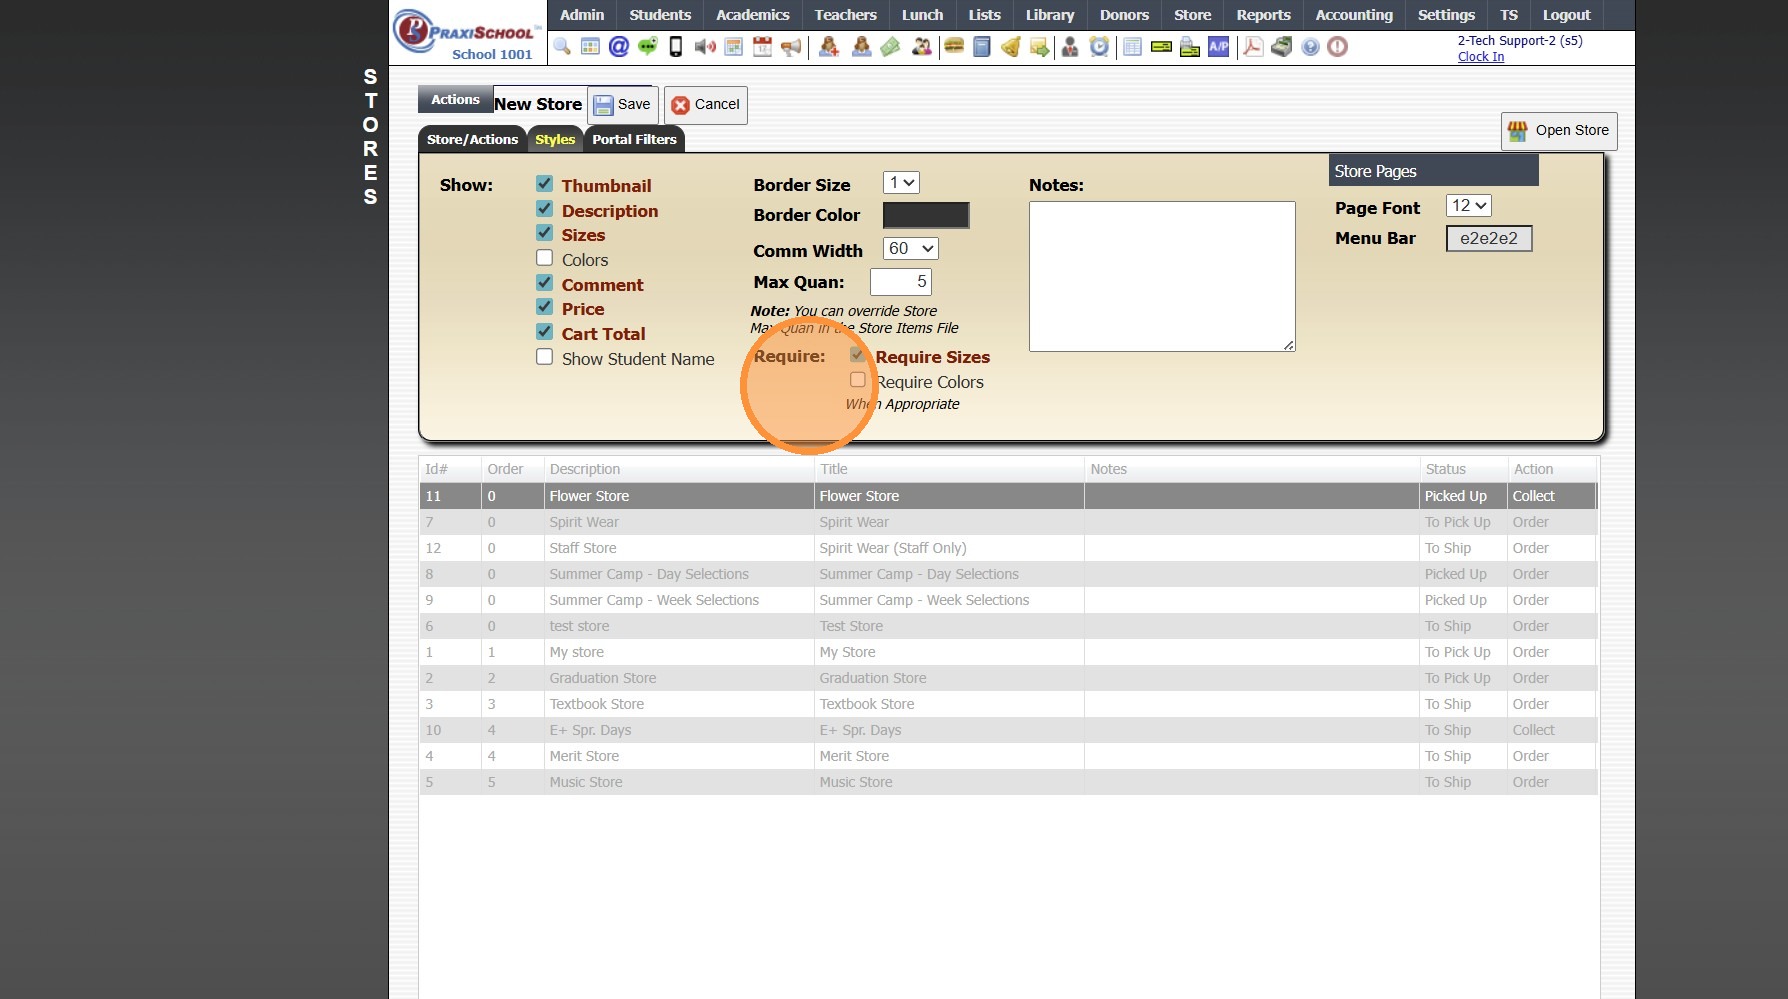
14. Select Required Selections to Place Order (Optional)
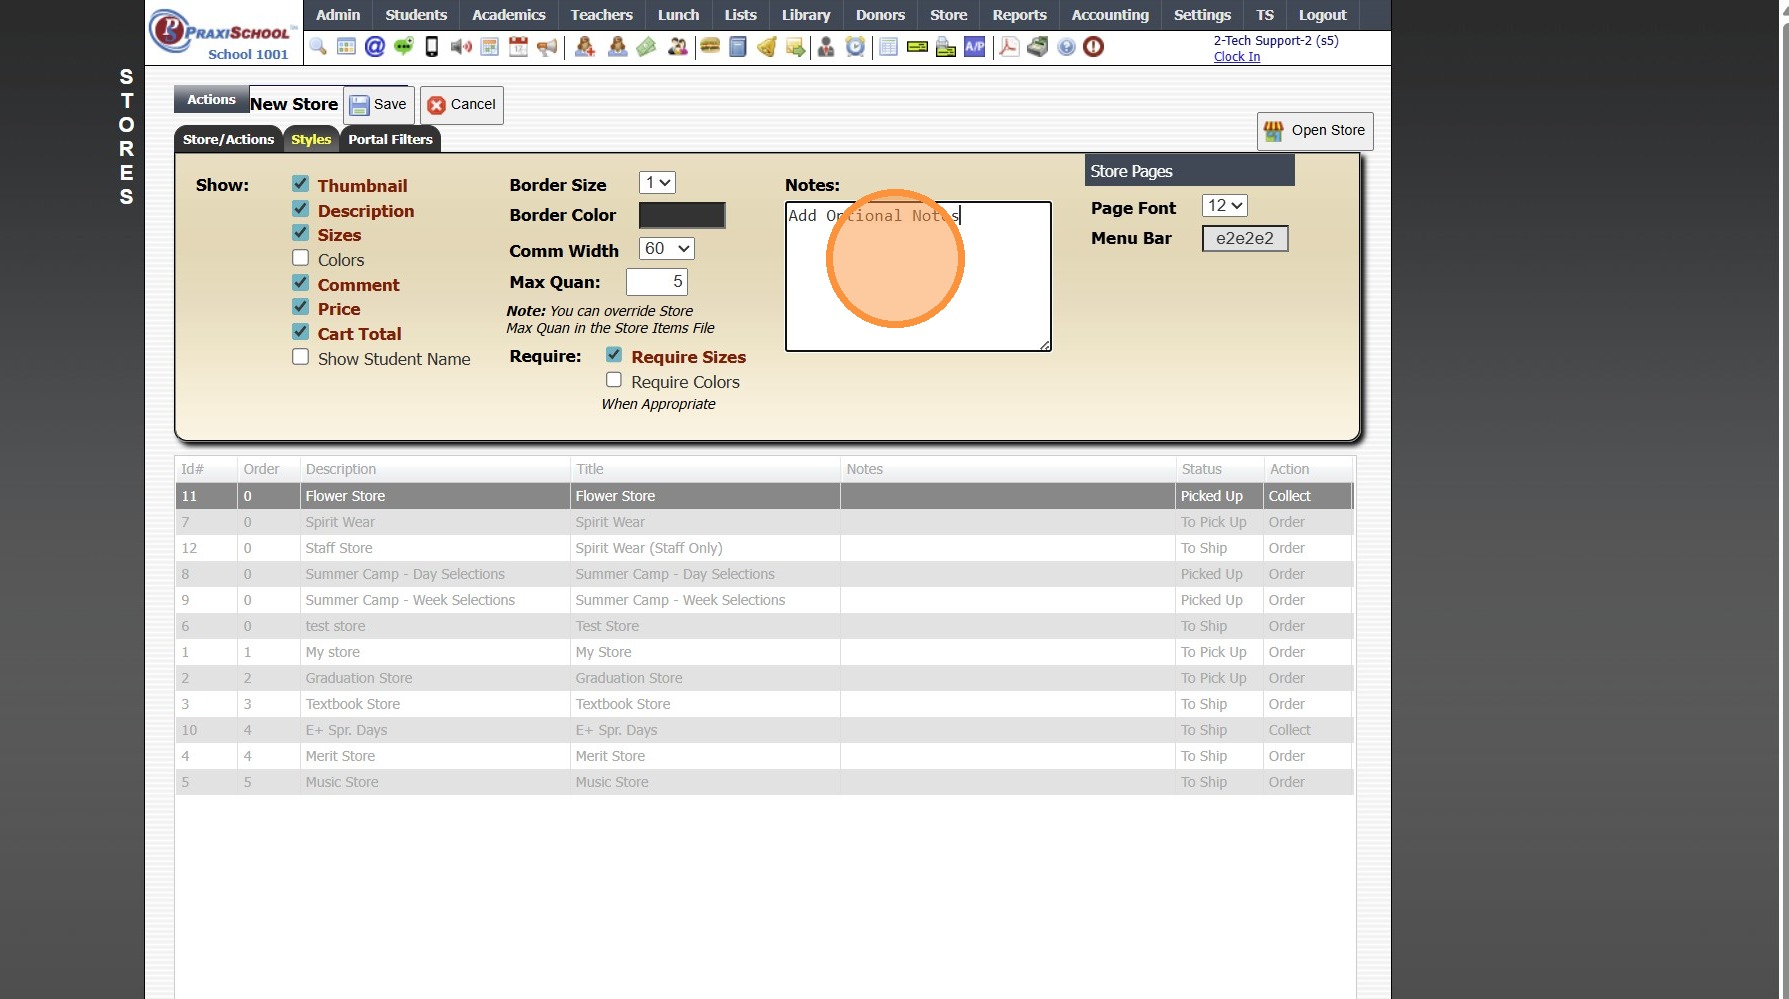
15. Enter Notes (Optional)
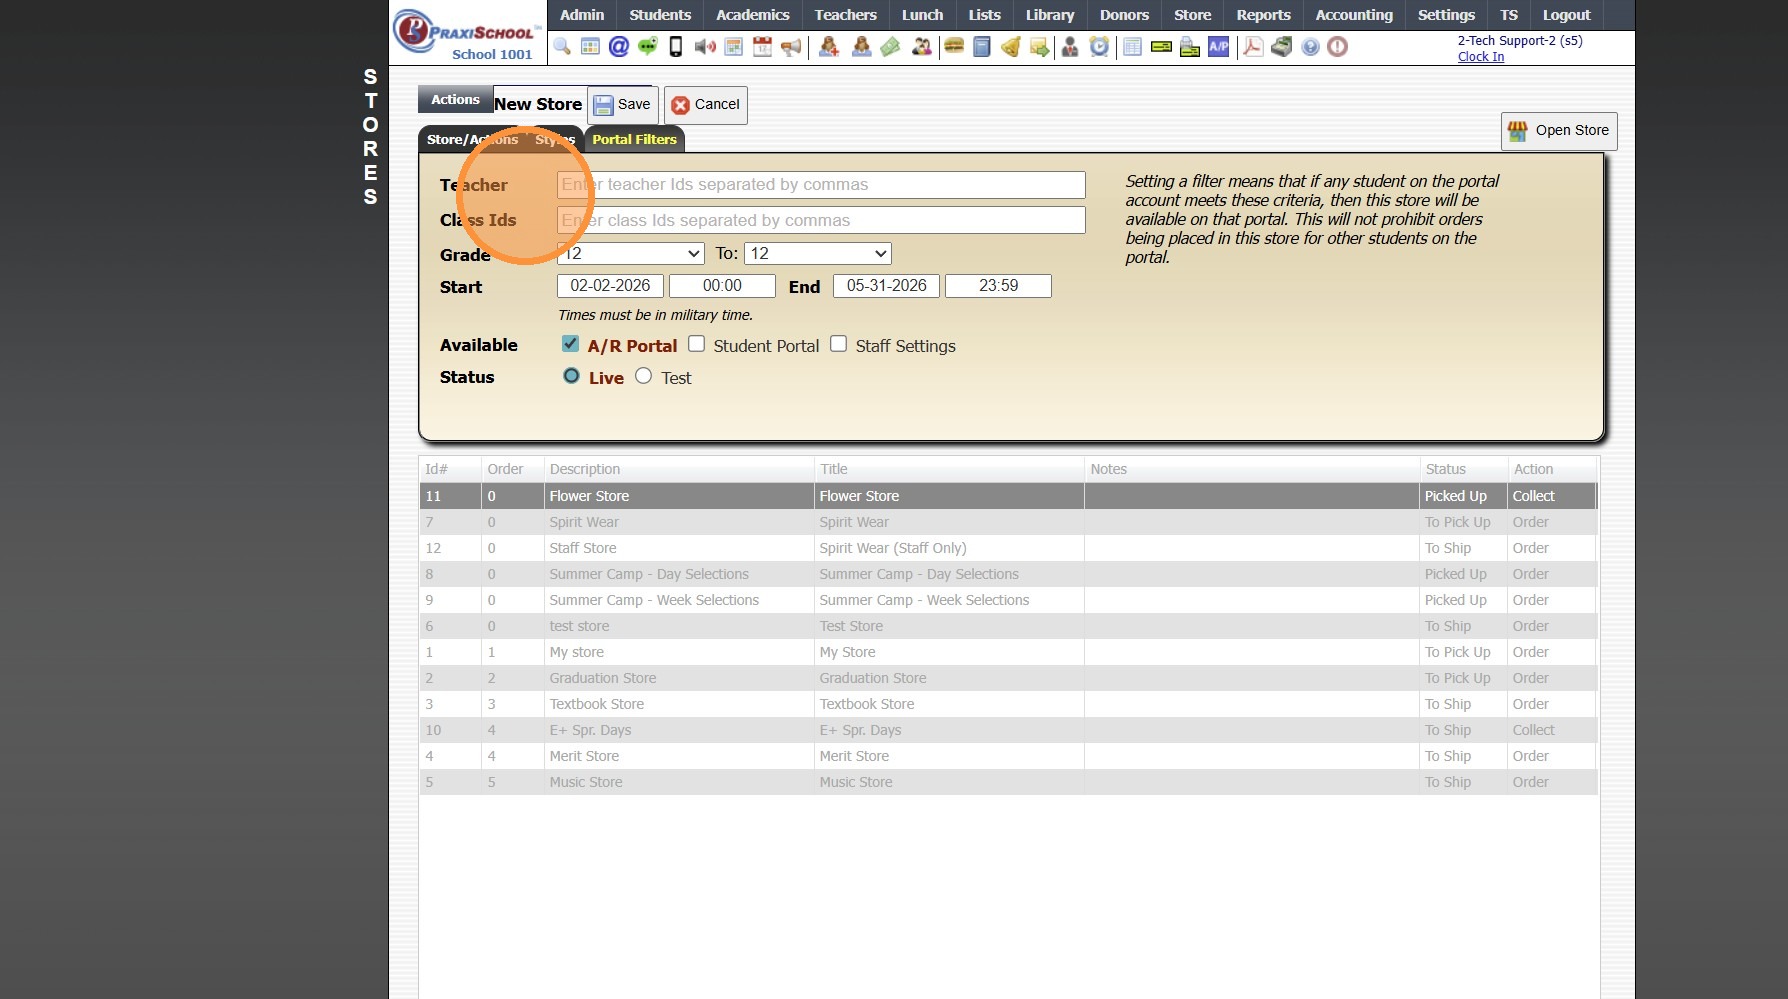
16. Click "Portal Filters" Tab
17. Select Filter Options
(Teacher - Store is only Viewable to Parents/Students in the Selected Teacher(s) Homeroom)
(Class IDs - Store is only Viewable to Parents/Students in Selected Class(es))
(Grade - Store is only Viewable to Parents/Students in Set Grade Level Range)
18. Set Start & End Dates & Times
(If not selected, Store will be Available as soon as Status is set to Live)
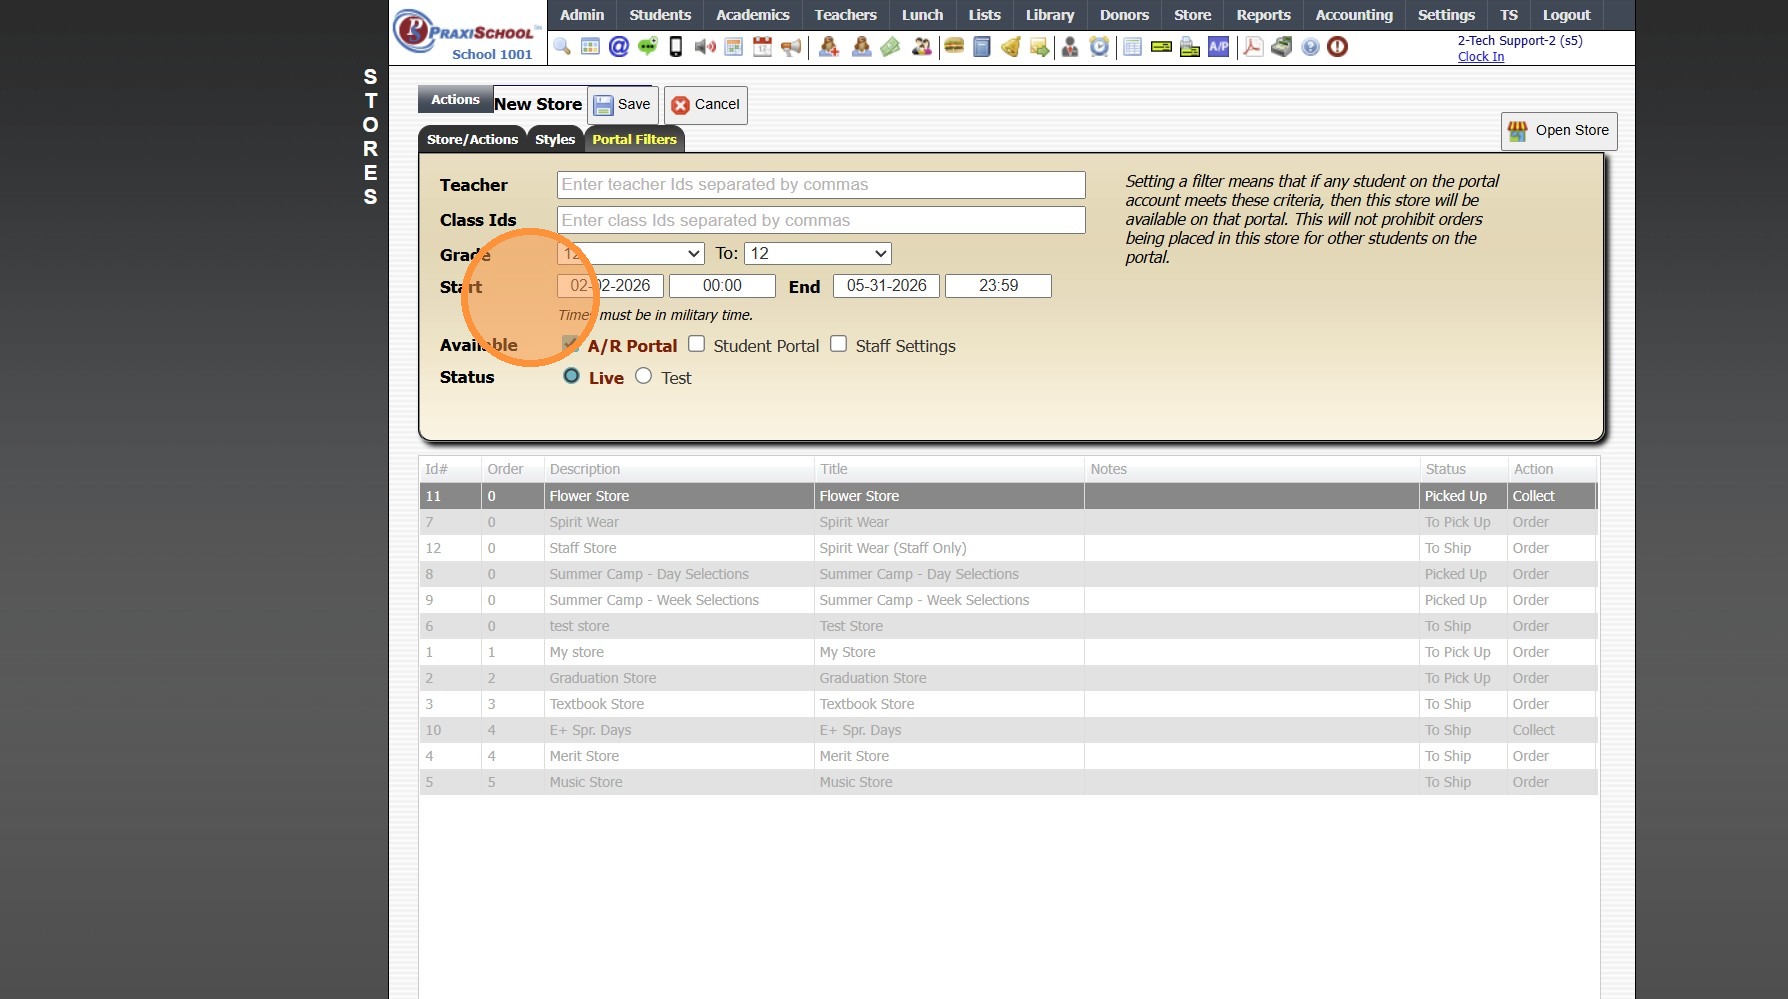
19. Select Available Portal Options

20. Select Status (Live or Test)

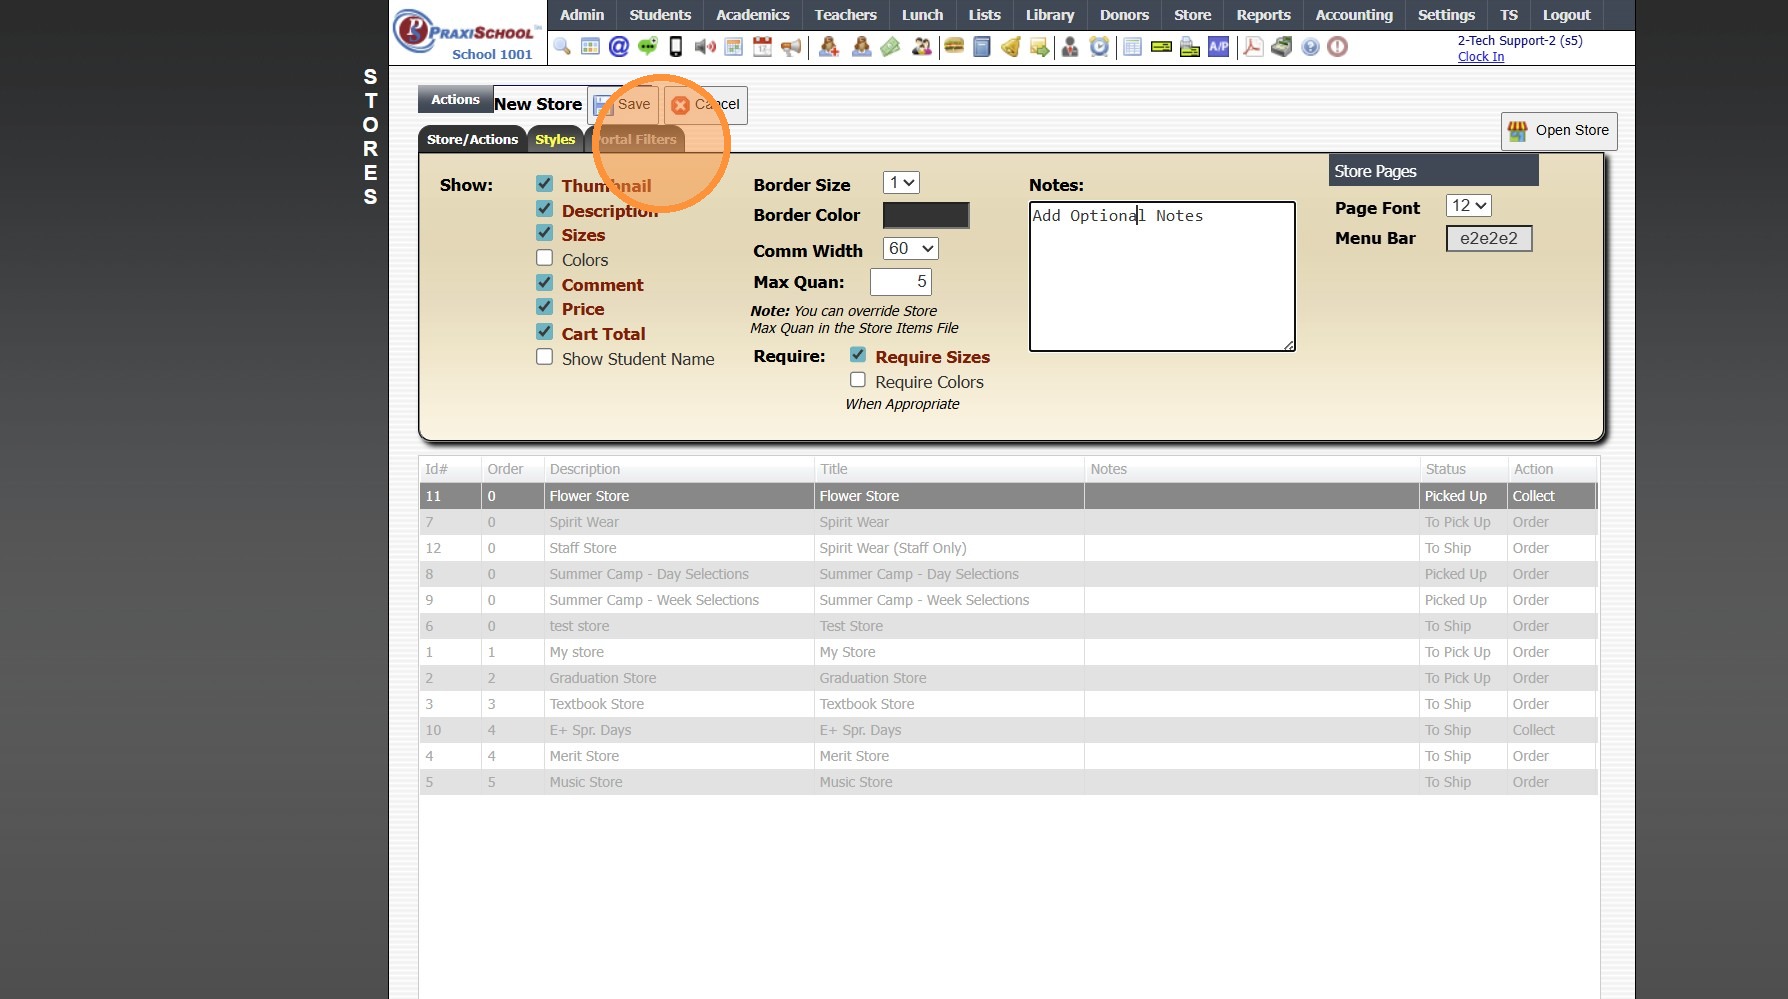
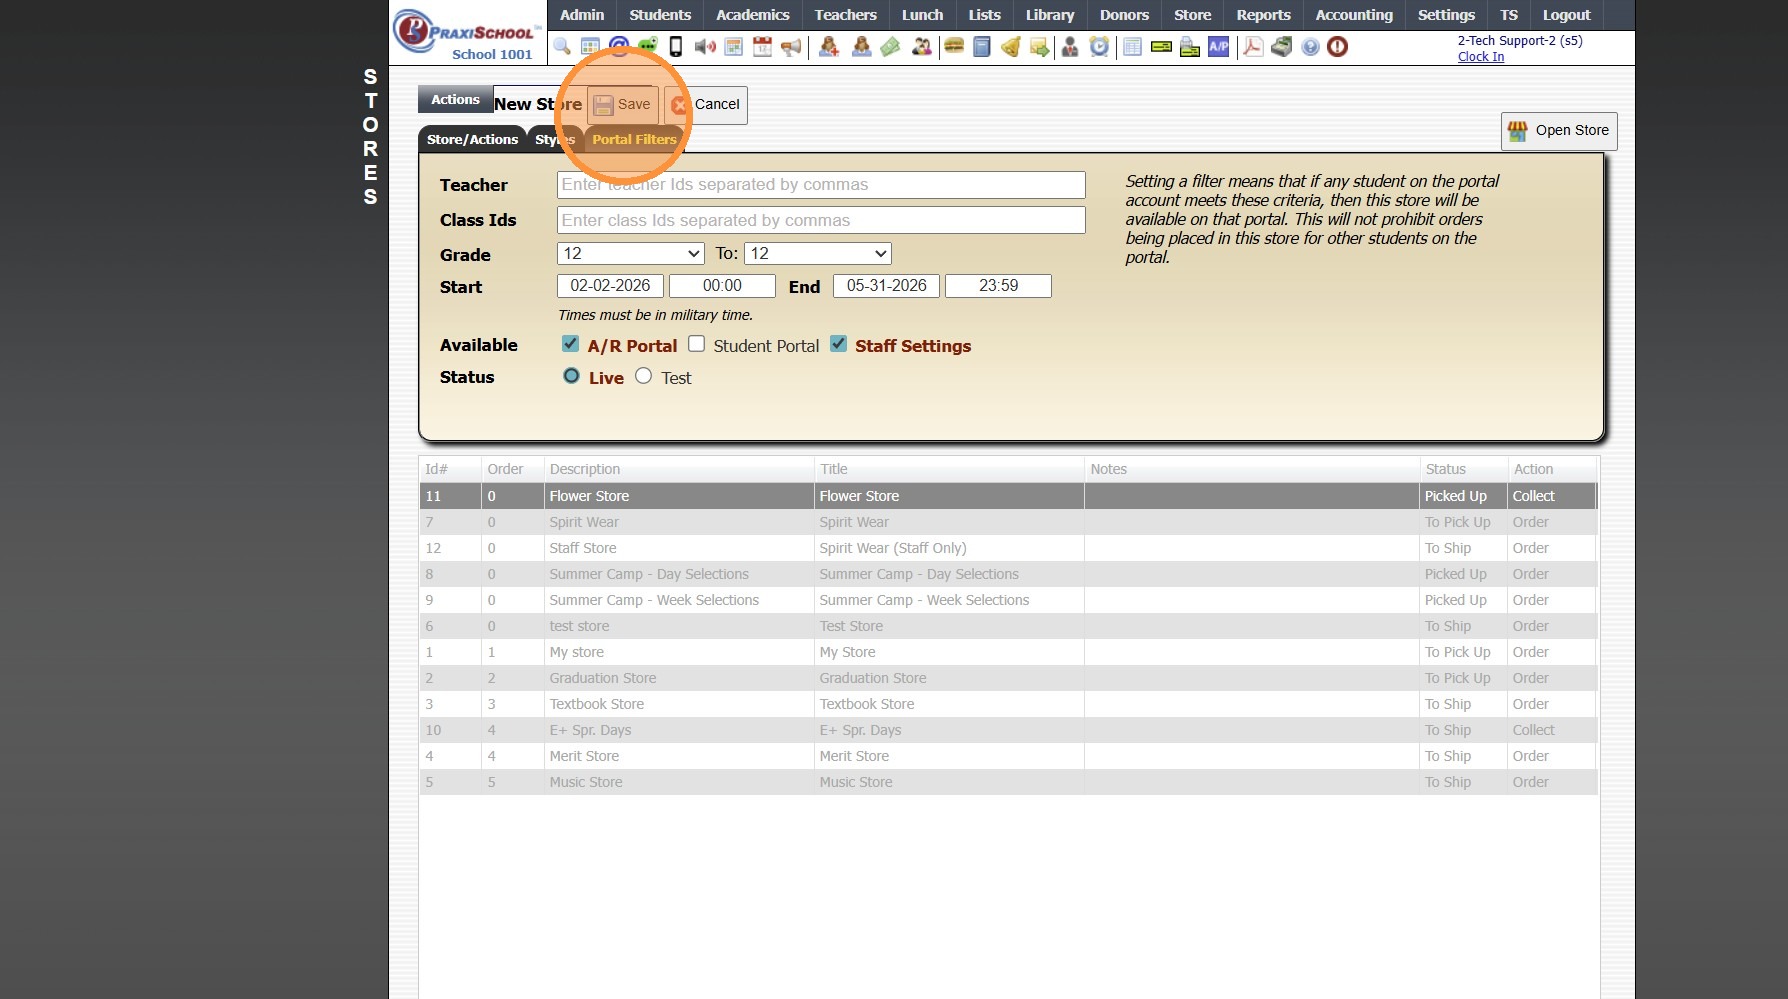
21. Click "Save"
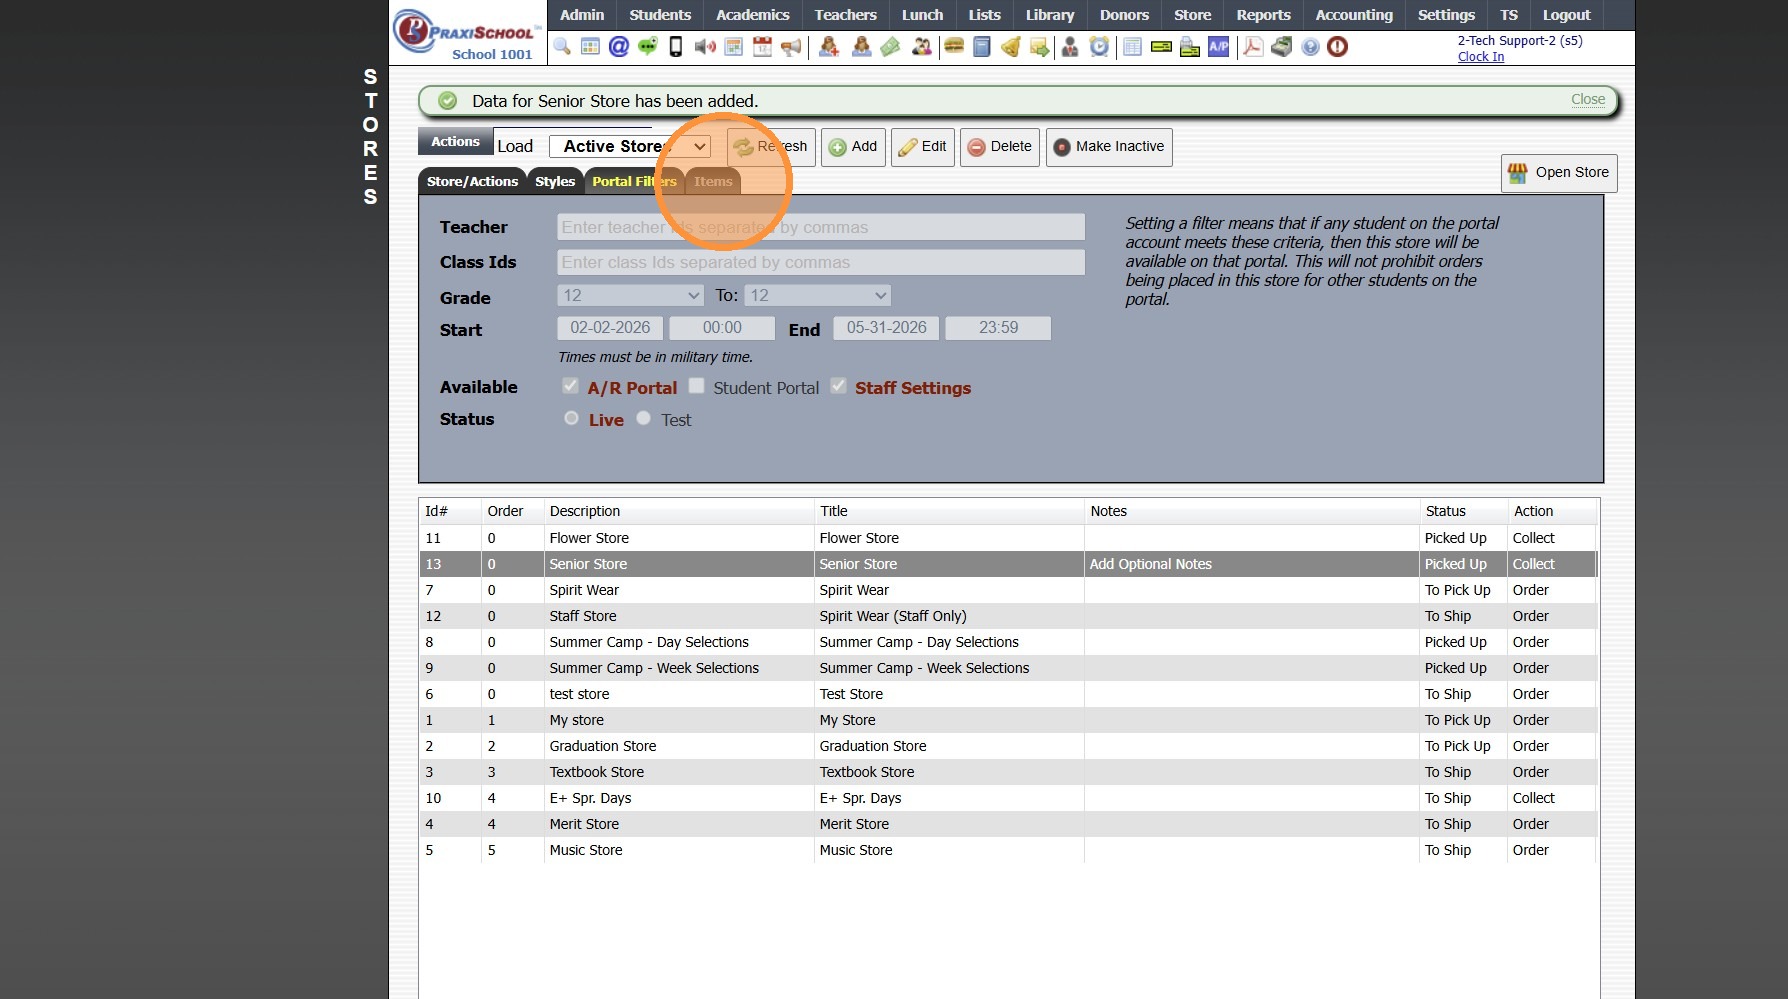
22. Click "Items" Tab to Add Inventory Items to Store
Related Articles
Creating Accounts Receivable Accounts
Creating Accounts Receivable Accounts 1. Log into PraxiSchool 2. Typically Student AR Accounts are Created in the Student Wizard (T) 3. After Creating the Student File, the Primary AR Account is Created from the A/R Account Toggle 4. A Secondary AR ...Adding Store Pages
Adding Store Pages 1. Click "Lists" 2. Click "Store" 3. Click "Store Pages" 4. Click "Add" 5. Enter Order (Optional) 6. Enter Page Description 7. Click "Save" 8. 3500.15.3Adding Items to Store
1. Click "Store" 2. Click "Stores" 3. Click "Stores" 4. Select Store 5. Click "Items" Tab 6. Click "Add Item" 7. Search Inventory Item (Max Quantity for Individual Inventory Items can be Set in Max Over Field) 8. Select Sell Price (Default is Price ...Store Overview and Training
Welcome to the PraxiSchool Store Overview and Training! Below you will find information about the Store features, Store setup information and the Store training videos. Please review each video before attempting to set up your Store data. PraxiStore ...Adding Store Inventory Received
1. Click "Store" 2. Click "Inventory Wizard" 3. Select "Receive" 4. Search Inventory Item 5. Select Vendor (Optional) 6. Enter Quantity Received 7. Enter Cost of Each Item 8. Set Date Received 9. Click "Save" 10. Inventory Transaction Wizard Item ...