Adding Lunch Items
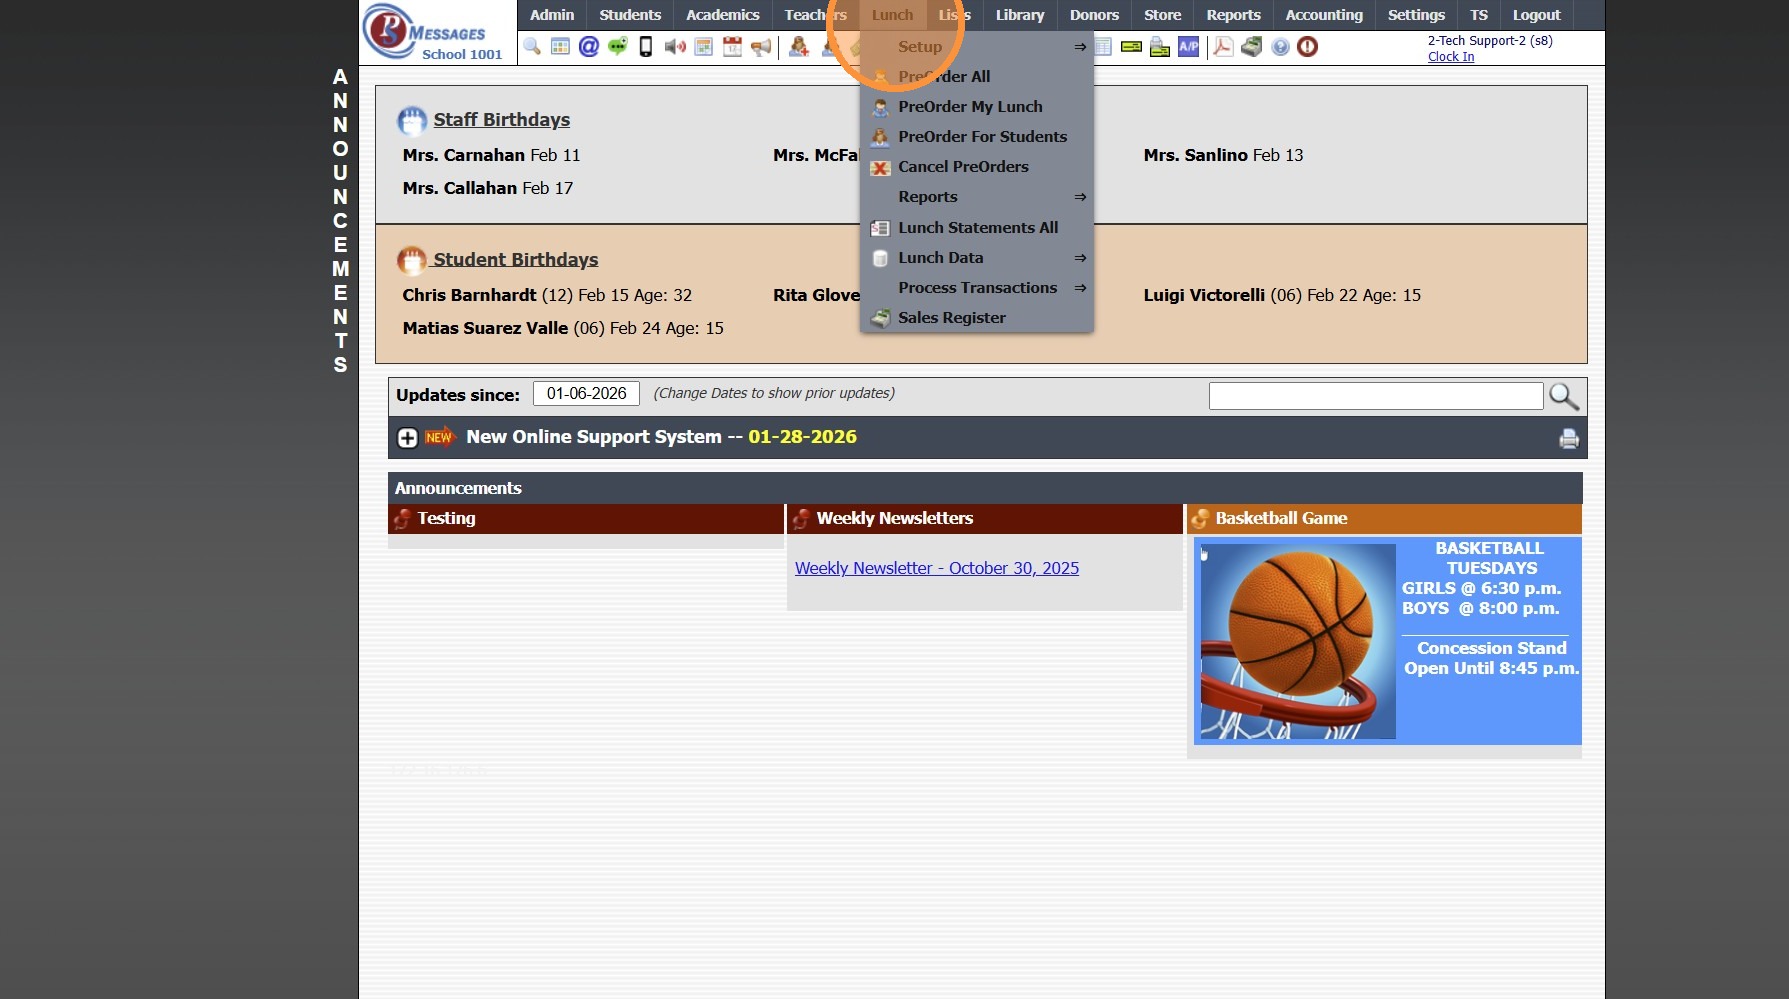
1. Click "Lunch"
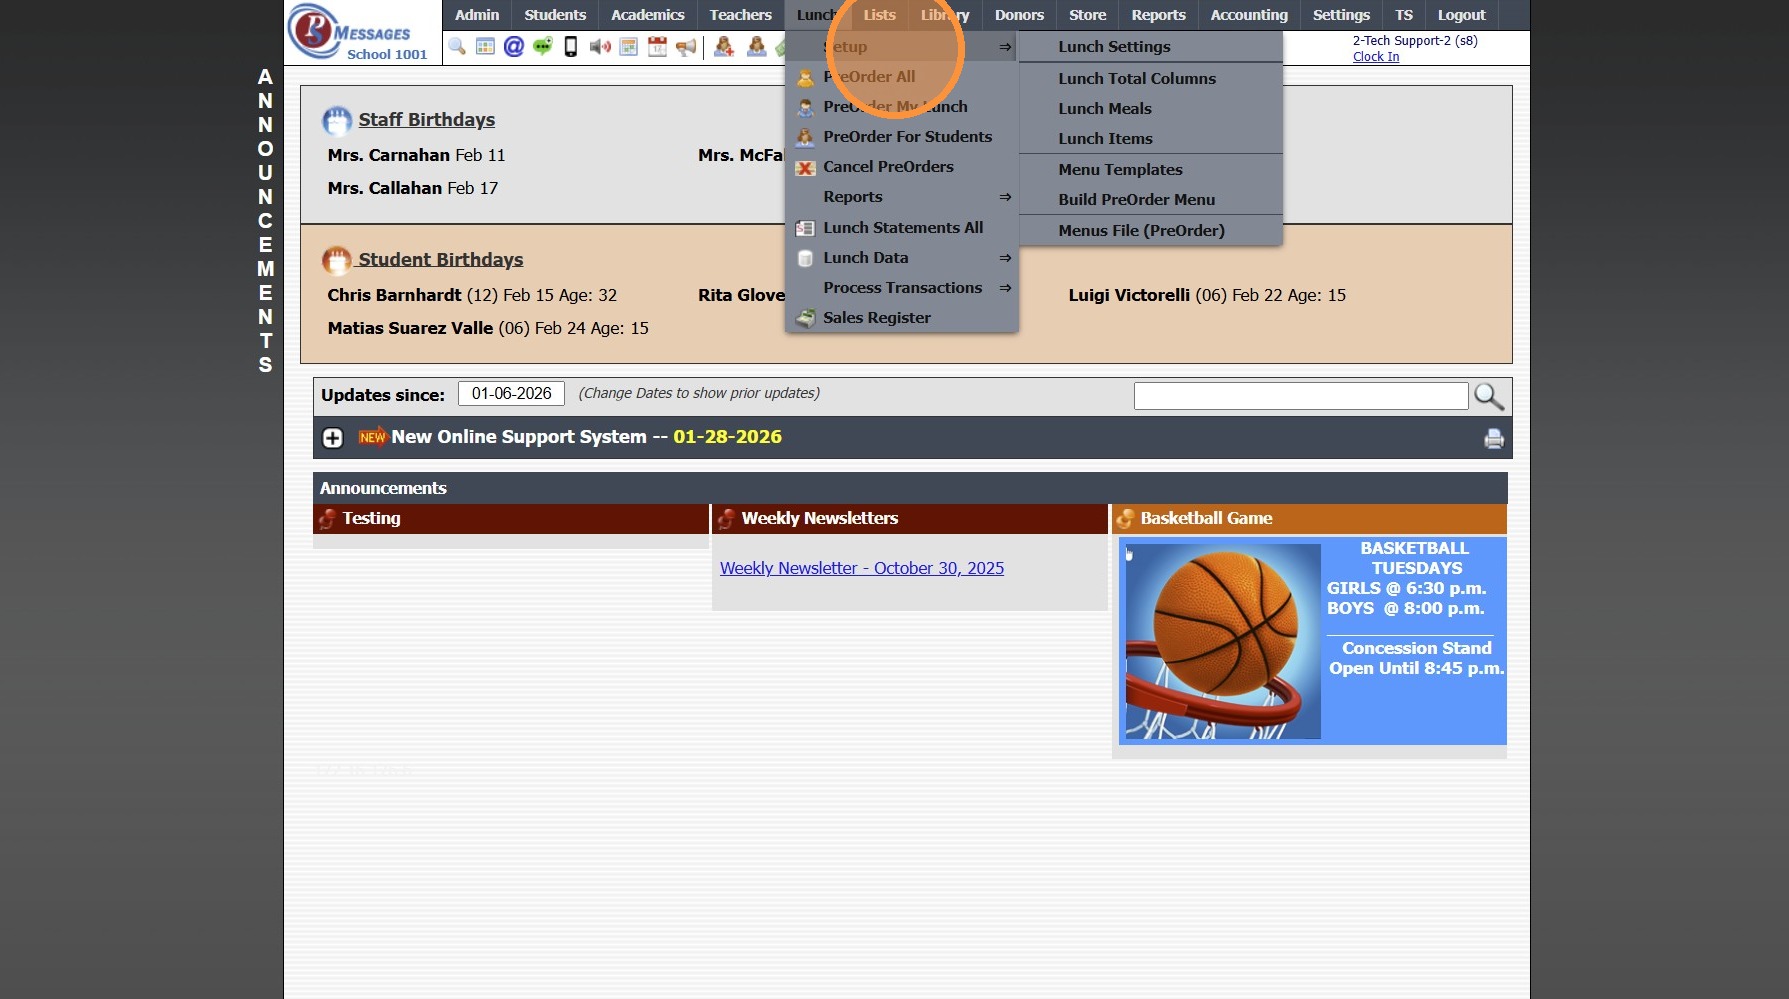
2. Click "Setup"
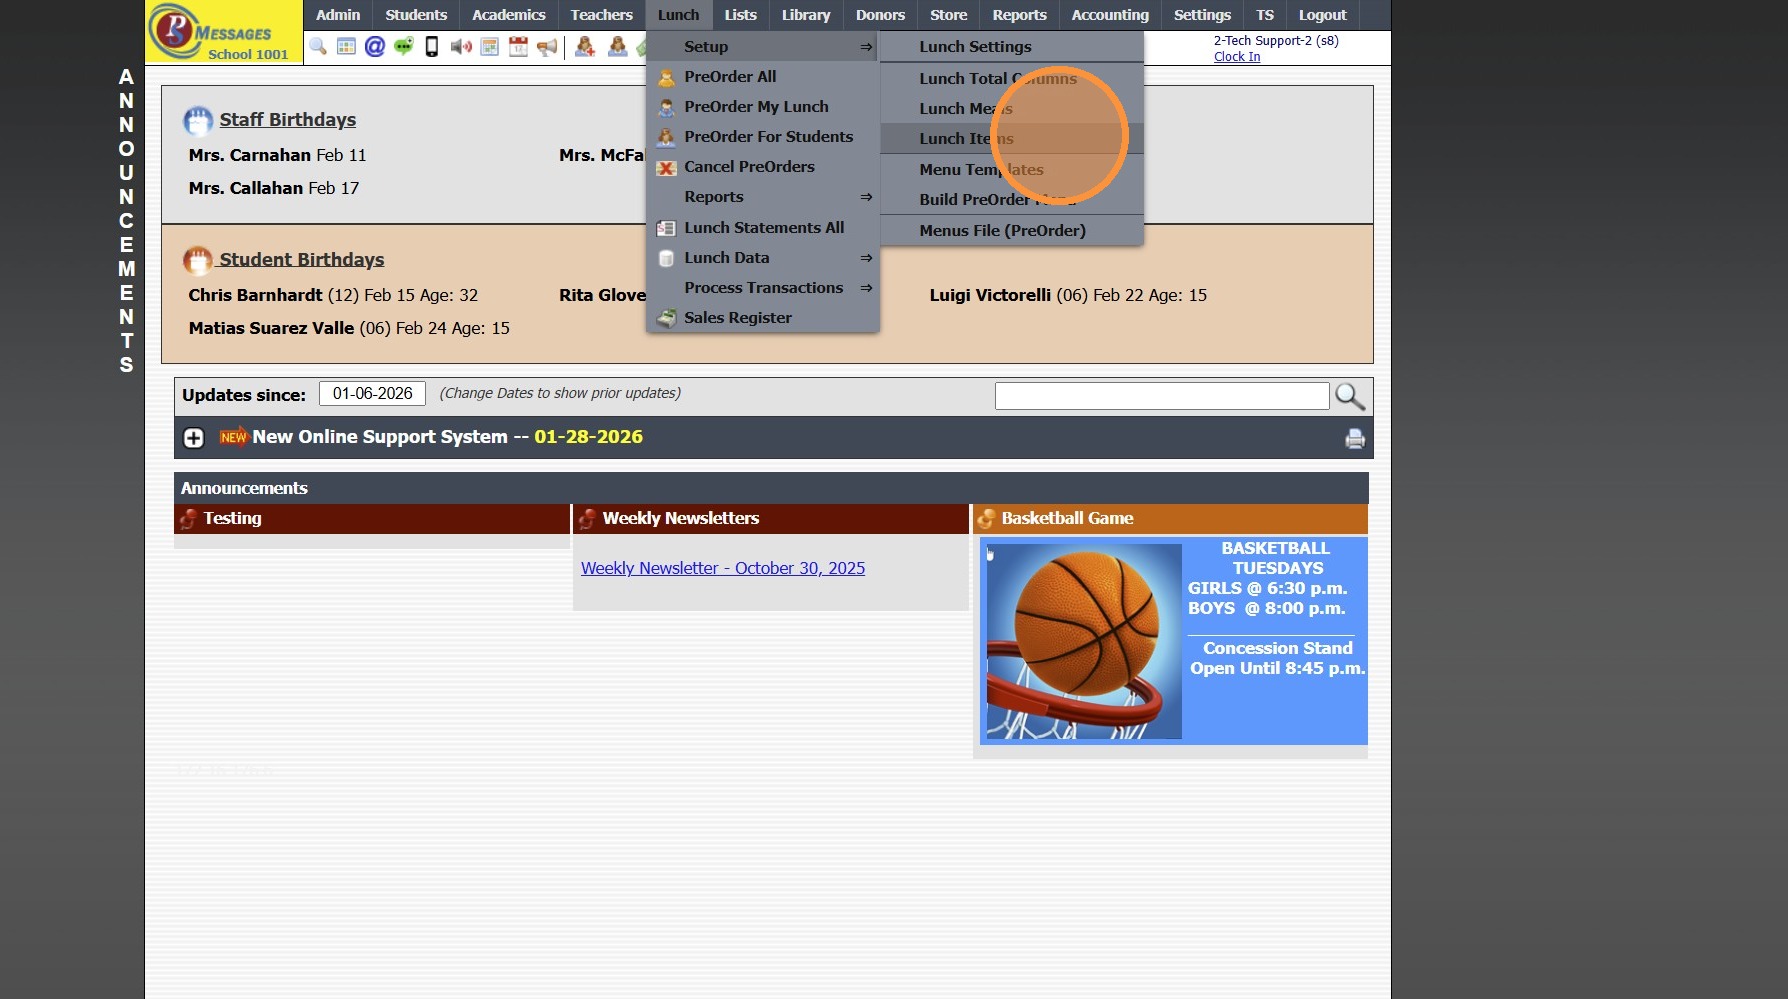
3. Click "Lunch Items"
4. Click "Add"
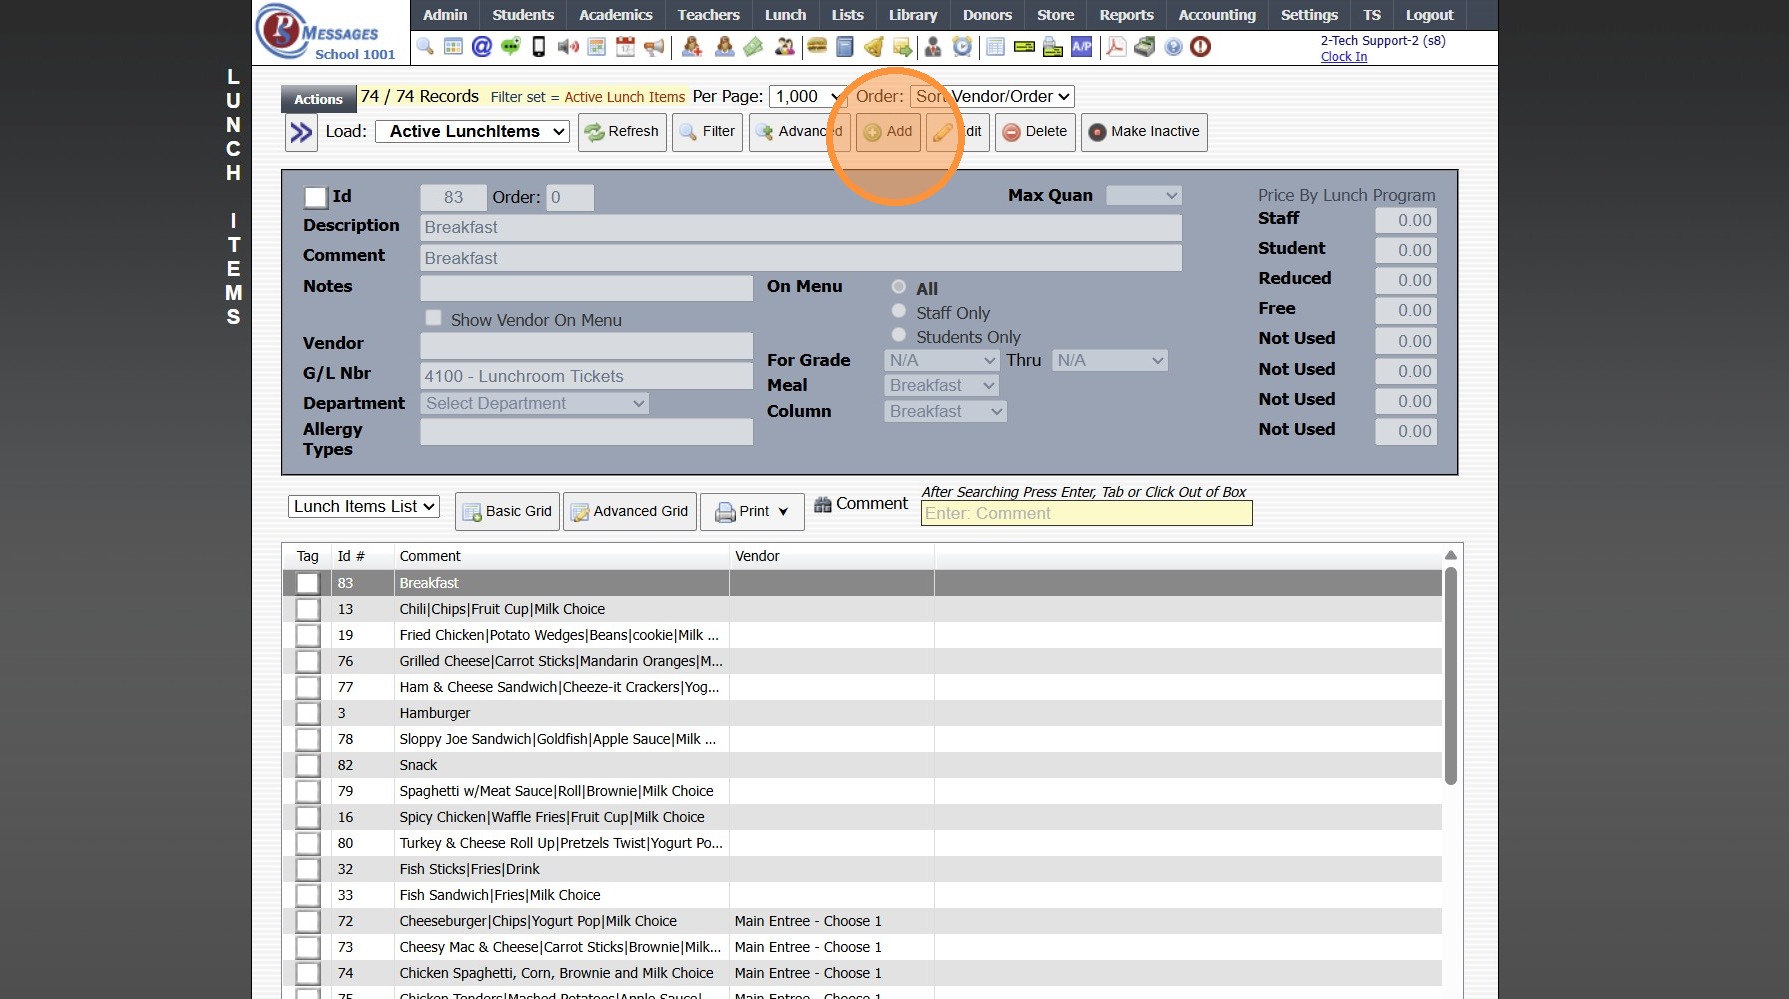
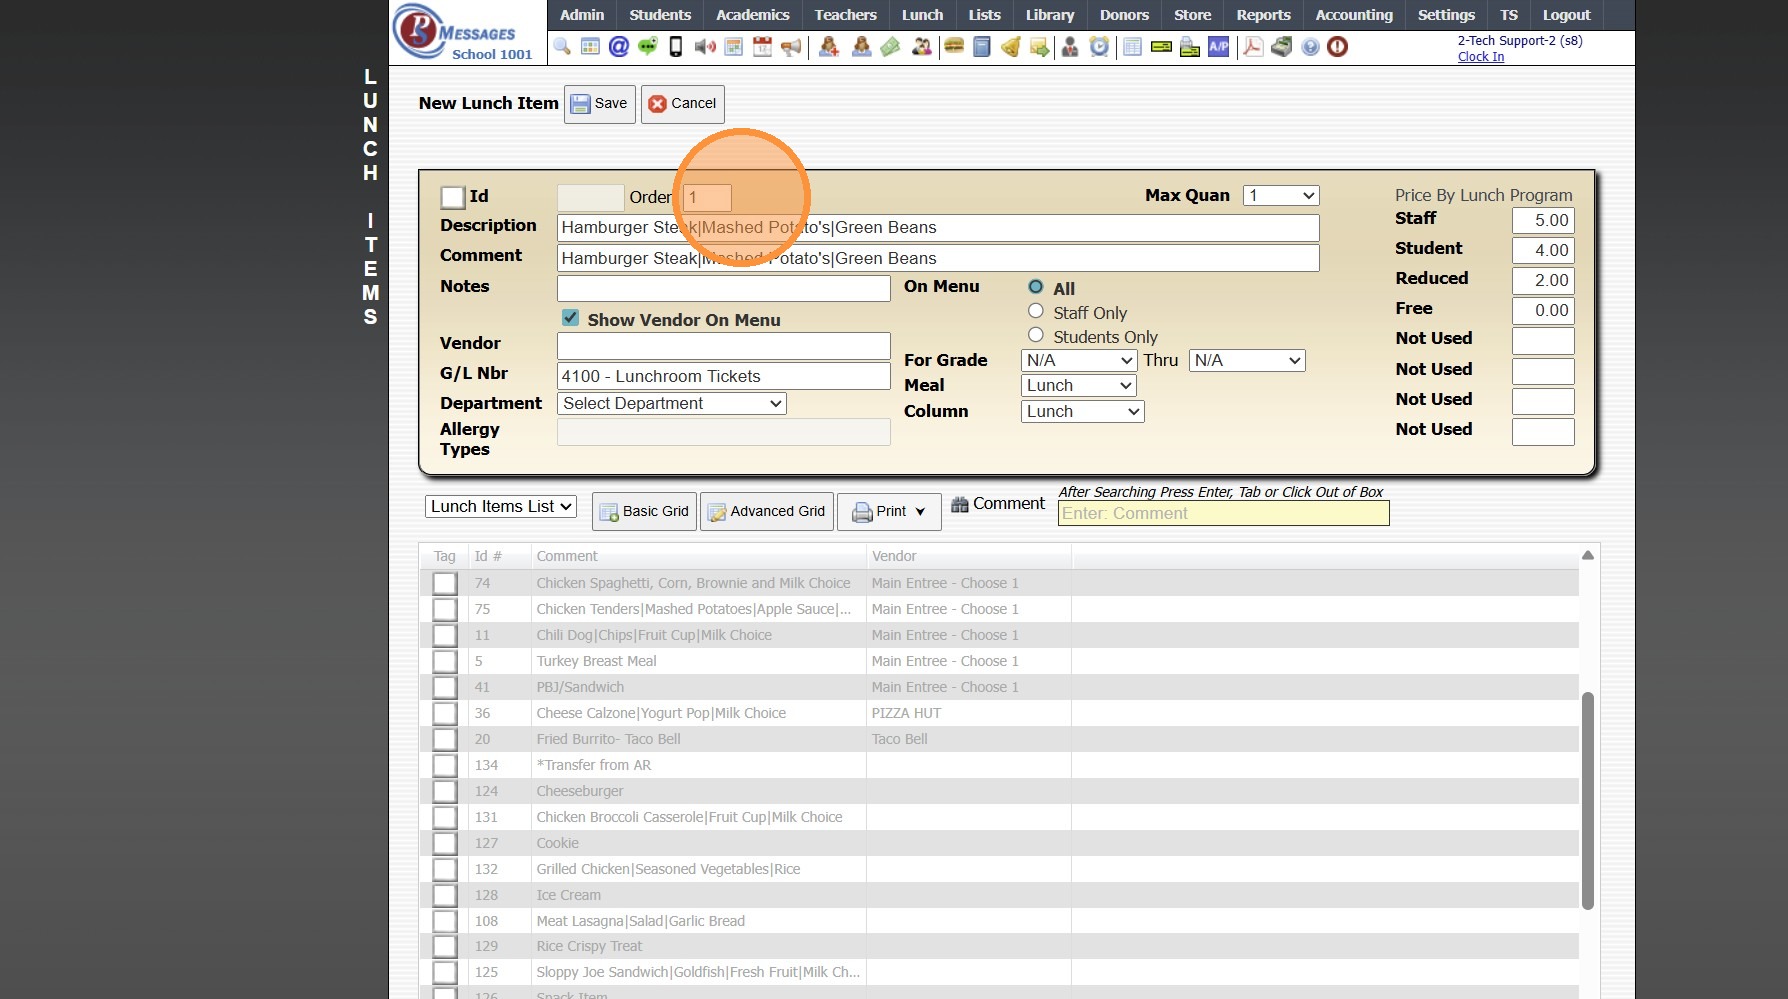
5. Enter Order Number to Put Lunch Items in Specific Order (Optional)
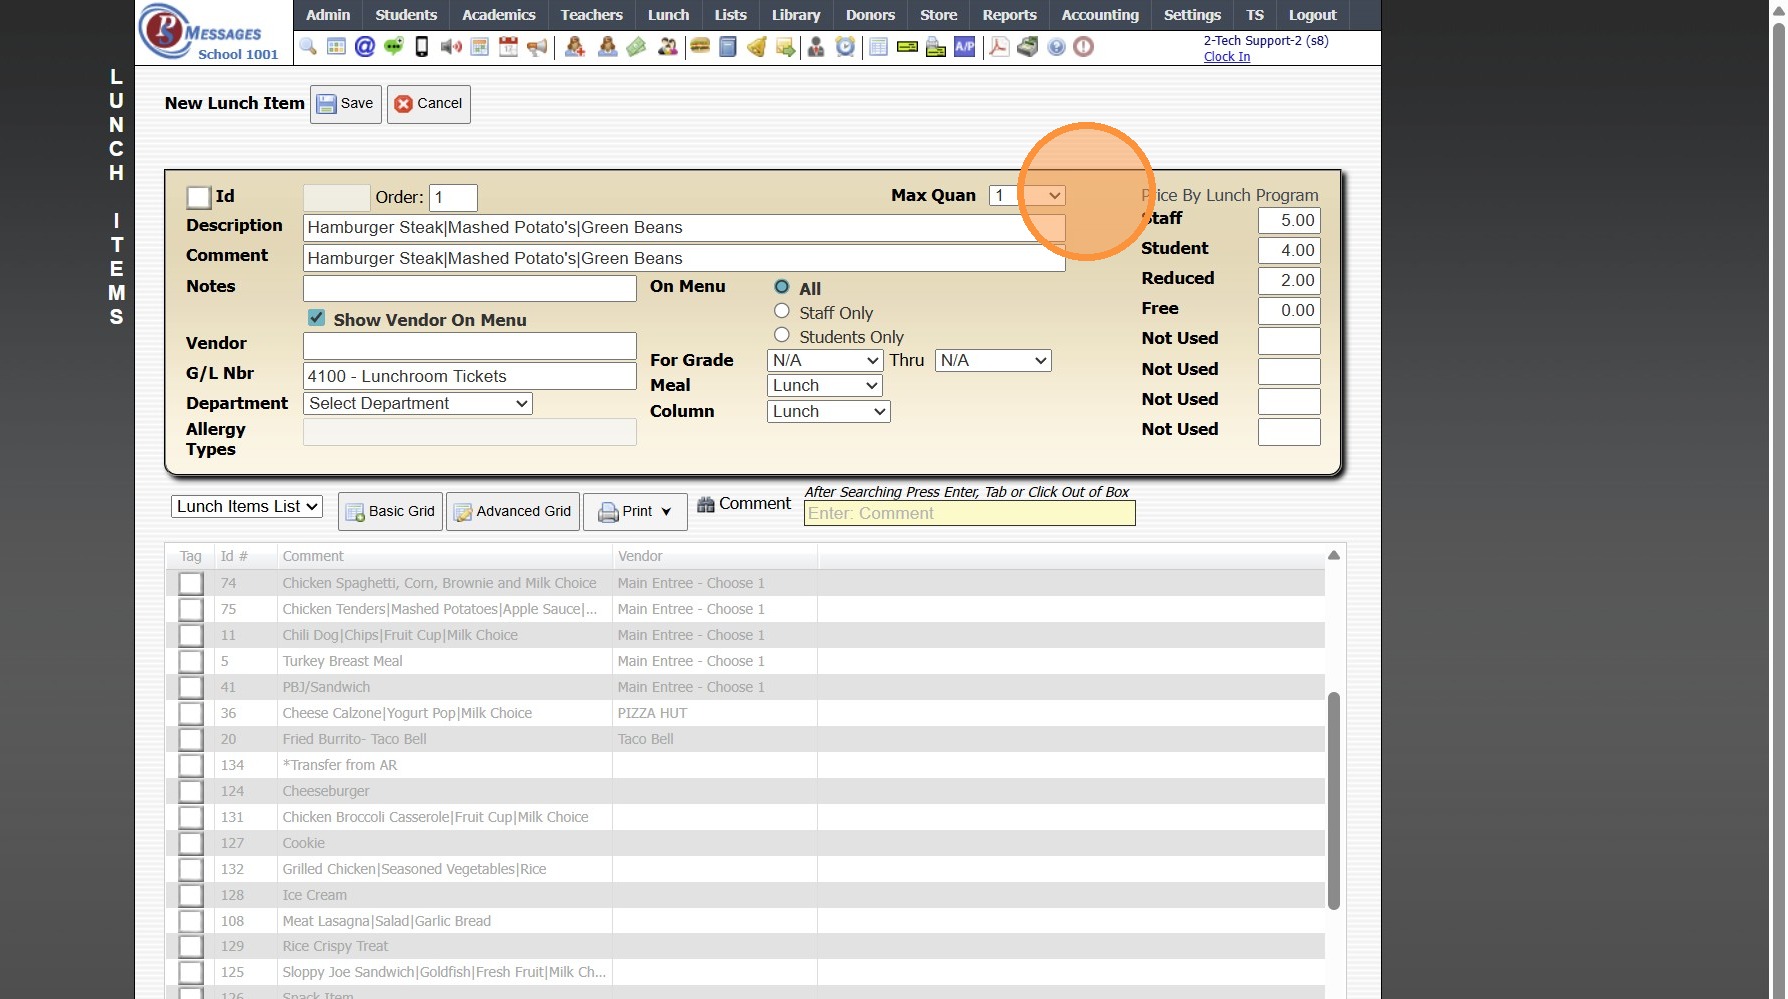
6. Select Max Quan if Different from Default Lunch Settings (Optional)
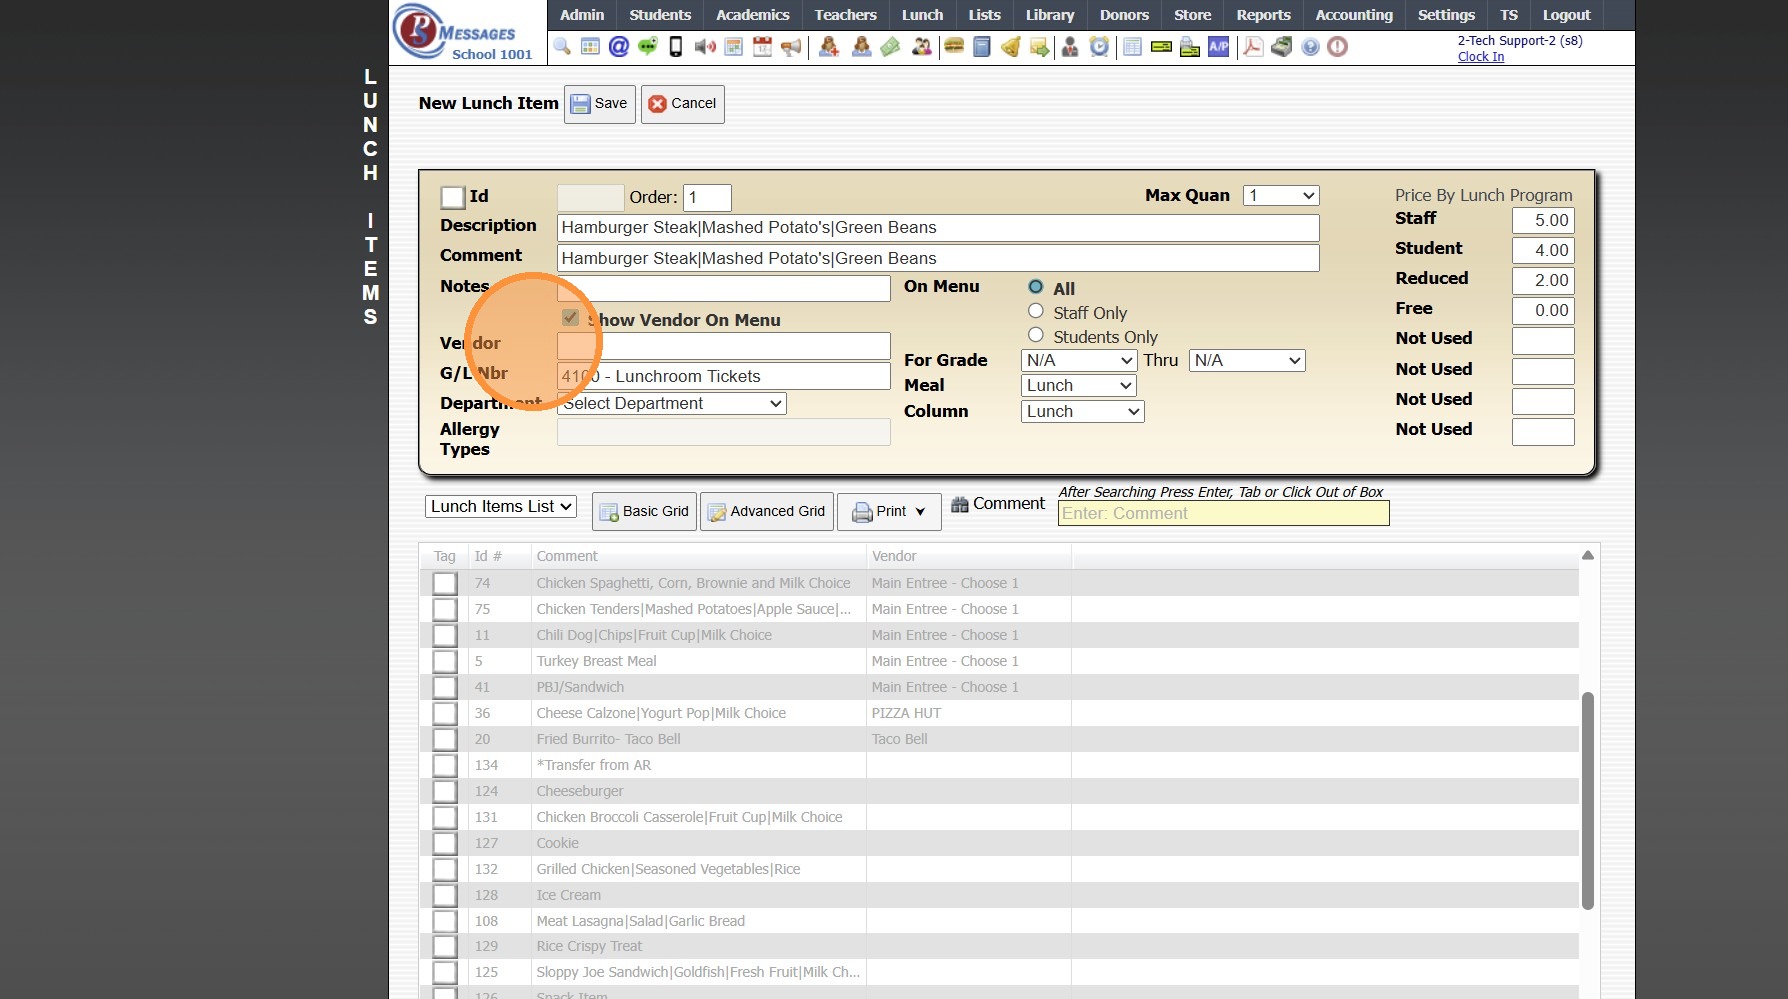
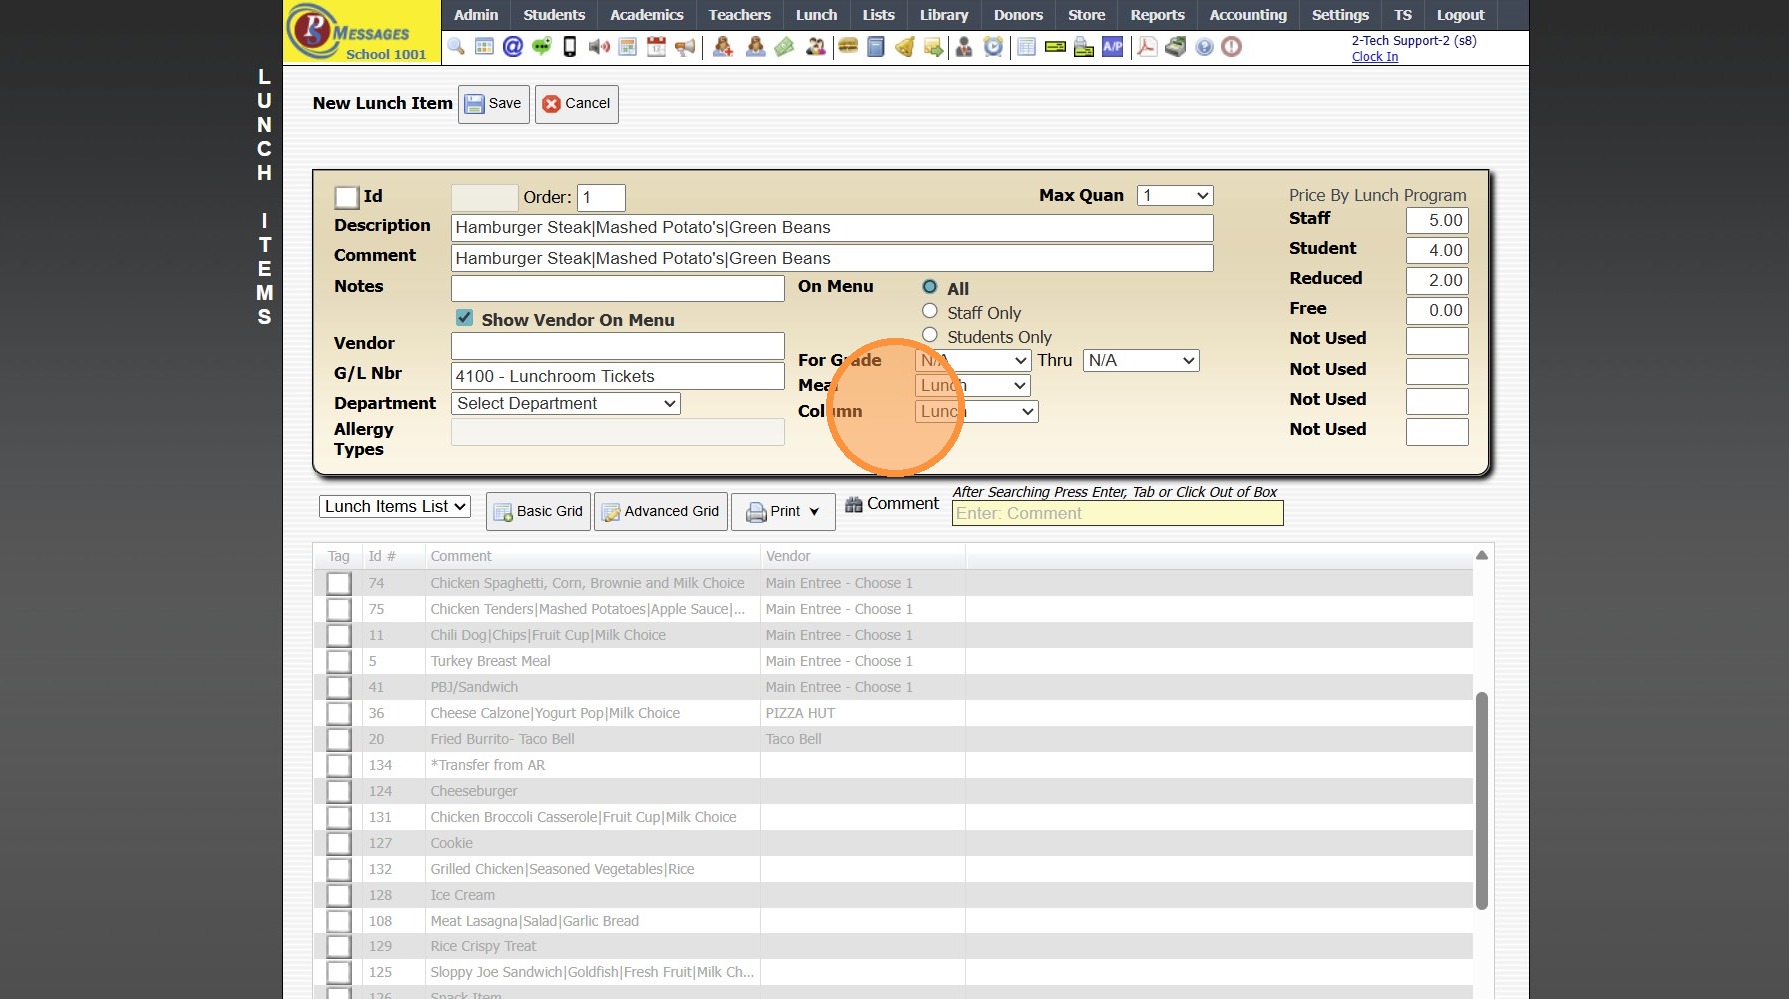
7. Enter Lunch Description
(Lunch Description does not Lunch Order, Lunch Description is for Internal Purposes Only)
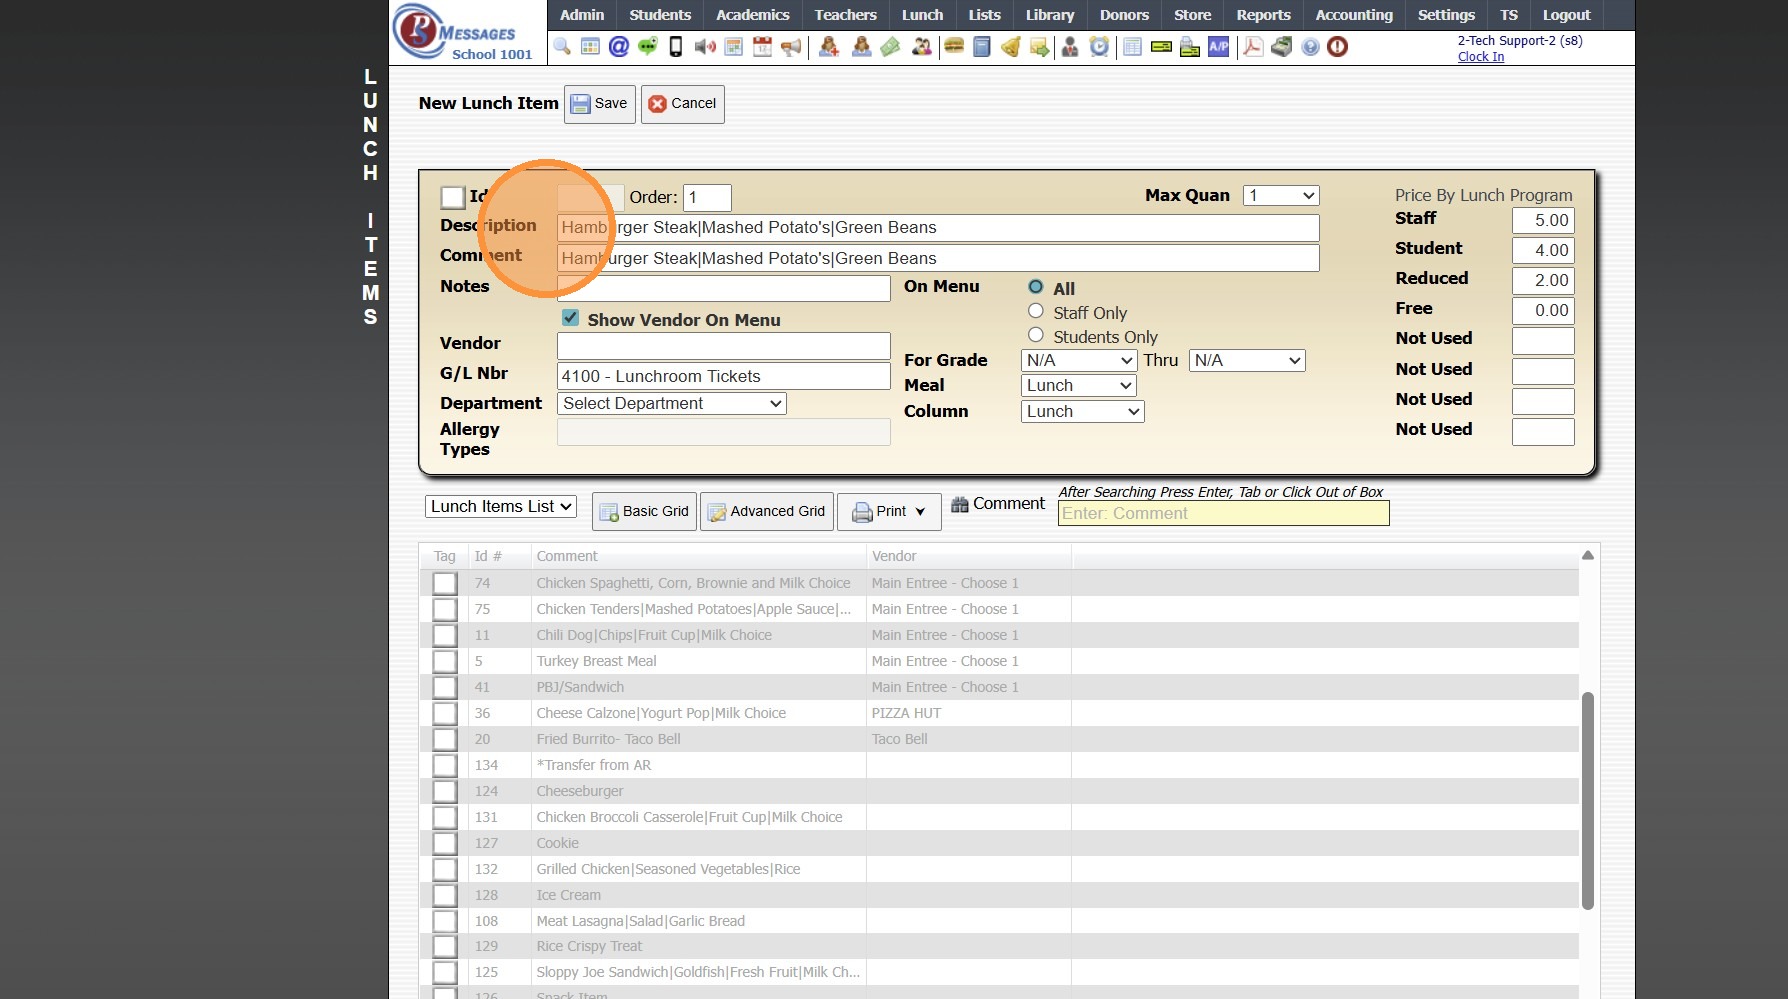
Tip: When entering Lunch Description & Comment, Separating Items with a "|" Stacks the Items on the Menu to Prevent the Scroll Option on the Lunch Menu
Ex. Lunch Item will Appear on Lunch Order Menu as shown below:
Hamburger Steak
Mashed Potato's
Green Beans
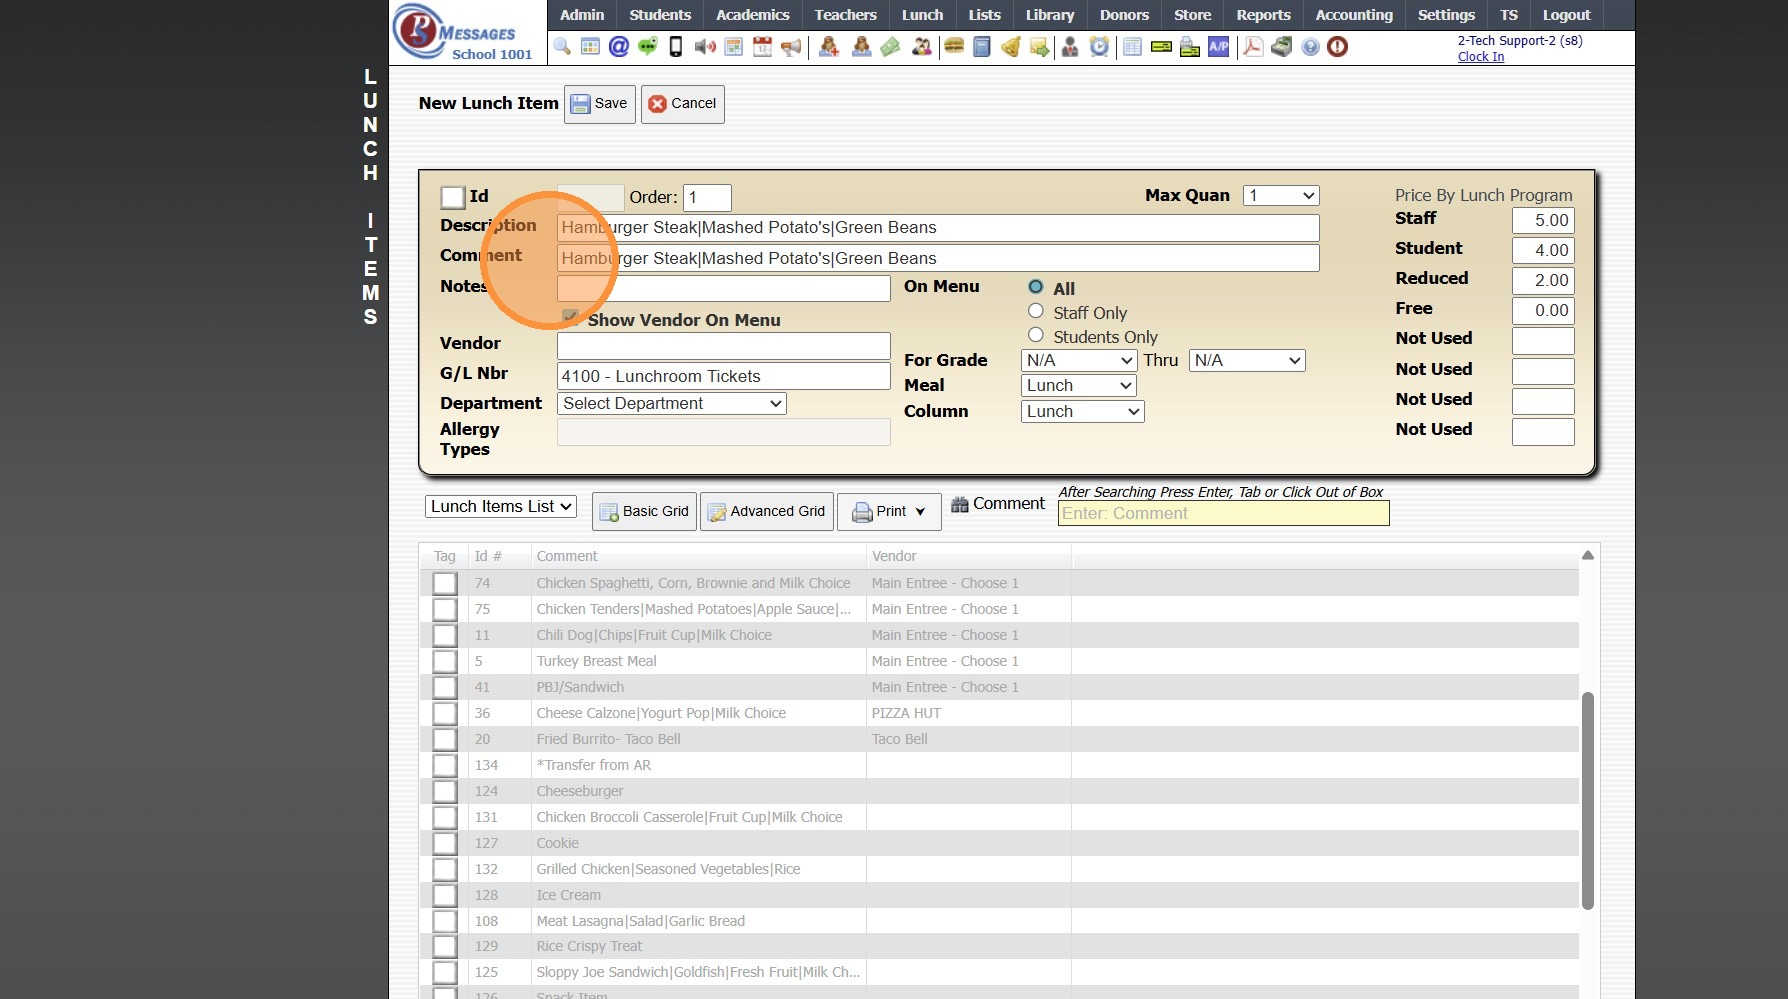
8. Enter Lunch Comment
(Lunch Comment shows on Lunch Menu)
9. If Lunch Item come from an Outside Vendor, the Vendor Name can be Shown on the Lunch Menu by Checking the Box next to Show Vendor on Menu & Selecting the Vendor
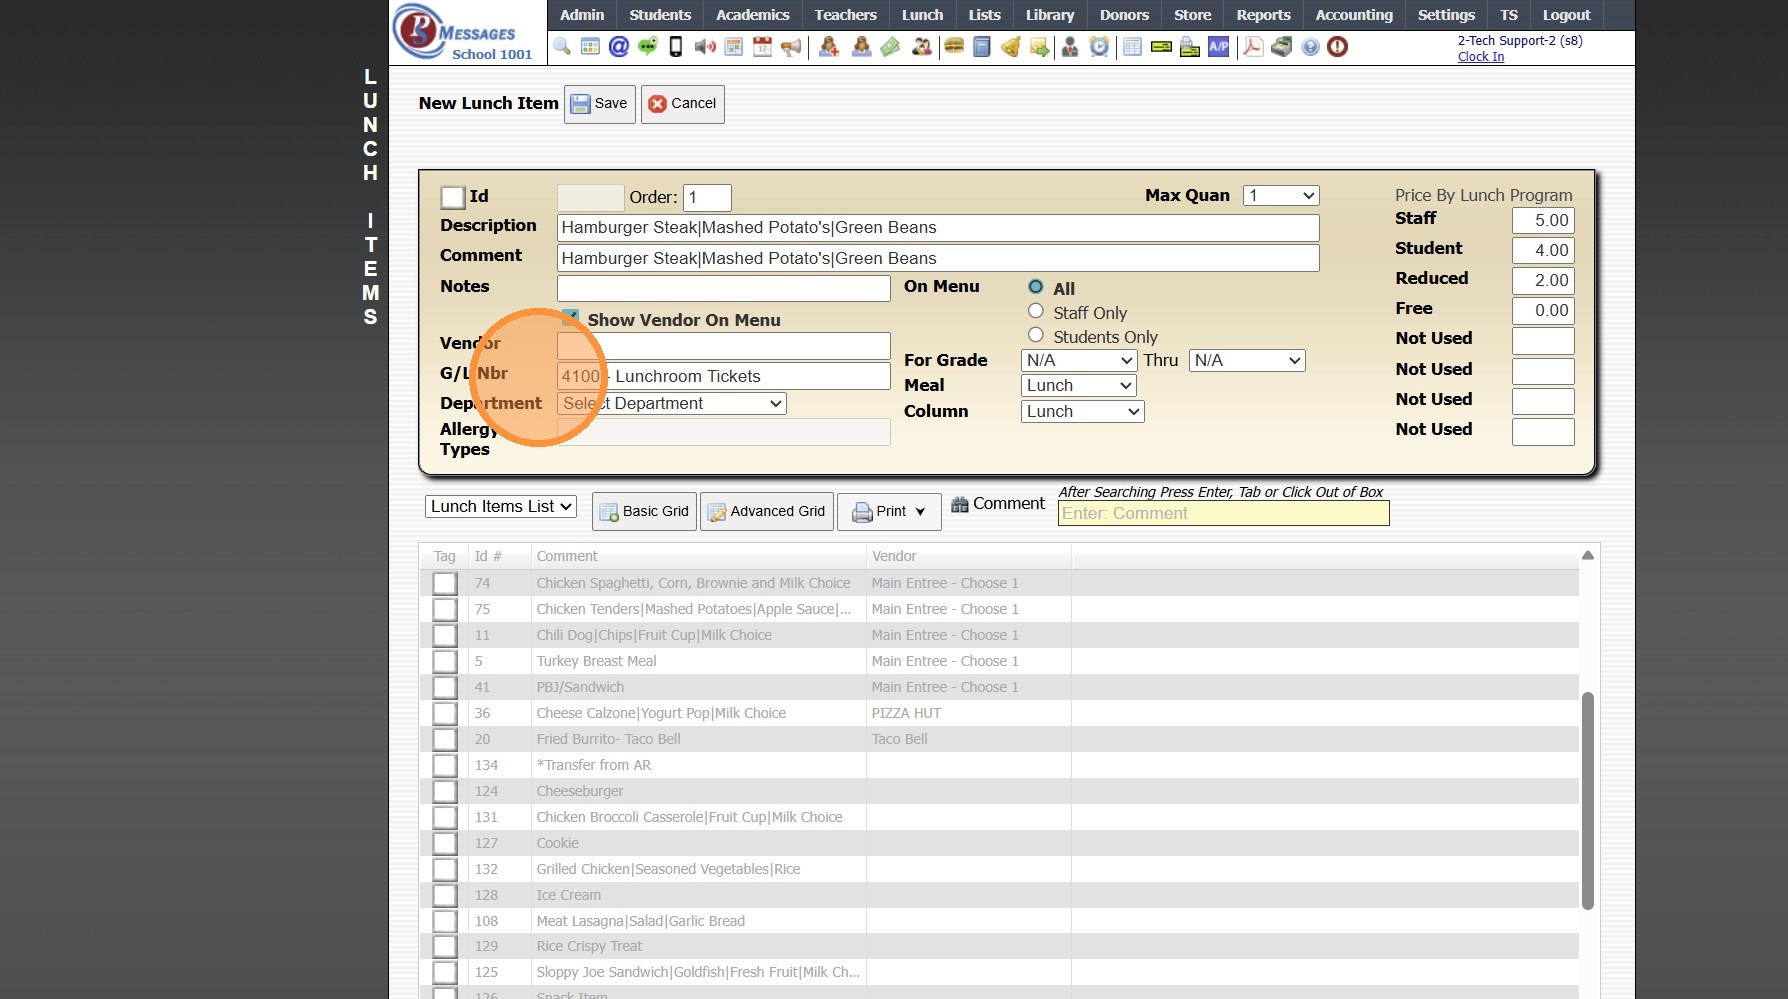
10. Select Lunch General Ledger Number
11. Select "On Menu" option if Lunch Item is for Staff or Students Only
(The Default On Menu Option is All)

12. If Lunch Item is only for Specific Grades, Set Grade From and Grade Thru
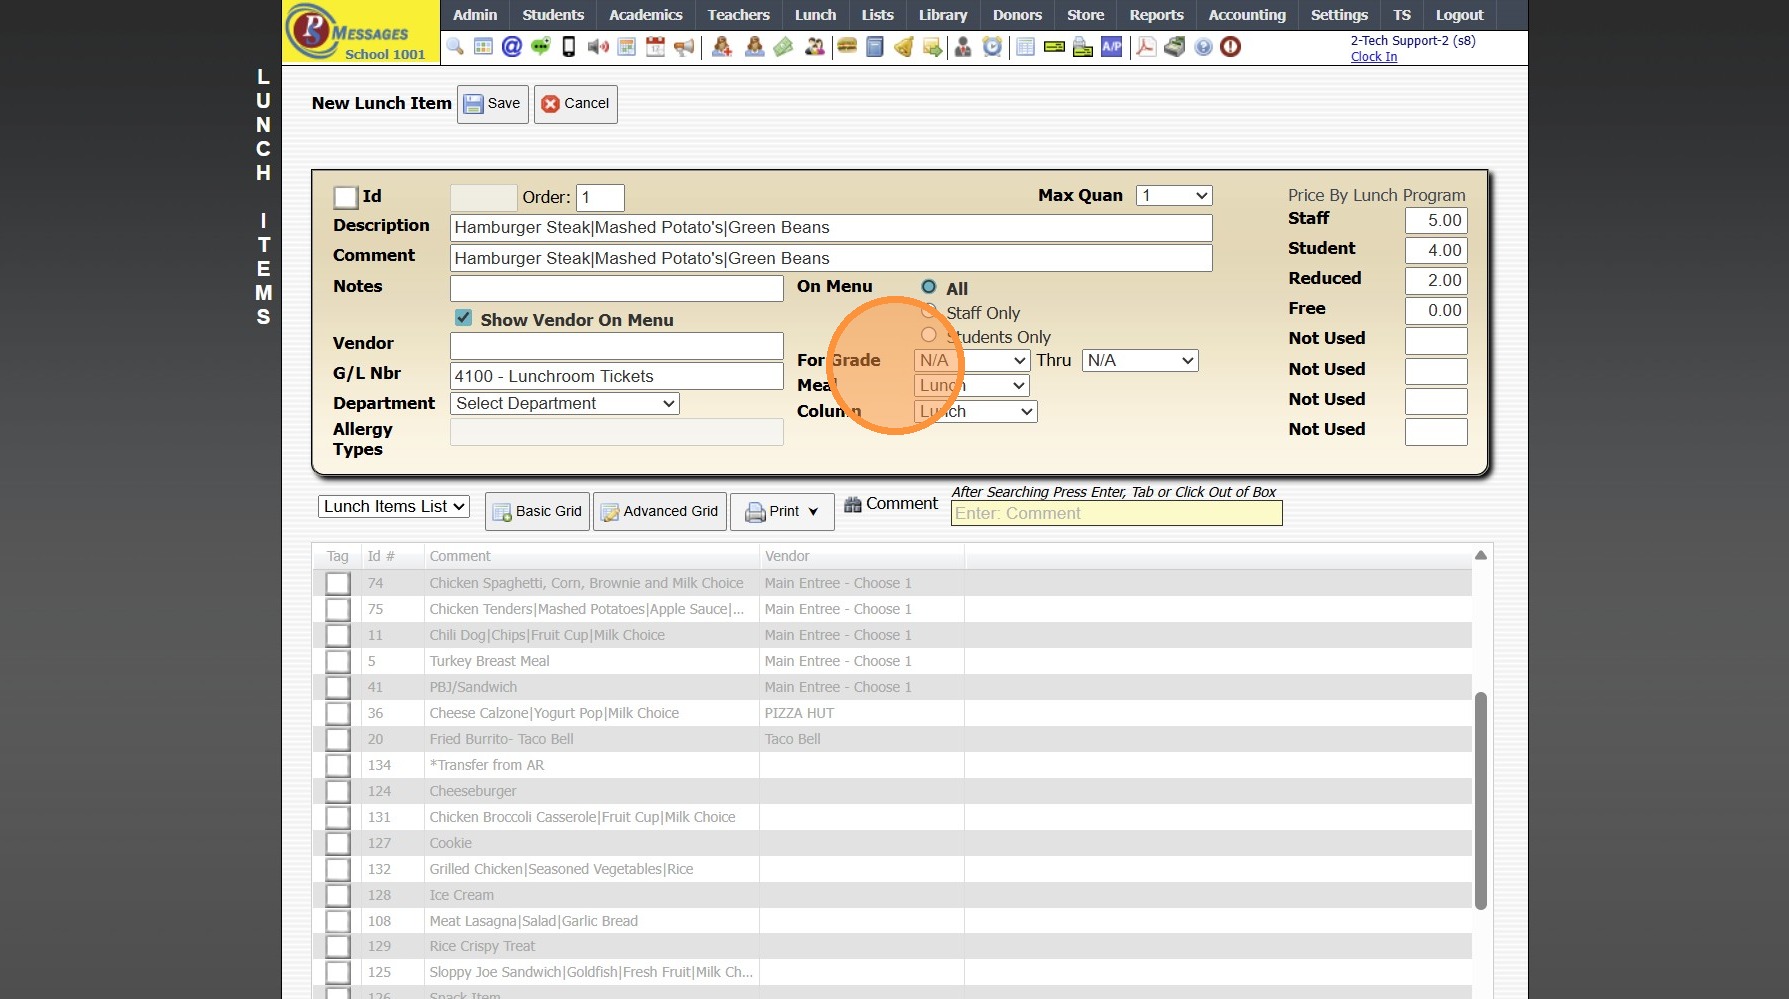
13. Select Lunch Meal
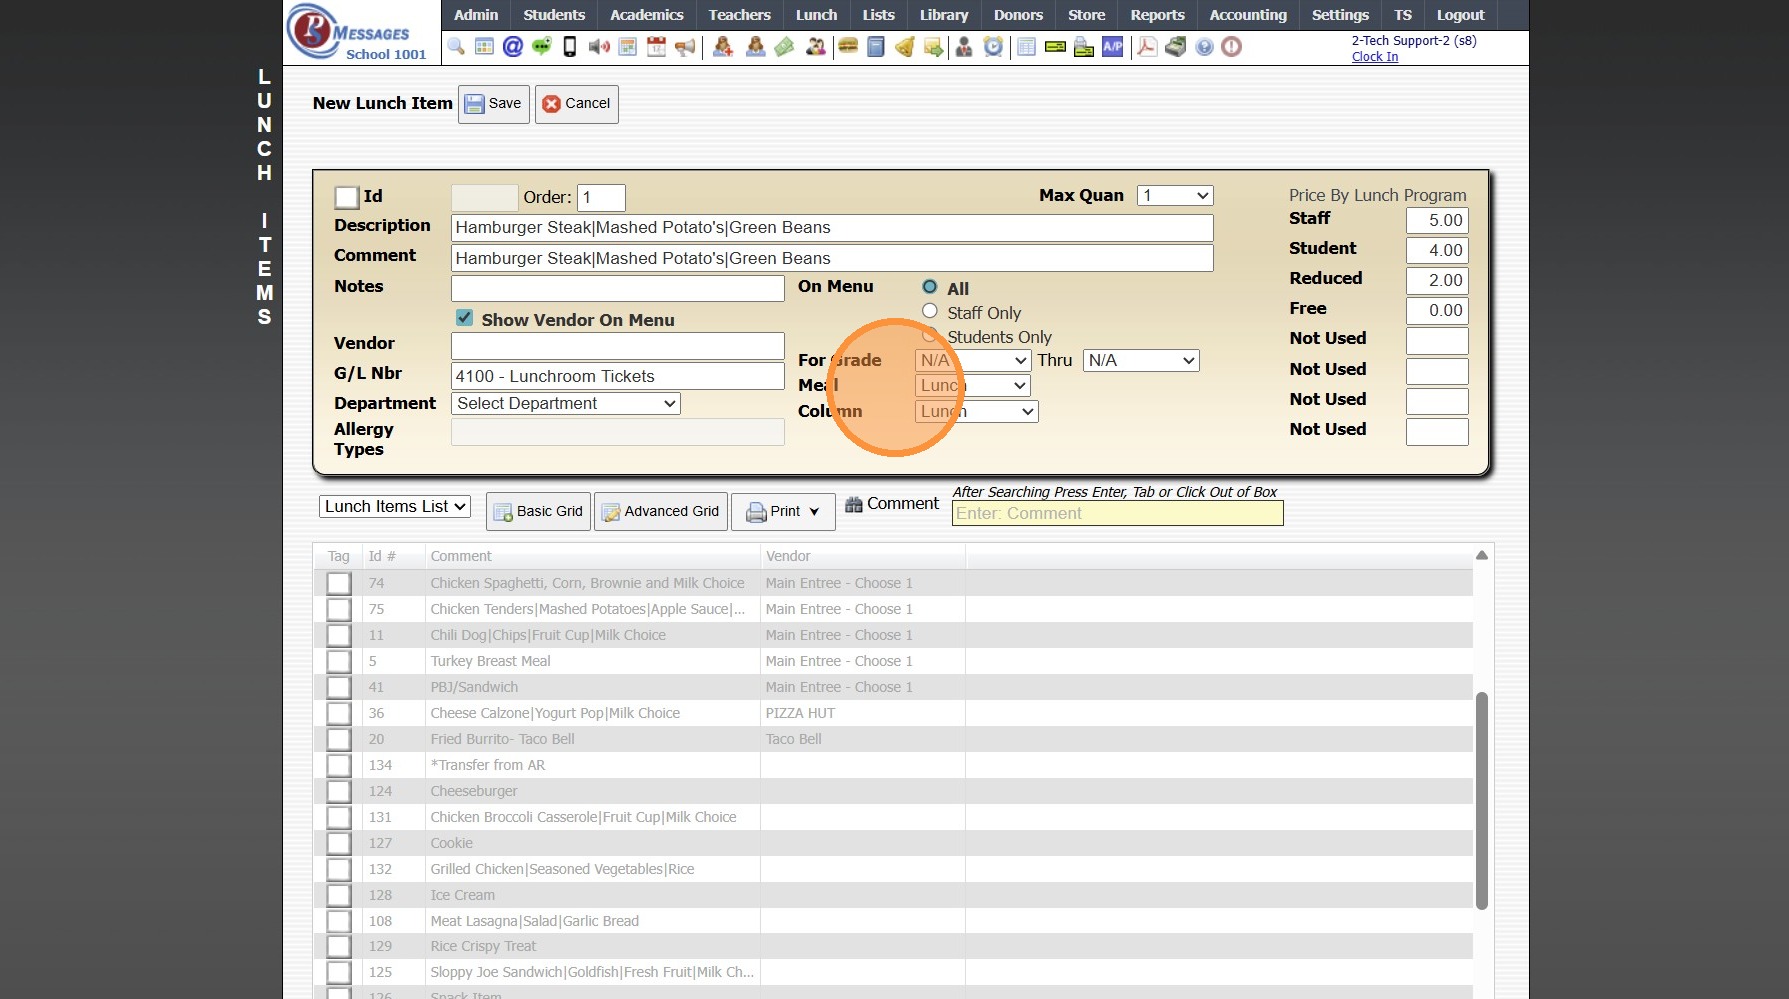
14. Select Lunch Column
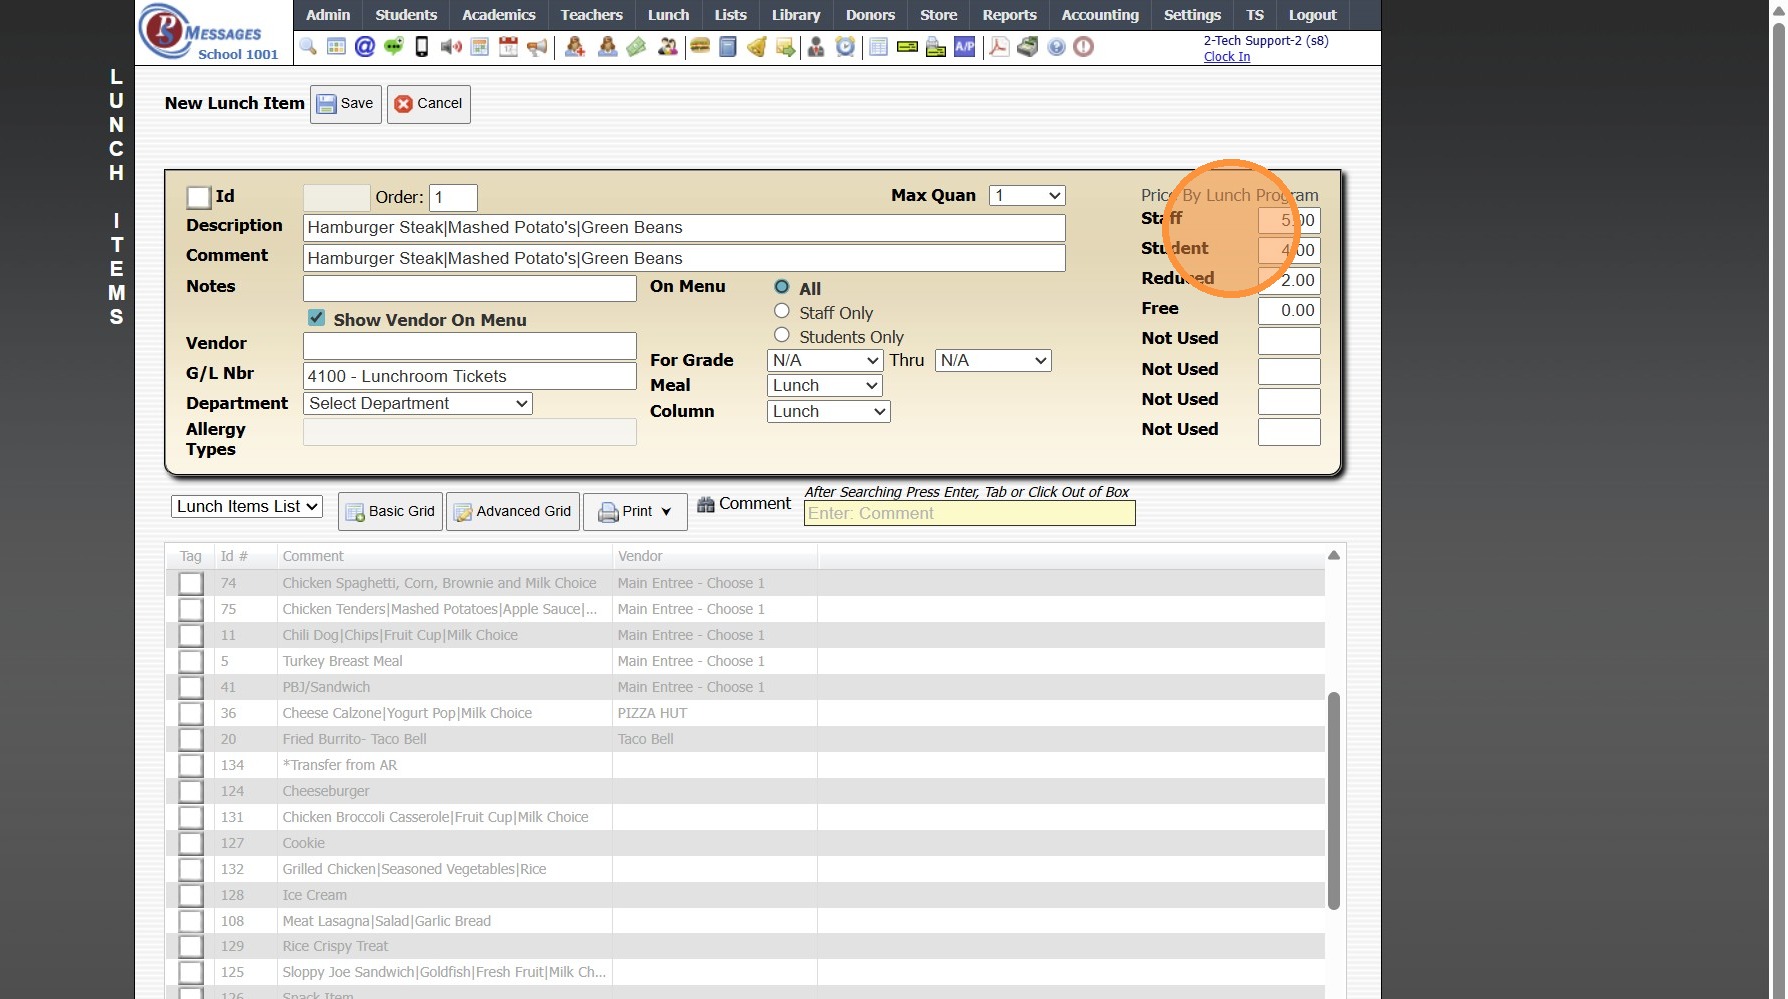
15. Enter Appropriate Lunch Price
(Ex. Staff Price, Student Price, etc)
16. Click "Save"
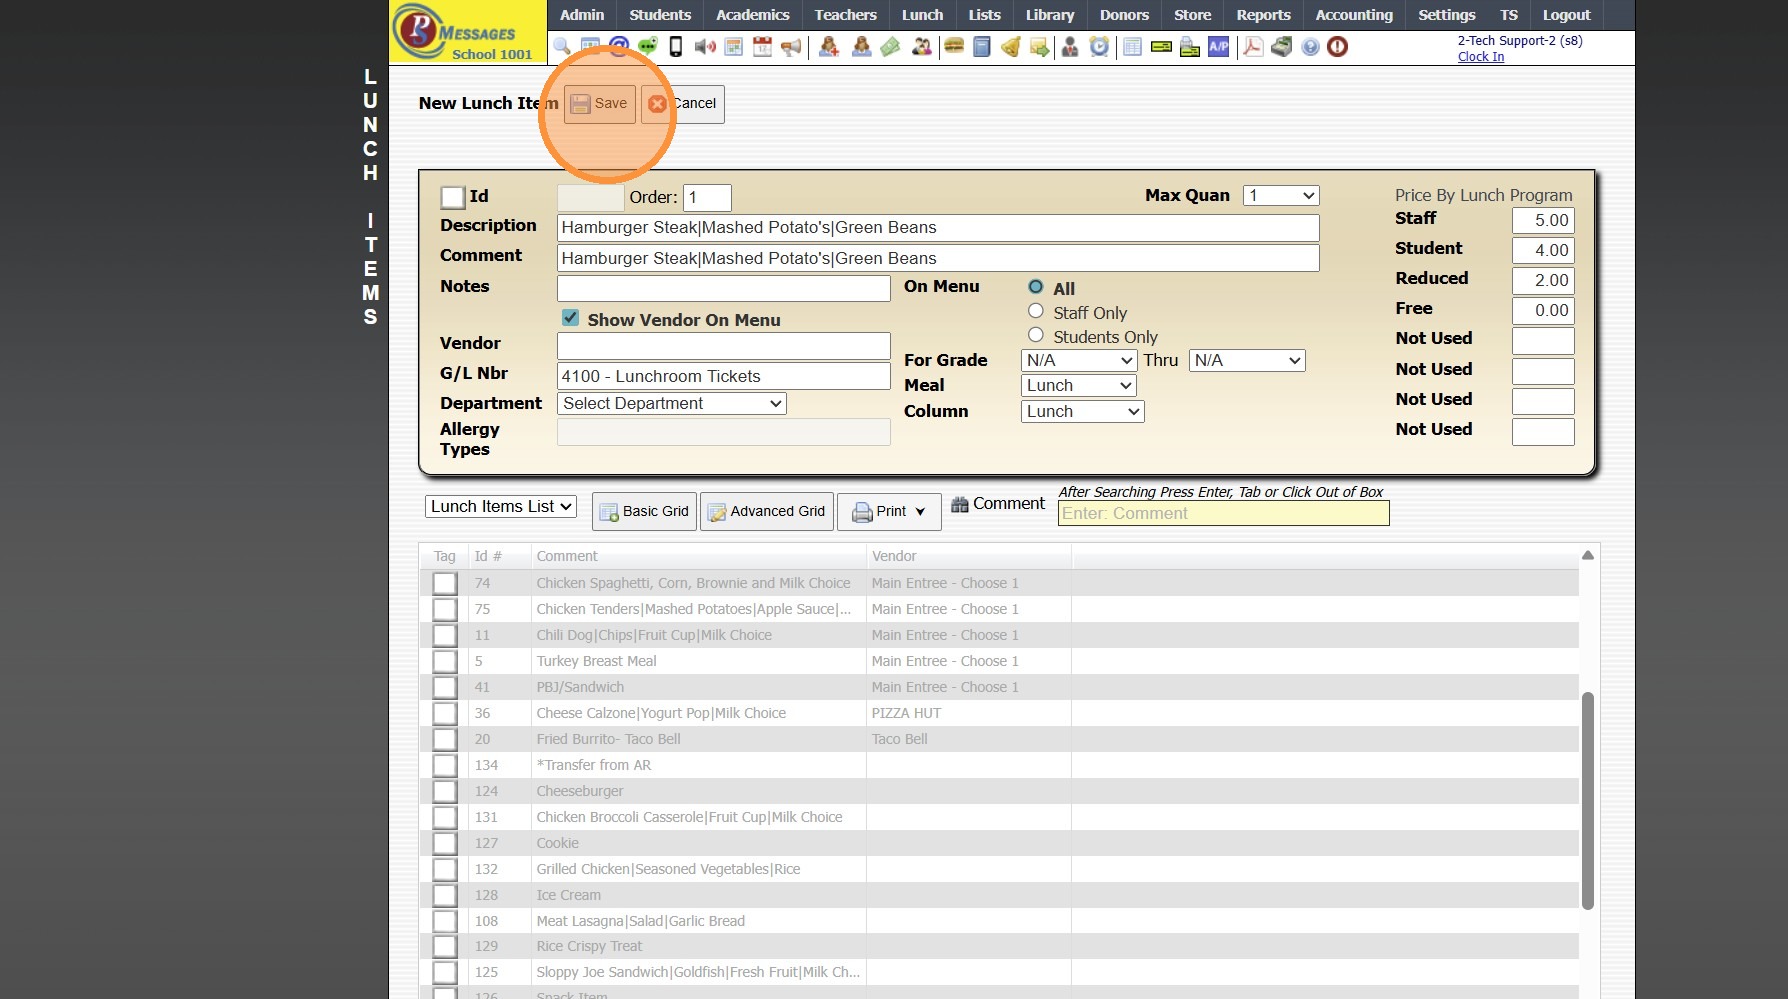
17. Repeat Steps 4 - 16 for each Lunch Item
Related Articles
Adding Transaction Items (Defined Items) - Departments & Rules
Adding Transaction Items (Adding Transaction Items with Assigned Departments and/or Rules) 1. Click "Lists" 2. Click "A/R Accounting" 3. Click "Transaction Items" 4. Click "Add" 5. Enter Description & Comment (Description & Comment are typically the ...Adding Items to Store
1. Click "Store" 2. Click "Stores" 3. Click "Stores" 4. Select Store 5. Click "Items" Tab 6. Click "Add Item" 7. Search Inventory Item (Max Quantity for Individual Inventory Items can be Set in Max Over Field) 8. Select Sell Price (Default is Price ...Adding Lunch Meals
1. Click "Lunch" 2. Click "Setup" 3. Click "Lunch Meals" 4. Click "Add" 5. Enter Lunch Meal Name 6. Click "Save" 7. Repeat Steps 4 - 6 for each Lunch Meal 3000.1.10Adding Lunch Columns
1. Click "Lunch" 2. Click "Setup" 3. Click "Lunch Total Columns" 4. Click "Add" 5. Enter Lunch Column Name 6. Click "Save" 7. Repeat Steps 4 - 6 for each Lunch Total Column 3000.1.9Creating School Calendar Items
Creating School Calendar Items 1. Log into PraxiSchool 2. Click "Admin" 3. Click "Resources" 4. Click "School Calendar" 5. Click "Add" 6. Enter the Calendar Item Description 7. Select Type (Public, No School, Make-Up, Staff) Public, No School and ...